
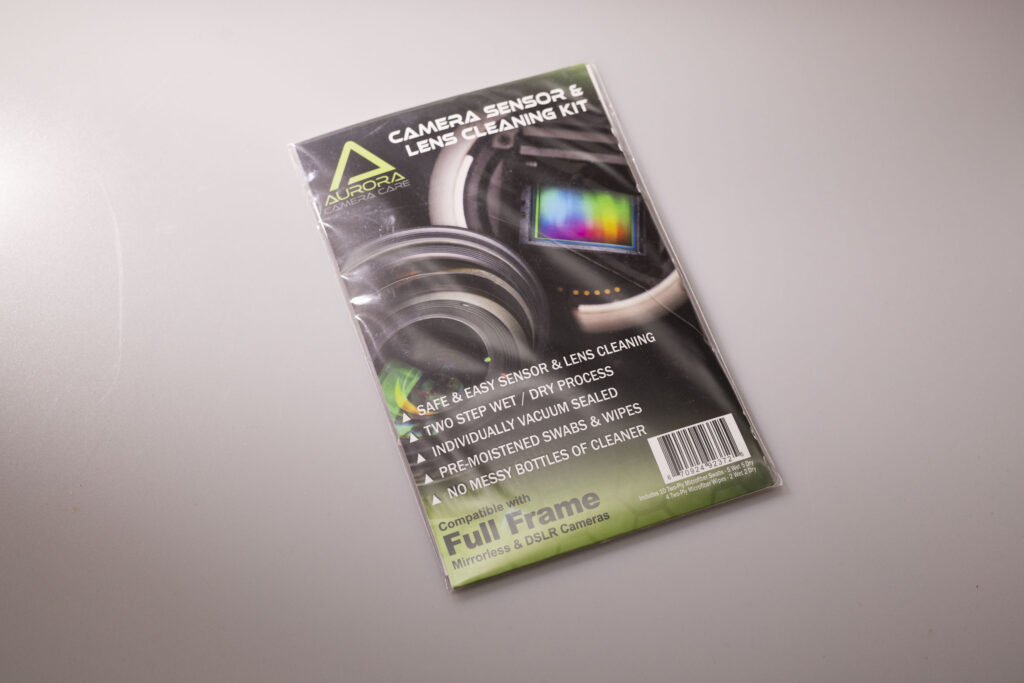
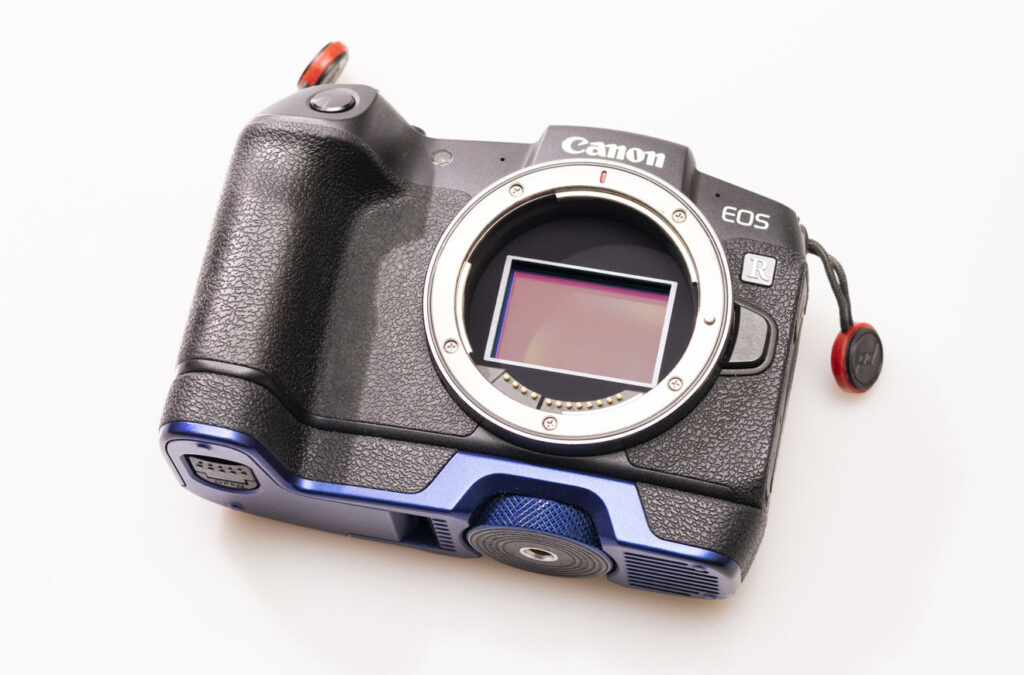
I recently picked up this sensor cleaning kit on Amazon.com to clean my Canon EOS RP sensor. The EOS RP is a great camera but one of its flaws is that it does not cover the sensor when a lens is removed. Because of this it developed a dirty sensor with dust spots appearing in many pictures.
I was a little worried about doing the cleaning because of the variety of horror stories that are out there on the internet but it actually went pretty smoothly.
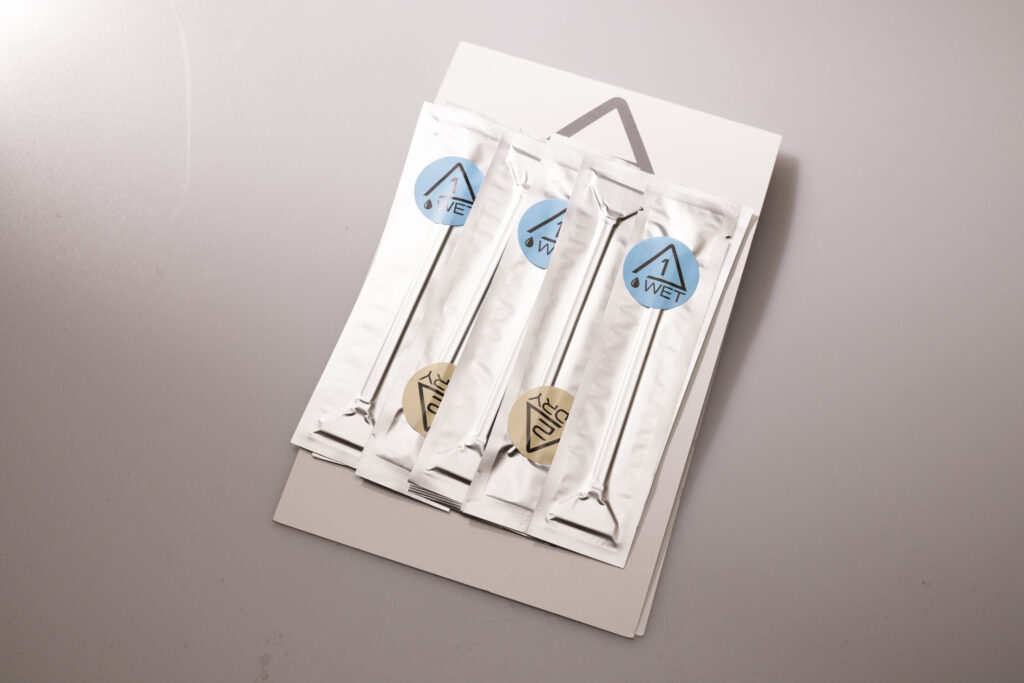
When I got the sensor cleaning kit I read the instructions first which are pretty thorough. They recommend opening 1 wet swab and 1 dry swab before hand and preparing them to be used so that you can switch between the two as quickly as possible. This helps avoid allowing the sensor cleaning solution to dry up on the sensor.
In the instructions they include an addendum which states that once you complete the initial cleaning with the wet swab, the dry swab can be used as many times as possible to remove the leftover residue.
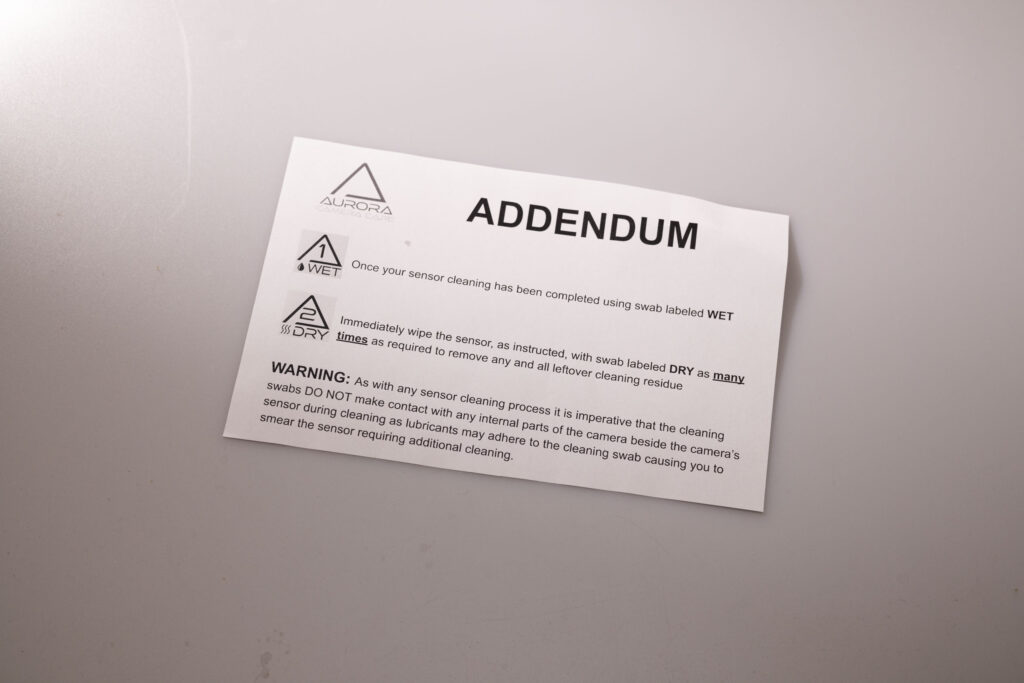
So, if you see residue on your sensor when you are done should you run to the internet to leave a negative review? No, you should continue gently cleaning your sensor with the dry swab until the residue is no longer visible.
There are a few things you need to do to ensure you end up with a clean sensor. First, you need to clean your lens. Depending on the lens focal length and aperture dust on the lens can sometimes appear in the image. So, you need to prepare a test lens that is cleaned front and back. If you get the Camera Sensor & Lens Cleaning kit as I did a wet and dry wipe are included for cleaning the lens beforehand.
Once the lens is free of dust particles you can begin the process of cleaning the camera sensor. The first thing you want to do is use a blower on the inside of the camera. Take the blower and blast some air around the inside of the camera repeatedly for about 30 seconds. Be careful not to bump the sensor or any internal parts of the camera while doing so. There are a few reasons to do this but the main purpose is that a little camera cleaning will help keep any loose dust on the inside of the camera from immediately going back onto your newly cleaned sensor when you are done.
Do not used canned air or compressed air on the inside of your camera! Due to the loss in pressure inside the air canister as air exits the can, there is a corresponding drop in temperature associated with the pressure change that can cause instantaneous condensation or freezing on the internals of the camera. Therefore you should only use a hand operated blower designed for camera cleaning.
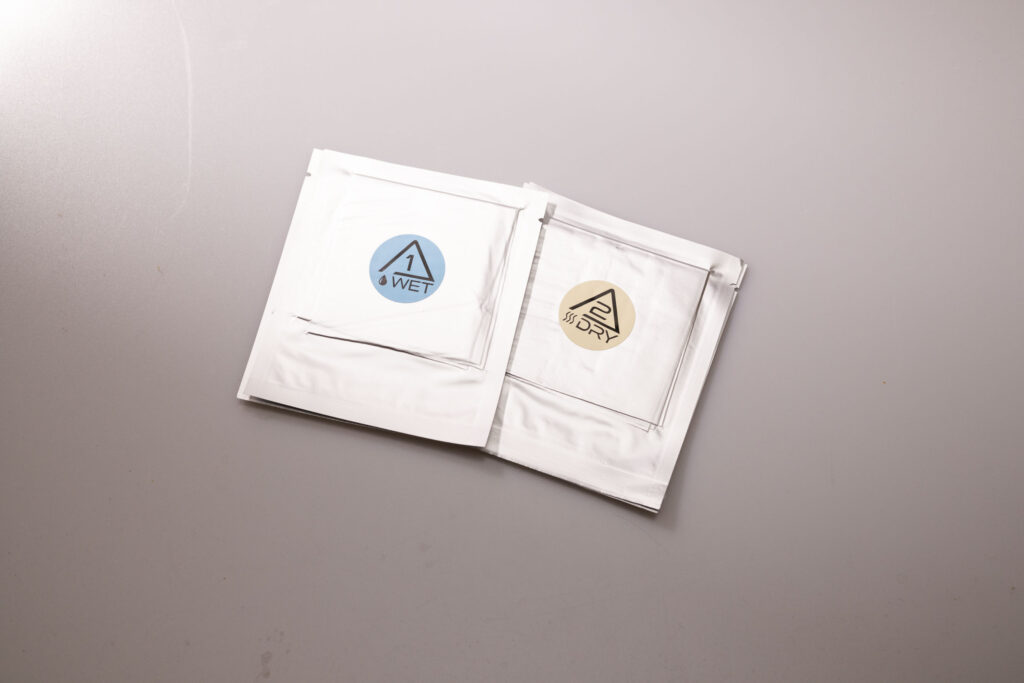
After you’ve done that you can prepare the sensor swabs as mentioned earlier. Simply tear the ends off 1 wet swab that is pre-moistened with cleaning fluid and 1 dry swab and partially extract the handles.
With your camera on a level surface such as a desk take the wet swab and gently place it at the left edge of the sensor. Then, with a semi firm grip, wipe the swab from left to right across the sensor. After that, flip the swab over and again wipe from left right using the exact same technique. Two wipes with the wet swab are all that are required. You are now ready for the dry swab. Remove the dry swab from the package and follow the same process. Swiping from left to right until all the cleaning residue is gone. If necessary you may need to use an LED light to see any remaining residue.
Once the sensor looks clean attach your cleaned lens and take a test shot of a bright white surface with a strong light on it. Outdoor shots of the sky or clouds can also work.
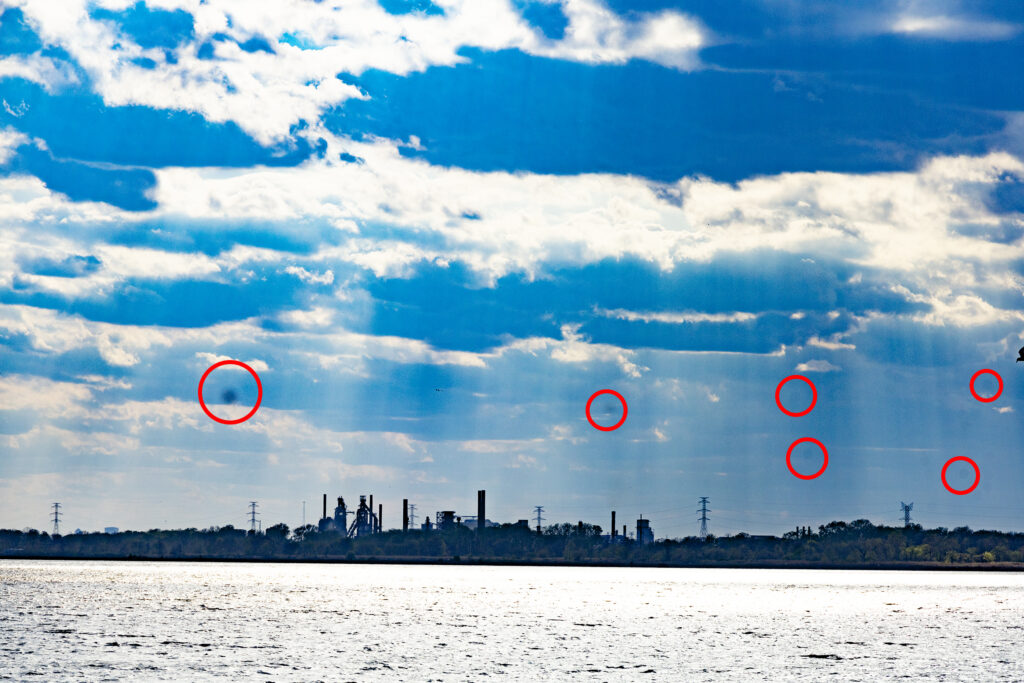
Now load your pictures into Photoshop and check them for dust spots or streaks. When I first cleaned my sensor I noticed some streaks on the sensor from cleaning solution that I had not fully wiped off. I also noticed there were still some faint dirt spots that were visible when I cranked up the “dehaze” slide in ACR.
Using the dehaze slider is the quick way to reveal dust spots in your image.
If the sensor looks good you are all done! If you are in a situation similar to mine and you still see some dust spots simply wipe the sensor a few more times with the dry swab, or, if you want, break out a new wet swab and dry swab and go through the whole process again. It is not necessary to do it all again but if you have some really stubborn spots that might be the easiest option.
Typically, it is advisable not to do too much wet swabbing of the sensor due to the possibility of getting cleaning fluid into the sensitive electronics surrounding the sensor glass. So, don’t overdo it with the wet swabs!
Most of the time you can just repeat the process of cleaning with the dry swab and taking pictures and using the dehaze tool to reveal dust spots on your image. If you are wondering what dust spots look like check out the dehazed image below for some examples.
This sensor cleaning kit worked great and I recommend it for your FF digital camera. The included instructions make it very clear what process to follow, and all the parts seem to be of good quality and were easy to use. It took a few tries to get the perfect result but I did eventually get every spec of dust off of the camera sensor.
Check it out, the EOS RP’s sensor is clean!
If you would like to support this site, simply follow the link below to purchase your own sensor cleaning kit from Amazon.com.