In this tutorial our in house photographer provides tips and advice on how to take ethereal sunset photos.
Sunsets are a wonderful and attractive subject for all photographers. Just about anyone can experience a sunset anywhere, on any day with a clear, or partly cloudy sky. The only exceptions to that rule would be at the North and South Poles where the sun does not set every single day due to the angle of the earth’s tilt relative to the sun. Since the official population of both those places is 0 I’m guessing you’re not reading this from snowbank in Antarctica surrounded by penguins who are you only friends in the world. So, following this tutorial should be as simple as heading outside with your camera around dusk and trying your hand at some pictures.
Sunsets can be tough for beginner photographers to master. Even though our eyes are telling us it is getting dark, our cameras are still going to see the sun’s disk and the area around the sun as extremely bright. For clear day sunsets this can make getting a good sunset photo pretty difficult. One option is to shoot HDR photos which can result in super high quality images. But if you’re photographing over water or with other movement in the scene then HDR images are not good because an HDR photo requires multiple images at different exposures to be taken.
So if we’re not going to talk about HDR, then what is the best option for most people’s sunset photos? The answer is simple, just wait till the sun has dropped below the horizon! Believe it or not, the sunset gets easiest to photograph immediately after the sun has set. To see what I mean check out the photo below:
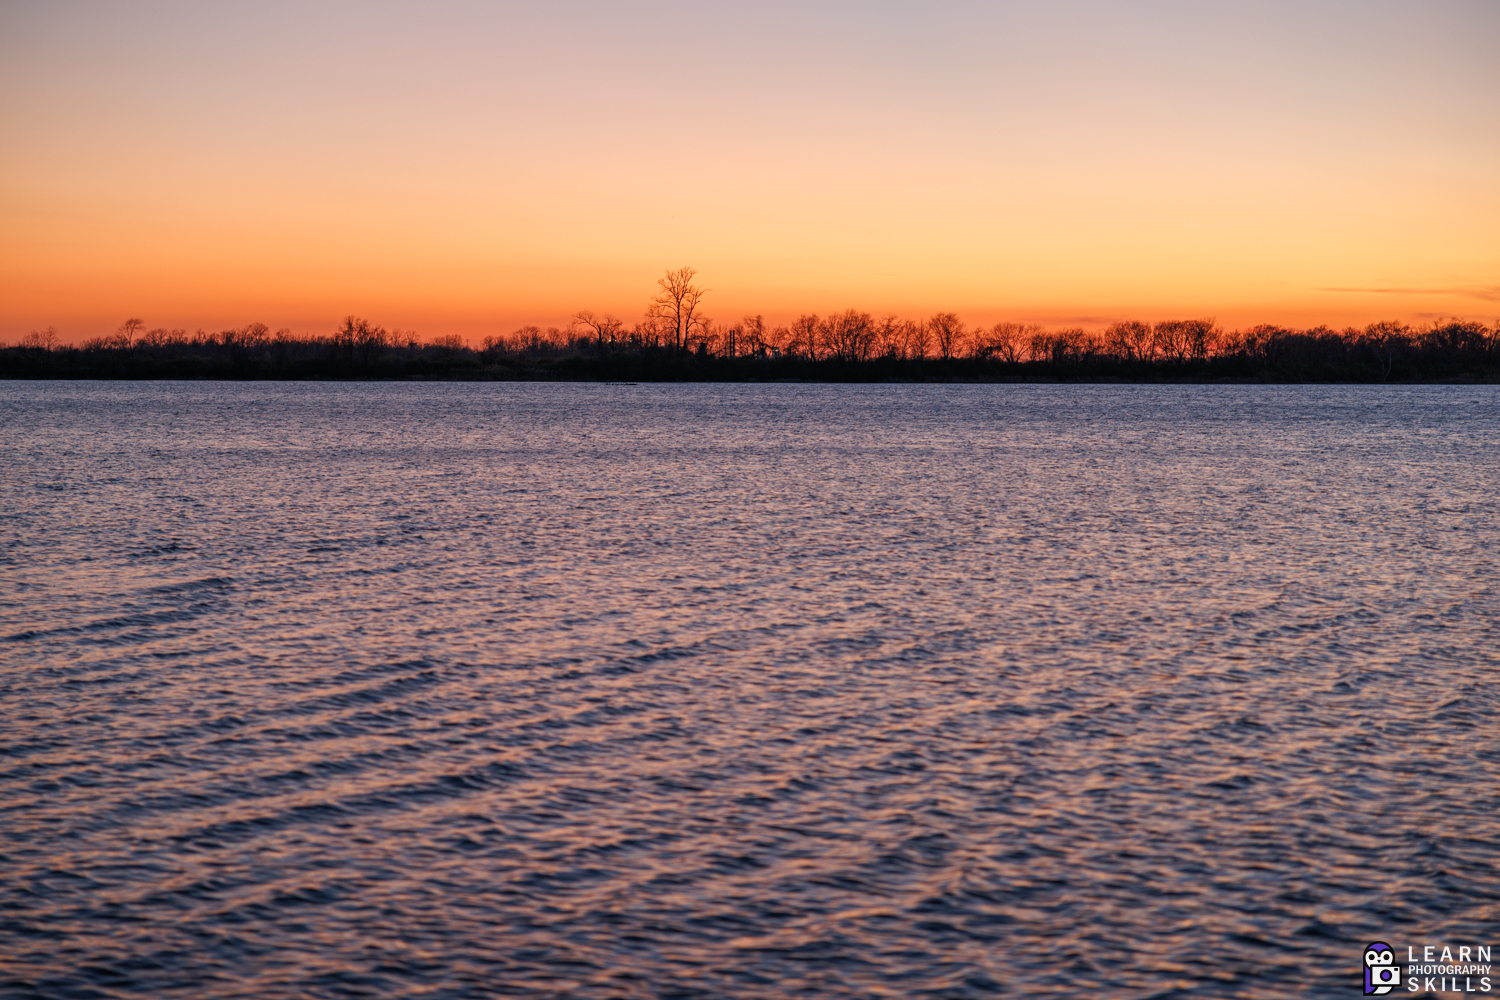
This is right where the sun dipped below the horizon, but check it out, there is still tons of color in the sky! No special techniques were required other than using the appropriate camera settings. It helps to use the lowest ISO possible though. For this photo I used the following settings: 70mm, f/2.0, 1/25th, 200 ISO. The key is to try to brighten things up with your camera settings. There is lots of color hiding in the sky right after the sun sets if you know how to bring it out.
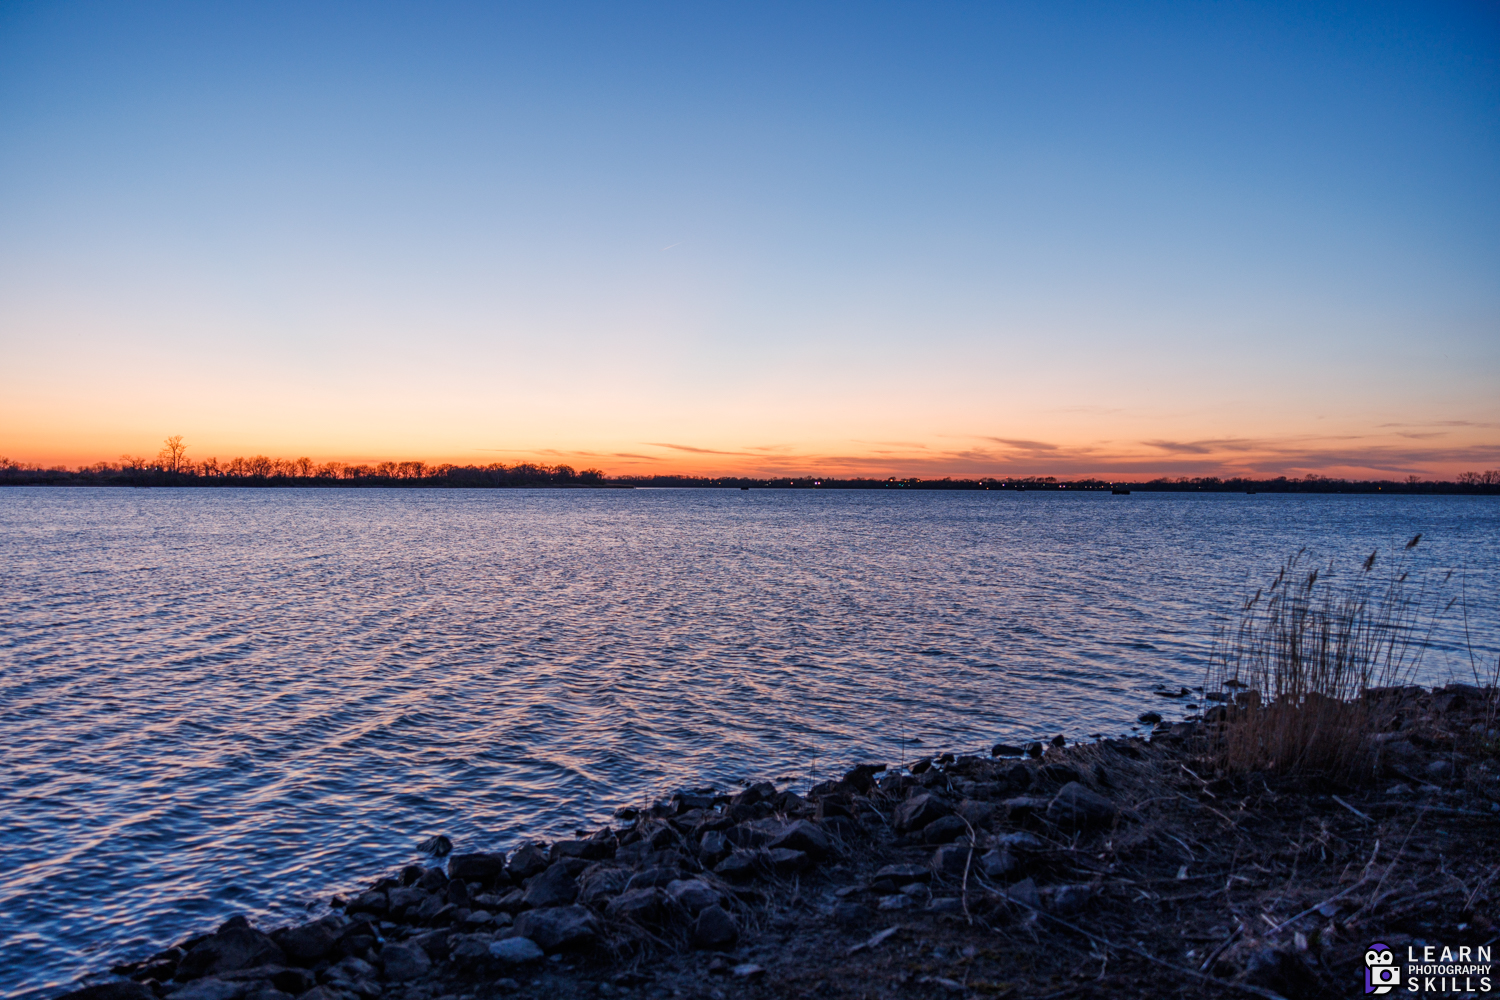
Another good tip is to make sure your white balance is working with your sunset picture and not against it. You can use whatever settings you like but if you choose a warmer setting the sunset and it’s colors will be more prominent and ethereal in the image as shown in the images below.
5500k White Balance:
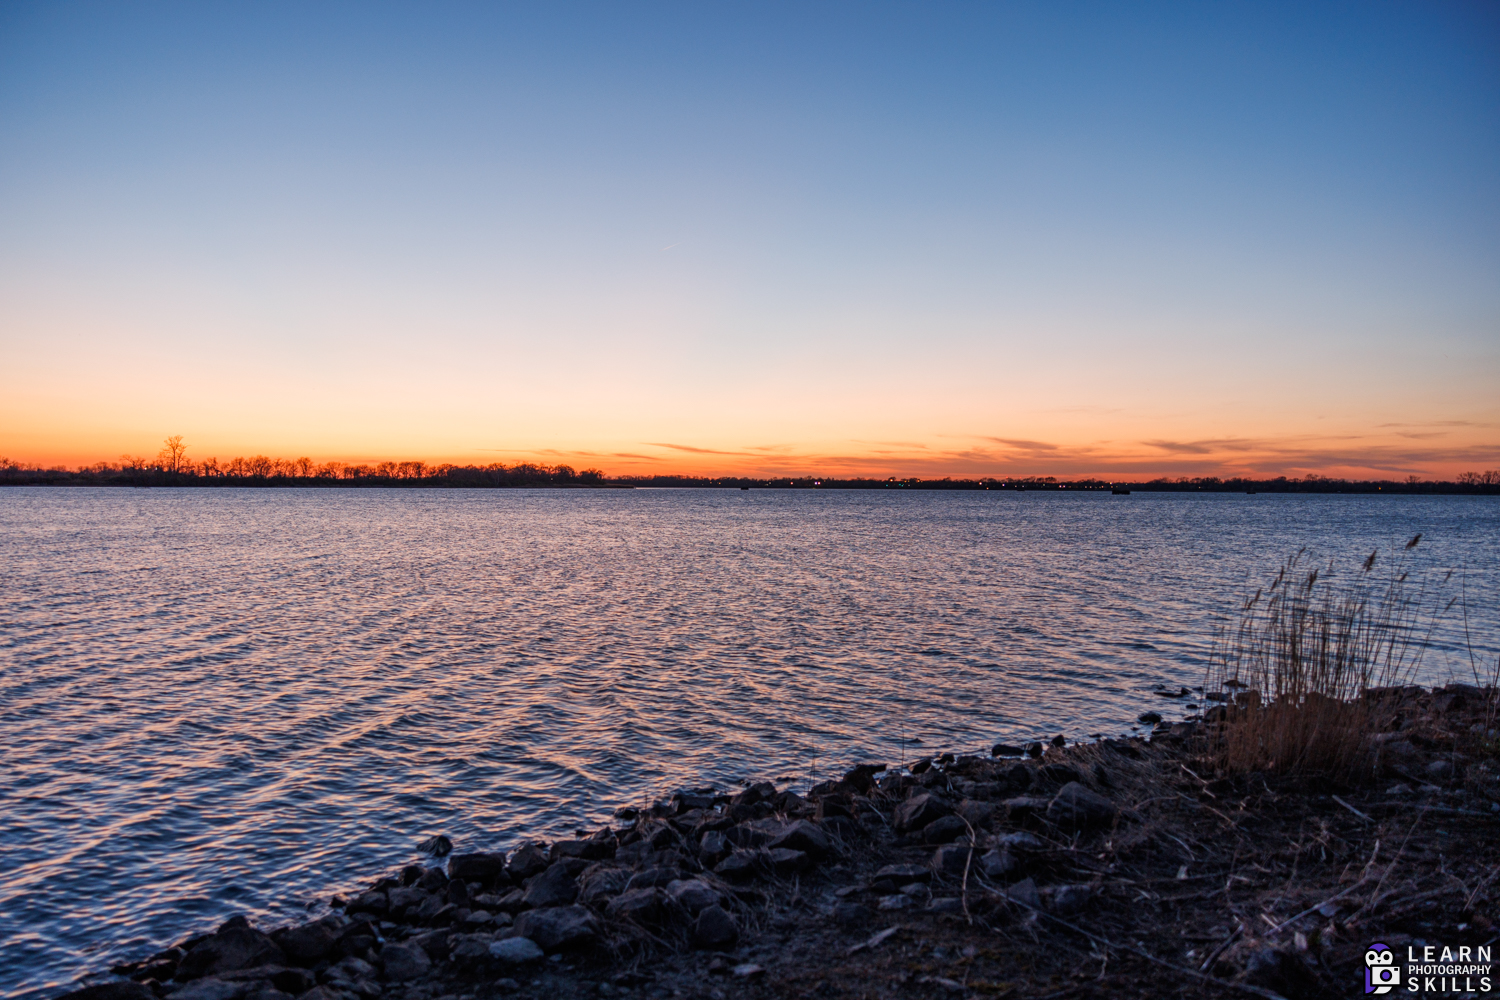
6500k White Balance:
7500k White Balance:
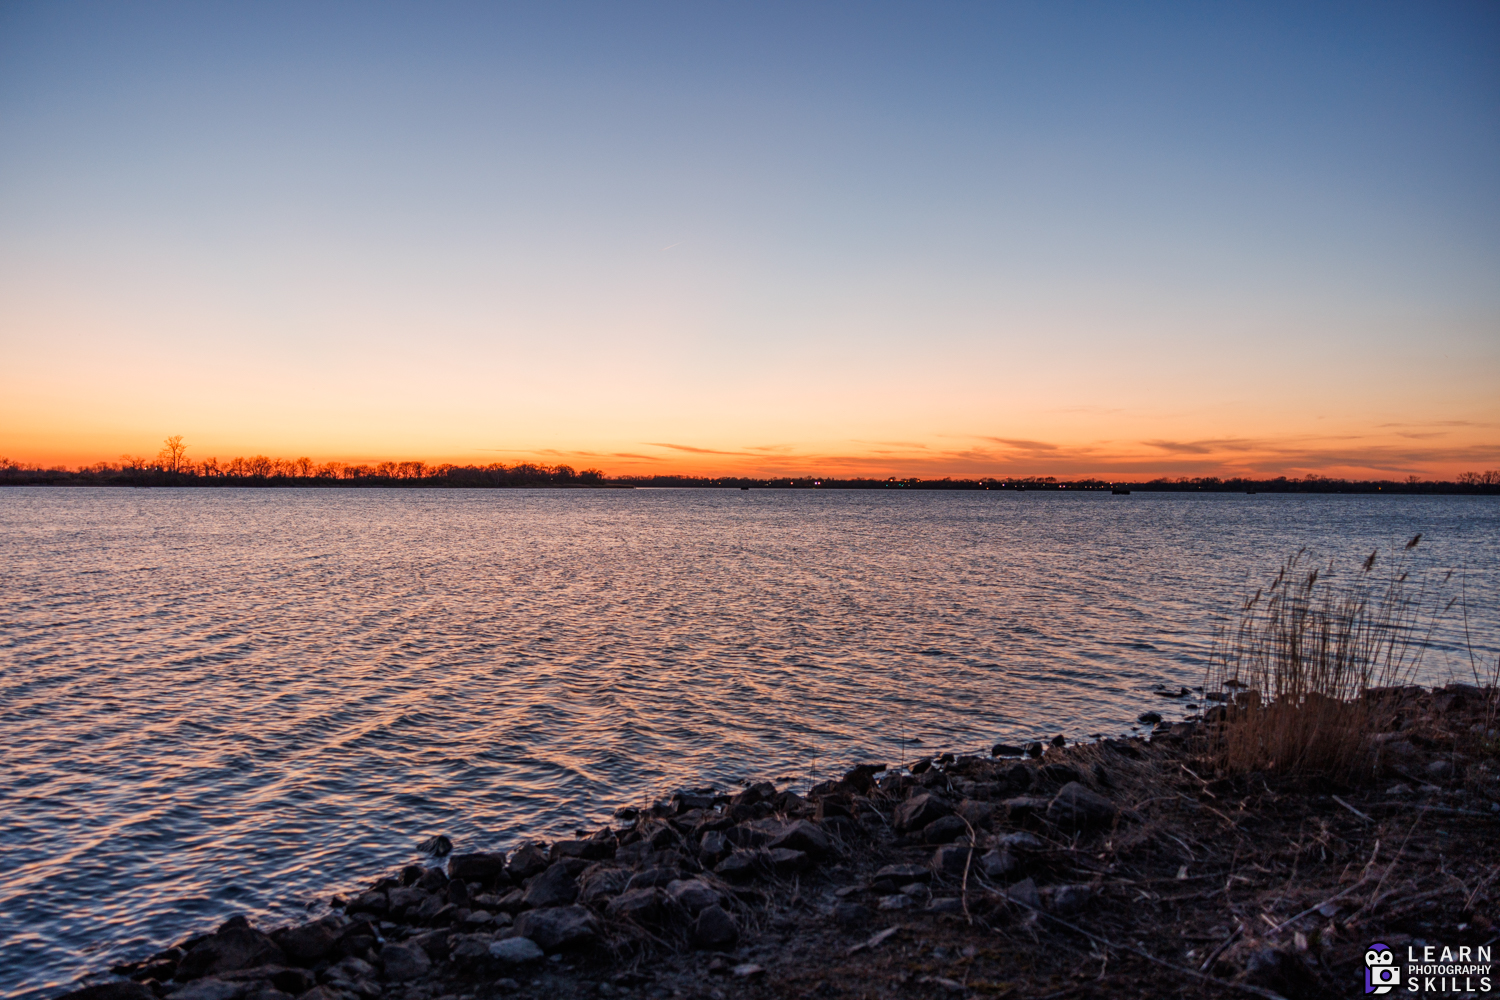
As the white balance temperature is increased the image definitely takes on a warmer, more “sunset-ish” quality. If you shoot with RAW you can make tweaks to this adjustment when editing your image but it’s always best to pay attention to it in camera so you can have some understanding of how your image will look even when you do intend to tweak it in Lightroom.
At this point I would invite you to head outside around sunset and find a place where you’d like to take a picture so you can try your hand at taking some sunset photos. Remember, your camera may struggle when the sun is still visible so if you’re not getting the shots you want, wait till just after the sun has dipped below the horizon and see if you can’t get a beautiful full color sunset photo using your camera.
Using obstructions to block the sun.
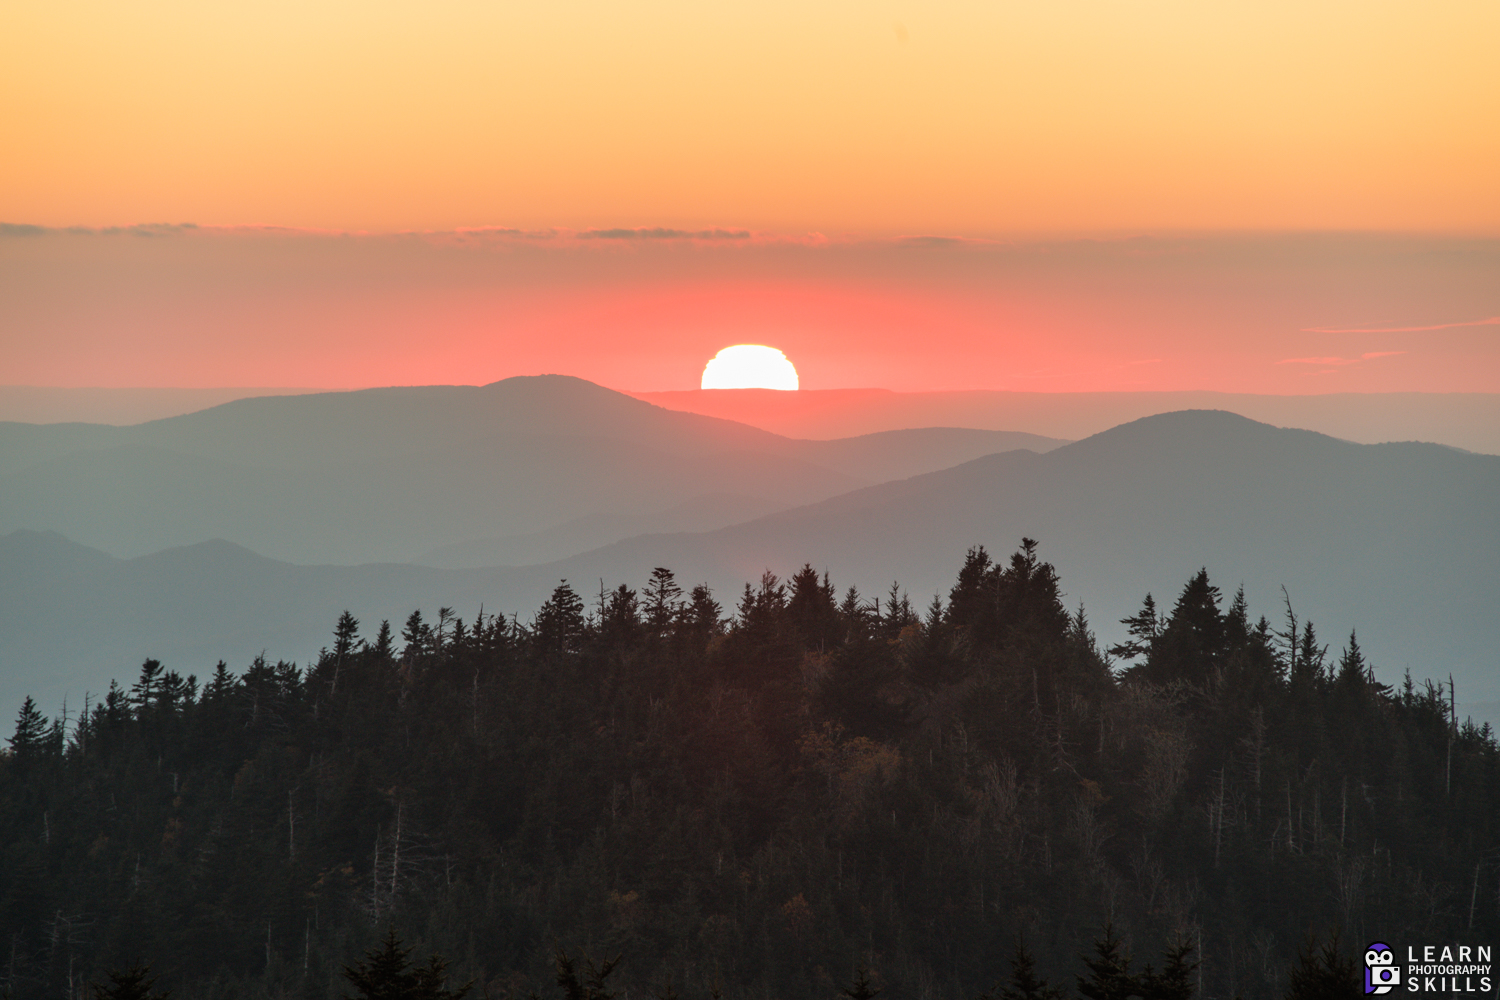
When the sun is high in the sky it appears brightest, that’s due mostly to the fact that when the sun is directly over head its light is going to pass through the least amount of atmosphere, only 2-3 miles of breathable air actually. But when the sun get’s down right next to the horizon, the light has to pass through dozens of miles of the thickest atmosphere that we live and breathe in. This causes the light to scatter and the sun to dim substantially as it reaches the horizon. As photographers we can take advantage of this effect to take better pictures!
In this image the sun is dimmed enough at the horizon that it’s possible to see the suns disk with no special filters required. Not only does it make for a spectacular photo, but its just cool to be able to see the sun this way. One tip here is that if you are taking pictures with the sun in frame, you should probably stop down to around f/5.6-f/8 with most camera lenses to help control and limit the appearance of lens flares.
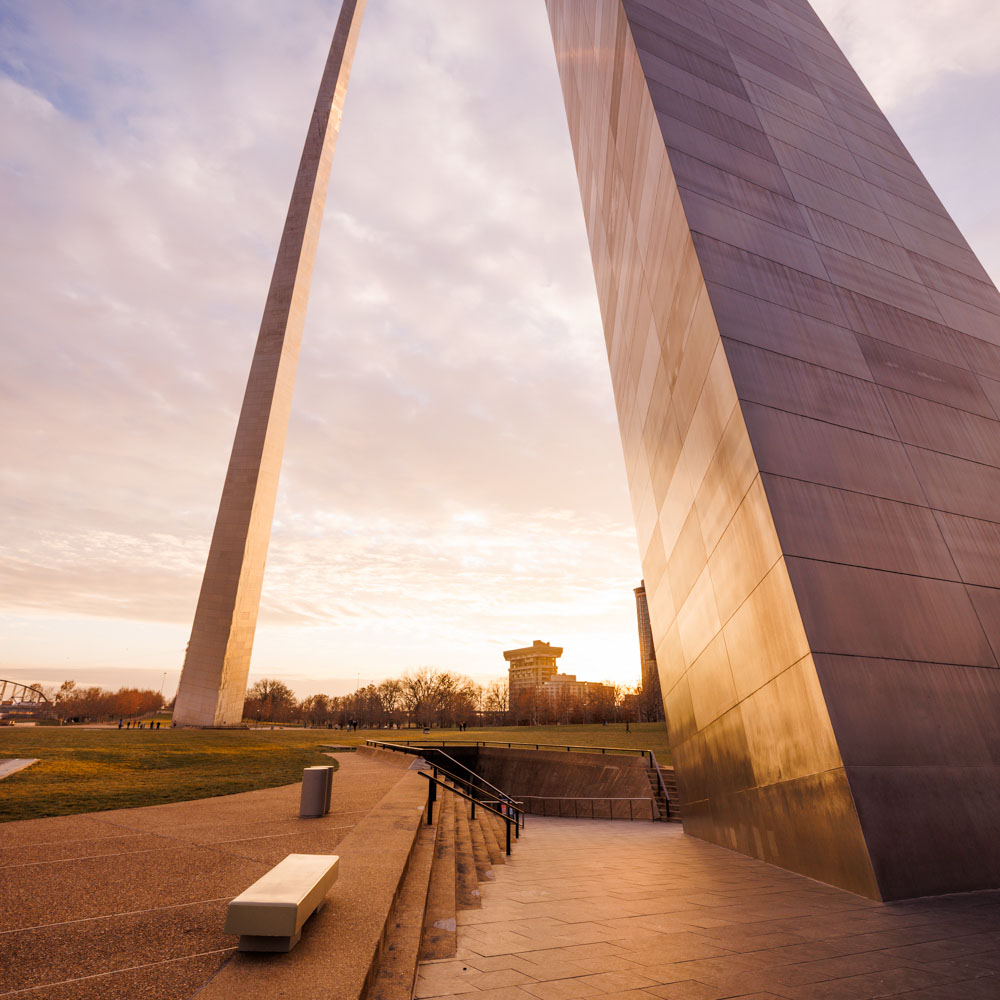
As the sun approaches the horizon it may also be partially blocked by things on the ground such as trees or bushes. You’re probably wondering how a bush is going to help you with a sunset photo. Well, it may seem like a tree or a bush has no chance of blocking the sun, but these seemingly useless objects can have a dramatic effect if used properly that will enhance your photo. The following example image that I took can help illustrate how to use elements on the ground to dim and control the sun’s light.
It may not make intuitive sense that the sun could be blocked by bushes on the ground half a mile away on the other side of a lake, but the reality is that it actually happens and it works. The sun is clearly evident, but not overwhelming the image, and it’s visibility adds context and presence to the image that wouldn’t be there if I had waited until after the sun set to take the picture. It’s not just a lesson of imagination but one of preparedness and constant attention to the details of the scene.
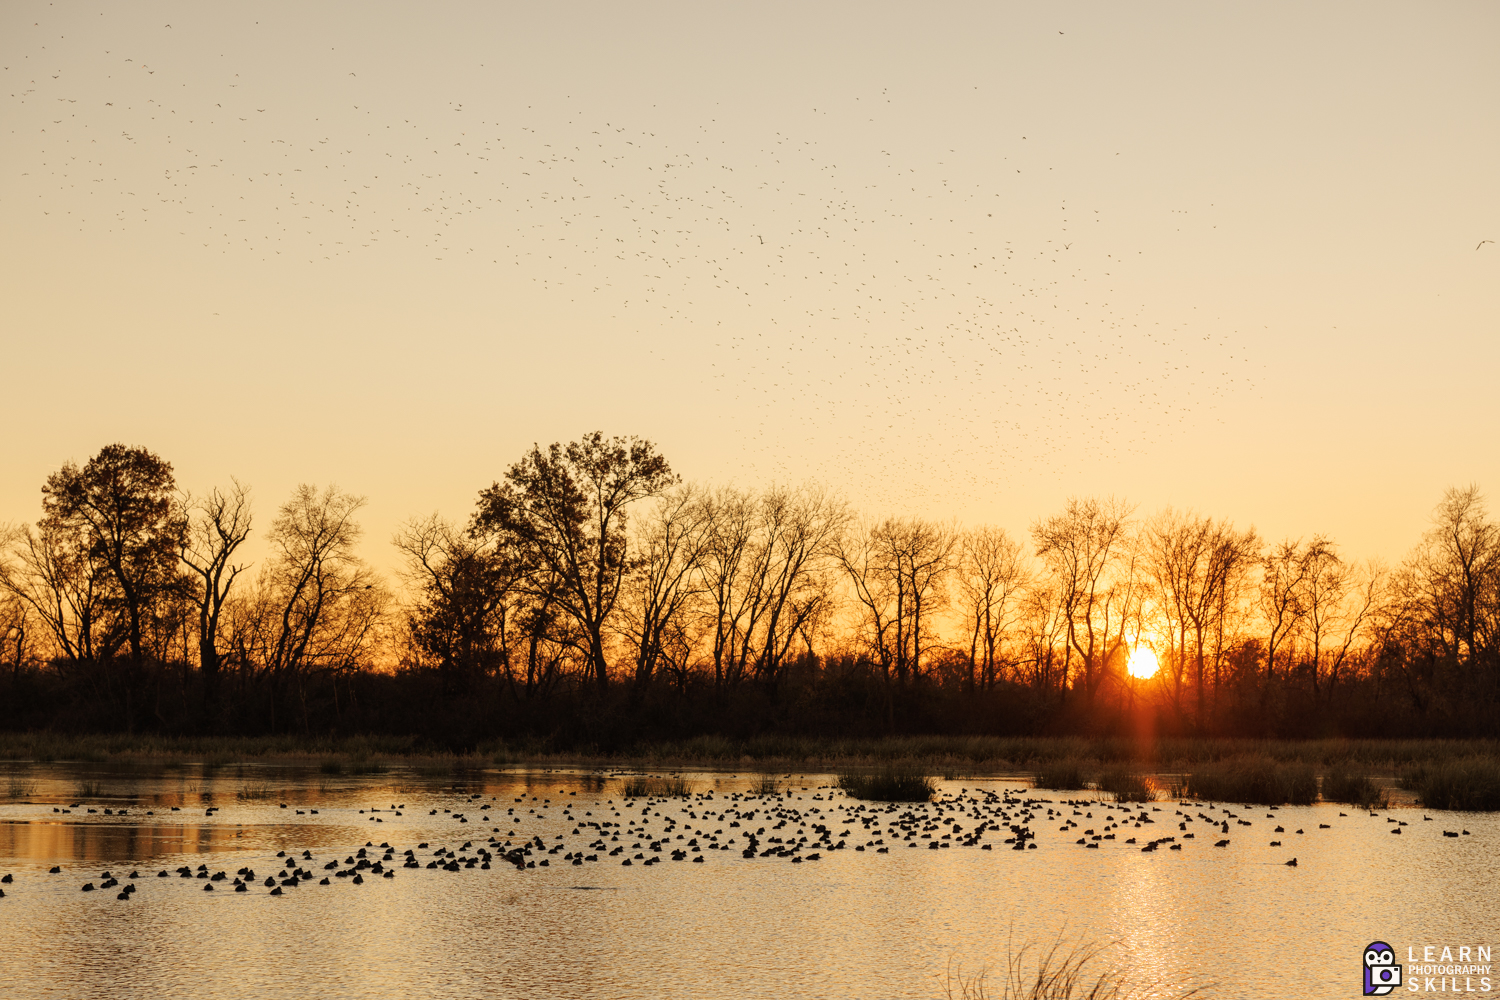
The last tip for taking sunsets is that you don’t need to be in any particularly amazing place to get awesome photos. Where I live in the USA there are often birds migrating from north to south which means they stop at nearby lakes to rest during their journeys. Looking around here you wouldn’t normally think that it is a great spot to photograph wildlife but during certain times of the year there are amazing photos that can be had within a half hour drive’s distance.
If you’re interested in getting more instruction on how to take these kinds of photos I invite you to take my manual photography course which includes weekly question and answer sessions with me that you can use to get help with anything that is causing you problems. Check it out by clicking here.