
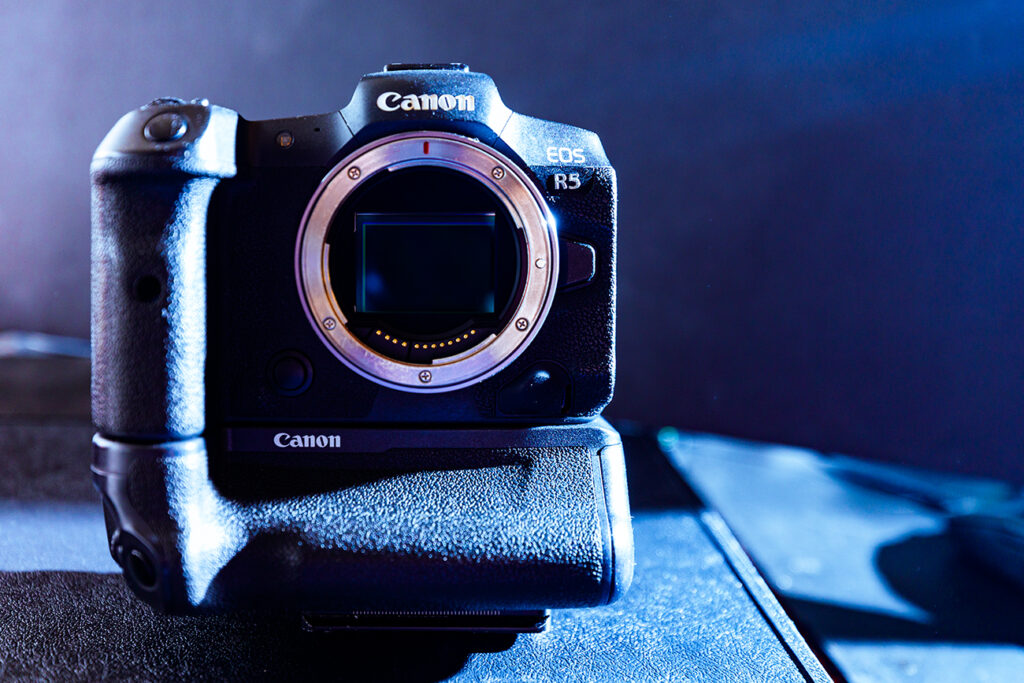
Ever wonder if you’re missing something in the myriad of settings on the R5? Here are the top 10 settings every R5 owner should know about to keep their camera running perfectly for their style of photography.
Tip #1: Set your subject tracking!
In the R5’s AF menu you’ll find all kinds of weird settings, but one of the most important is subject tracking. The R5 can be set to track people, animals, and vehicles. And when they say animals they mean all animals, insects, deer, hamsters, etc. And the same is true for vehicles, cars, trucks, helicopters, the R5 will see them all. You can take advantage of the R5’s subject tracking AF whether you’re doing portrait photography, wildlife photography, or even taking pictures at an airshow.
Tip #2: Turn off IBIS if you don’t need it to save battery.
If you aren’t shooting video or working with slow shutter speeds, you probably don’t need the IBIS on your camera to be turned on. Turning it off will help you save battery. This can be done through the camera menu or by simply flipping the “Stabilization” switch on the lens to the “Off” position.
Tip #3: Set Disp. performance to “Power saving”.
Another easy way to save battery is to set your display performance to “Power saving”. This will lower the frame rate of the display so the CPU in the camera doesn’t have to work as hard, thus saving you some precious battery power. If you’re shooting landscapes or portraits it shouldn’t impact most people too much when using the “Power saving” mode.
On the same menu you’ll see a setting called “Suppress lower frame rate”. You’ll also want to leave that unchecked to save battery power.
Tip #4: Use “Servo AF” for moving subjects.
Experienced photographers will know that they have to use Servo AF for moving subjects but not everyone does know this! If you really want the R5 to work at it’s best when it comes to tracking anything that moves, you HAVE TO USE SERVO AF!!!
Tip #5: Lower your image quality to get more on your cards.
Cards are expensive as heck these days, especially if you want a card that can record 8k RAW continuously. However, you can get away with using a slower or older card by using compression. The R5 gives 3 different levels of video compression. These are ALL-I, IPB, and IPB-LIGHT. With IPB-LIGHT you’ll be able to use a fast SD card to record 8k video.
The same is true for photography. If you’re doing sports photography or anything else where getting the shot trumps image quality, then you can speed things up substantially by switching to JPG only, and from there you can lower your JPG quality incrementally using the Large, Medium, or Small settings.
If you really want to keep RAW editing capability then Canon offers a compressed RAW option called C-RAW. C-RAW won’t reach JPG file sizes but it will more than double the burst buffer of the R5 compared to RAW.
Tip #6: Vintage lens fans rejoice, you can use IBIS with your manual lenses!
The R5 allows the user to input the focal length that the IBIS should stabilize for. This option is only available with a fully manual unchipped lens attached. Then you’ll find it on tab 7 of the camera menu under the IS (image stabilizer) menu option. It’s not as good as the stabilization with dedicated lenses, but it definitely does work for stills and video. I’ve tried it out with a few old lenses such as a 28mm and a 50mm prime lenses from the 1960’s. I was able to get sharp photos with some impressively long shutter speeds. Definitely try it out if you’re into vintage glass!
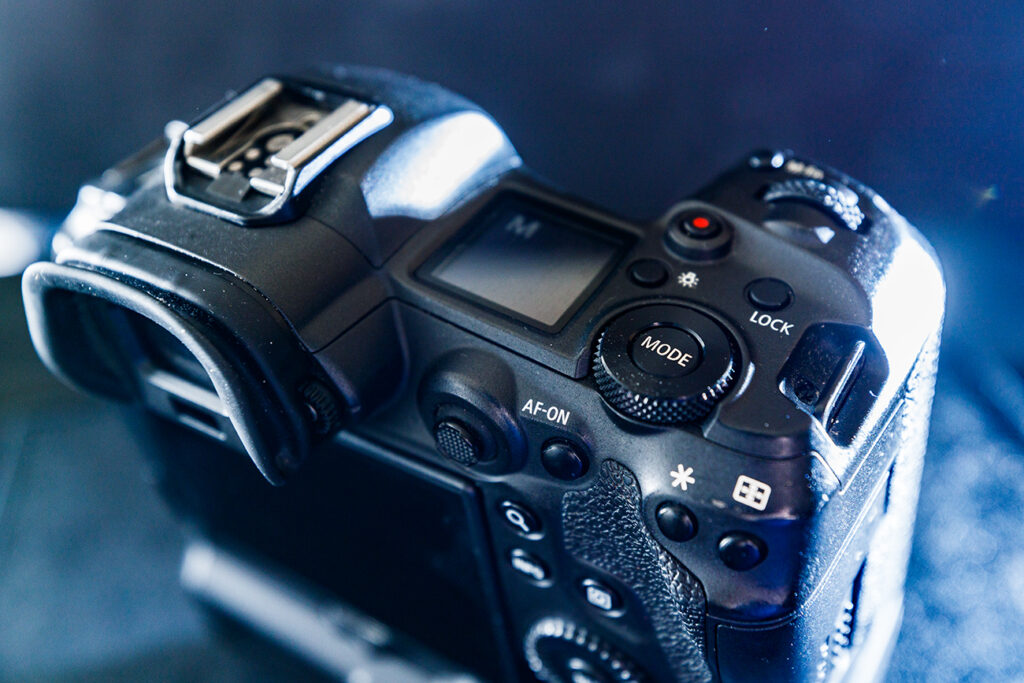
Tip #7: Customize your button layout and screens.
There are a couple things I like to do whenever I set up my R5’s buttons. First, I like to set a center press of the Joystick button to do a reset of the focus point back to center. Second, I like to set the AF-ON button to enable face detect AF. And I like to setup my playback zoom to “actual size”. This makes it super easy to check details at a glance. The last thing I like to do is tweak the different screen info options to not display certain things in order to reduce clutter. If you like to shoot with a histogram on your screen a nice option is that the size of the histogram can be switched from small to large, or vice versa. There are lots of thoughtful settings in the EOS R5 that anyone serious about using the camera should check out.
Tip #8: Experiment with different “auto” settings.
The RF cameras have the ability to do Tv priority and Av priority as most camera’s have had for some time now. They also allow photographers to control shutter speed and aperture manually while leaving the ISO controlled by the camera. This is sometimes called letting the ISO “float”. The R5 also features a new mode called “flexible priority” (Fv in the menu) which is new for RF mirrorless cameras. Fv mode is sort of like all 3 of the above combined into one mode. So instead of having to switch from Tv to Av or Auto ISO, Fv let’s you choose which setting you want manual control of on the fly. It’s basically a faster way of accessing the different priority modes but it also allows going full manual or full auto without changing your camera mode. With the advent of Fv the good ol’ P mode is kind of outdated but it is still there if you want the camera to adjust all aspects of exposure for you. The last mode the R5 has is called “Scene Intelligent Auto”. Scene intelligent auto is basically P mode on steroids. In this mode the camera will recognize the scene and adjust settings accordingly. For instance, it knows if it’s daylight or indoor lighting, and it can also recognize people’s faces. Scene intelligent auto has been around for awhile but it definitely seems upgraded in the R5.
Tip #9: Use the depth of field preview button.
Unlike the EOS R or RP, the R5 has a depth of field preview button. You can use this to check how your image will look when stopped down. It’s particularly useful if you have a lens with focus shift such as the Sigma Art 12-24mm f/4. That lens shifts the focus plane toward infinity when stopped down, this can cause objects that are close up to be pulled out of focus. In order to counteract this effect, what I do is switch my lens to manual focus and then I adjust the focus with the focus ring while holding down the depth of field preview button. This ensures I get the sharpness the lens is actually capable of delivering.
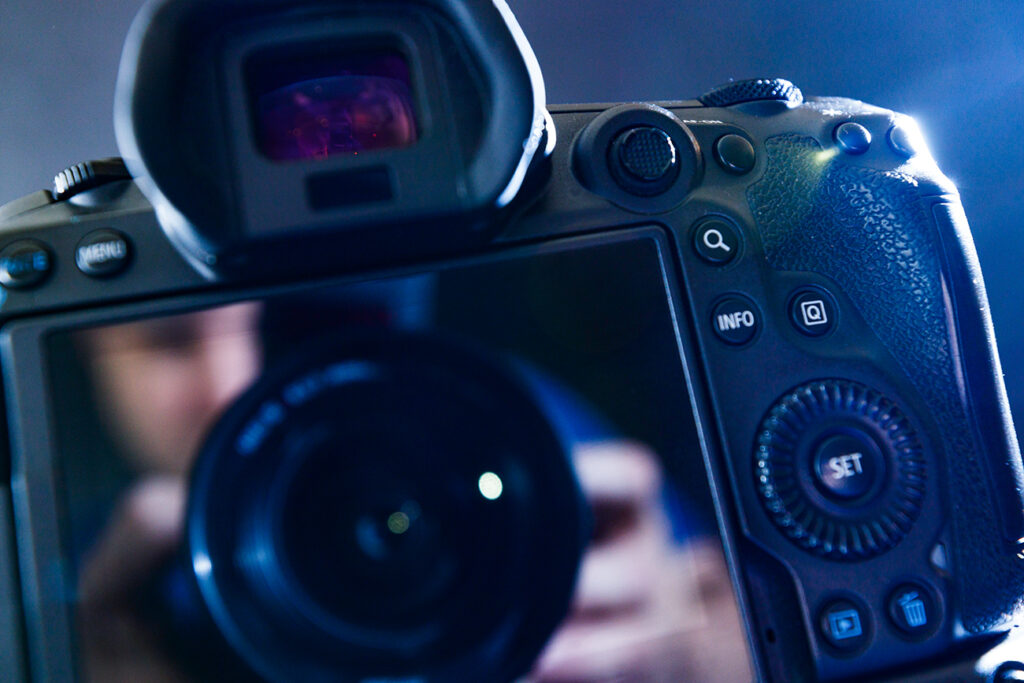
Tip #10: Don’t forget about the EVF.
As good as the rear screen is, the EVF on the R5 is even better. If you’re having trouble reviewing a shot on the rear screen due to bright light, simply review the image on the EVF. You may not think to do that if you’re accustomed to using a DSLR. Everything you would use the rear screen for normally you can now use the EVF for, from reviewing shots, to changing any and all camera settings.
1 Comment
Cheers