
With the advent of wireless technology off camera flash has become more popular than ever. Since everyone is doing it it’s now kind of a required subject in photography. In this tutorial I will guide you through the steps to getting started with off camera flash.
The equipment
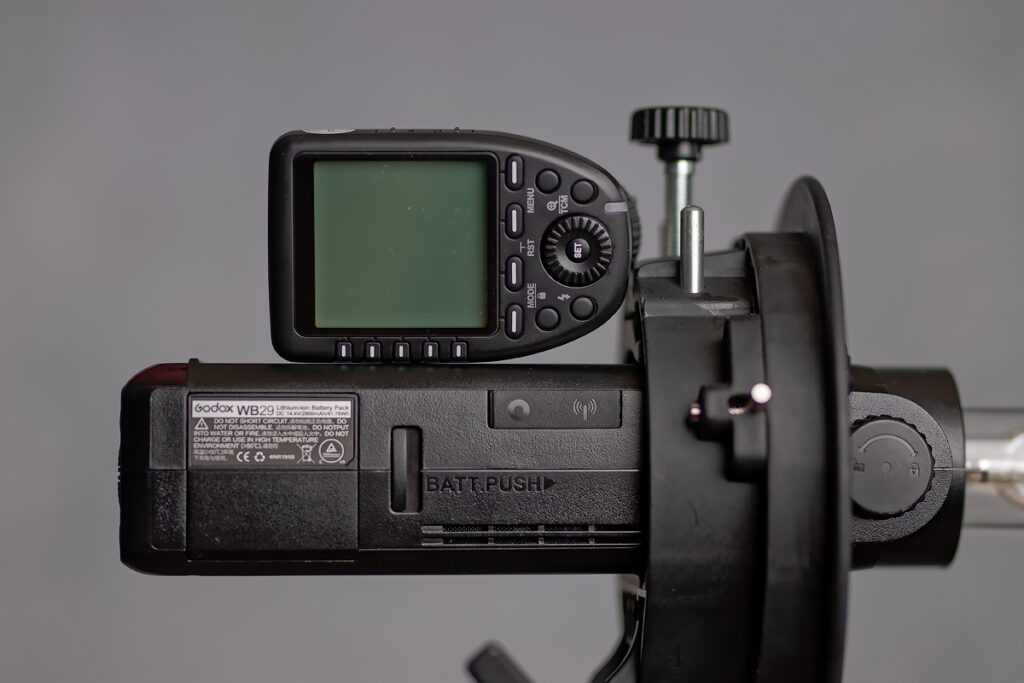
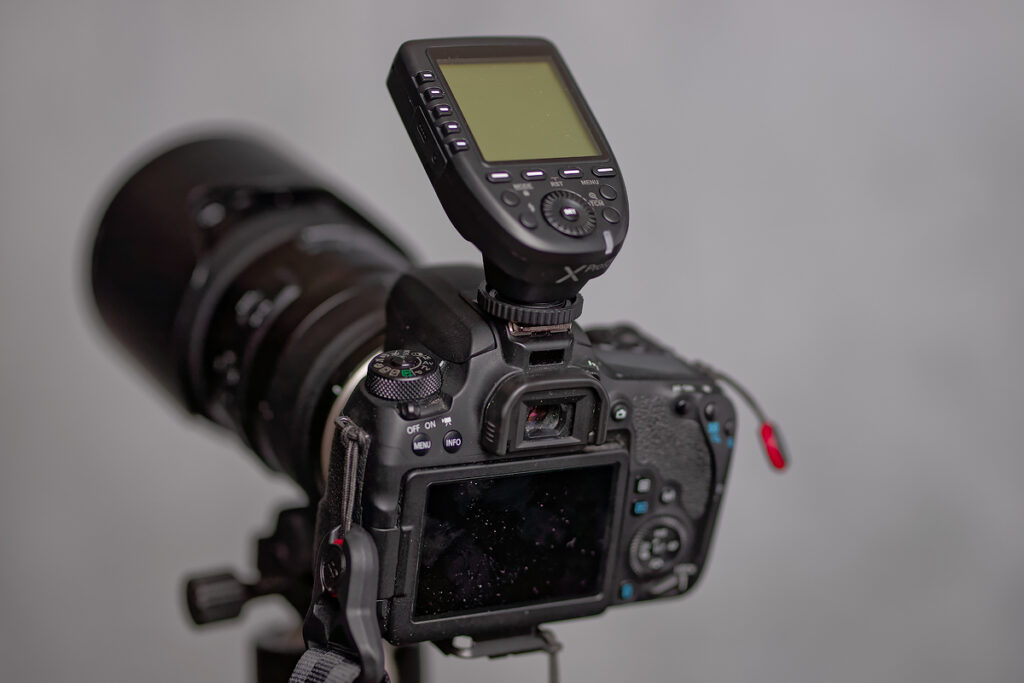
First you need to a get a wireless flash or strobe and the appropriate wireless trigger. In my case I will be using the Godox AD200 strobe and a Godox X-pro wireless transmitter for Canon cameras.
With most of the 3rd party manufacturers like Godox you need to make sure you get the wireless transmitter designated for your camera brand. If you have a Nikon camera you will need to get the Nikon version of the X-pro transmitter.
If you don’t own a Canon, Nikon, or Sony camera you may have to find a flash solution made especially for your camera brand.
In addition to the flash or strobe of your choice you’ll also want to get a light stand that is appropriate for your chosen flash.
For this tutorial I’ll be using the Godox AD 200 in an S-mount bracket on a compact Manfrotto light stand.
If you don’t know what an S-mount bracket is they’re readily available at most of the major online photography retailers.
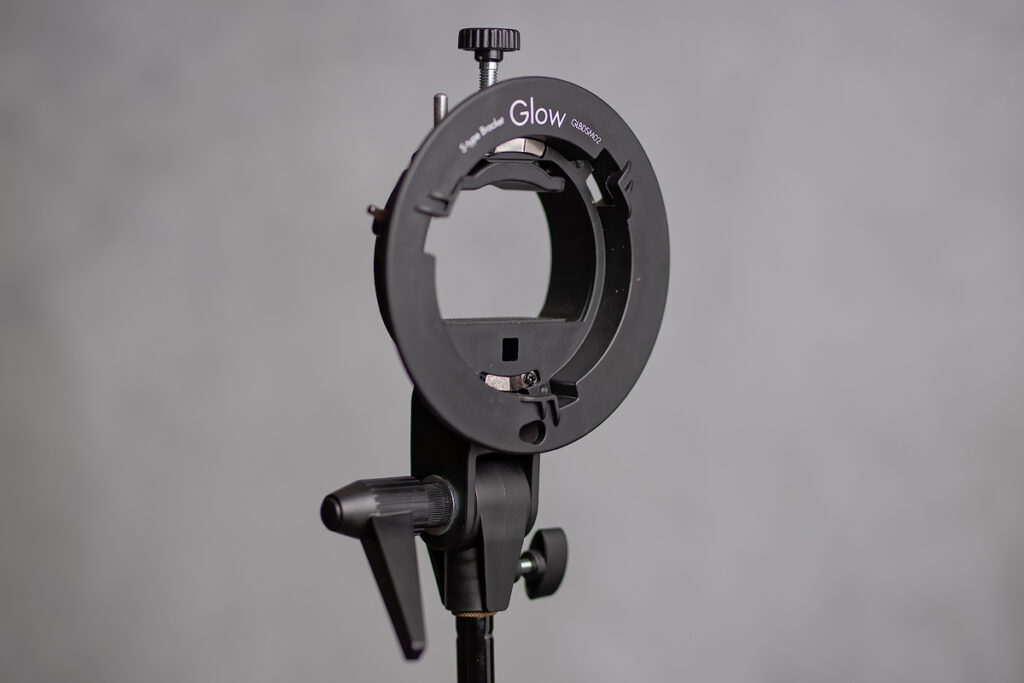
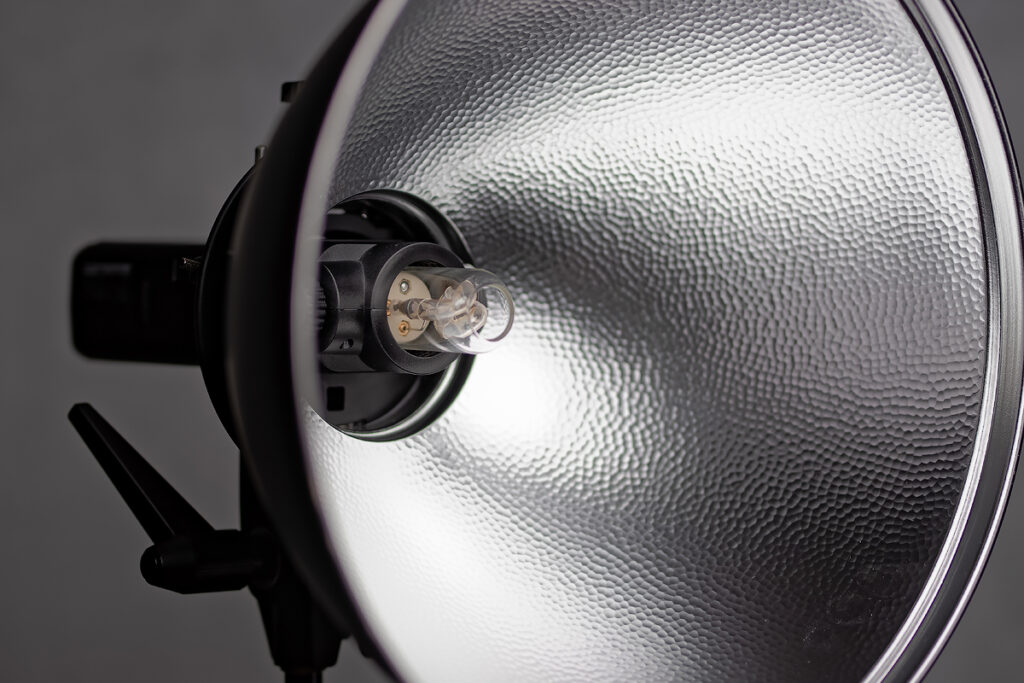
Basically, it’s just an adjustable clamp that can hold a flash like the AD200 or the Canon 600EX RT-II inside of an S-mount bracket. The S-mount also known as the bowens mount, is a standardized modifier attachment used by many companies. This bracket allows you to use Bowens S-mount modifiers like soft boxes, reflectors, and beauty dishes with a flash that otherwise couldn’t be used with those modifiers.

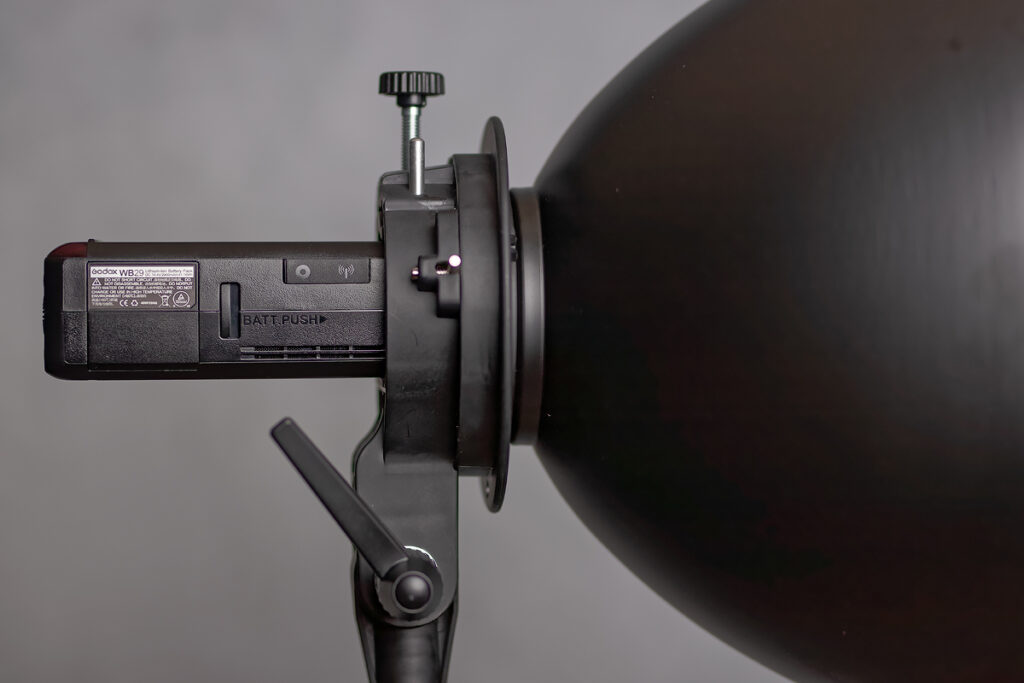
Overall, I like these flash brackets, but you must be careful how you use it with certain flashes and modifiers. Such is the case when using the AD200 with bare bulb flash head in the flash bracket with a reflector. In this case it’s necessary to adjust the position of the flash inside the bracket in order to get the light pattern correct coming out of the reflector. If you don’t position the flash properly you may get an unusual light pattern like a doughnut shape.
First use
Firing the flash for the first time is easy. Simply turn it on and select the channel you want to use. Then on your transmitter make sure you’re using the same channel. Now when you take a picture the flash should fire.
Most transmitters give you the ability to control multiple groups of flashes. With the Godox X-pro you get 5 groups, and each can have their own power settings. If I use more than one strobe, I usually set my key light on group A and any other lights on groups B, C, D, or E as needed. You don’t need to put every light on its own group either, multiple lights can be triggered on a single group if that makes sense for what you’re doing.
Some tips for using OCF
You’ll probably develop your own working approach over time so just use these tips as a starter for yourself.
The most important thing about off camera flash is the most obvious thing, now the flash can be positioned independently of yourself.
The first tip is to keep the flash closer to the subject and off angle. This does a couple things, it helps shape the light falling on the subject and it allows you to use a lower power level since the flash is closer.
Another tip is to underexpose the scene slightly when shooting with OCF. This will allow the highlights created by your flash to stand out a little more.

Photo by Shawn Kenessey
In the above photo I used a single flash, the Canon 600EX RT-II. I positioned it above and to the right of the runway where the models were walking.
On another note it’s too bad Canon does not offer a more powerful strobe to go off camera other than the 600EX RT-II.
Power output is one of the main reasons I purchased the Godox AD200. It is about as powerful as 3 600EX RT-II’s firing at once.
Using multiple flashes
If you’re shooting in a studio you will find it useful to have multiple flashes. Of course, there’s almost unlimited ways to combine lights in a studio in addition to all the different modifiers that can be used.
To start with you can try 2-3 lights in a studio setting. With 2-3 lights it is difficult to mess things up too badly.
One way to start is to have a key light, a fill light, and a background light like in the diagram below.

When you shoot with a fill you almost always want it to fire from your position, this will eliminate any cast shadows from the fill light.
A key light is so called because it is the light to which your shot is exposed. This will usually be your brightest light, at least in terms of the light hitting your subject. The goal of the key light is to highlight the shape of your subject so it will be positioned off angle relative to your shooting position. With the key light in this position you will see some of the shading as the light falls across your subject.
The fill light will typically be set to a lower power than the key light and will be positioned more straight on to the subject.
The background light is optional and can be positioned however it works best for your scene. Most of the time I put my background light down low and have it shoot up at the background.
Final thoughts
There is a lot more to be discussed on this subject which is why I am going to be creating a detailed lighting class in the near future. I think this gives you a starter that you can use to get up and running with OCF immediately.
Do you have any examples of OCF? Post them in the comments below!