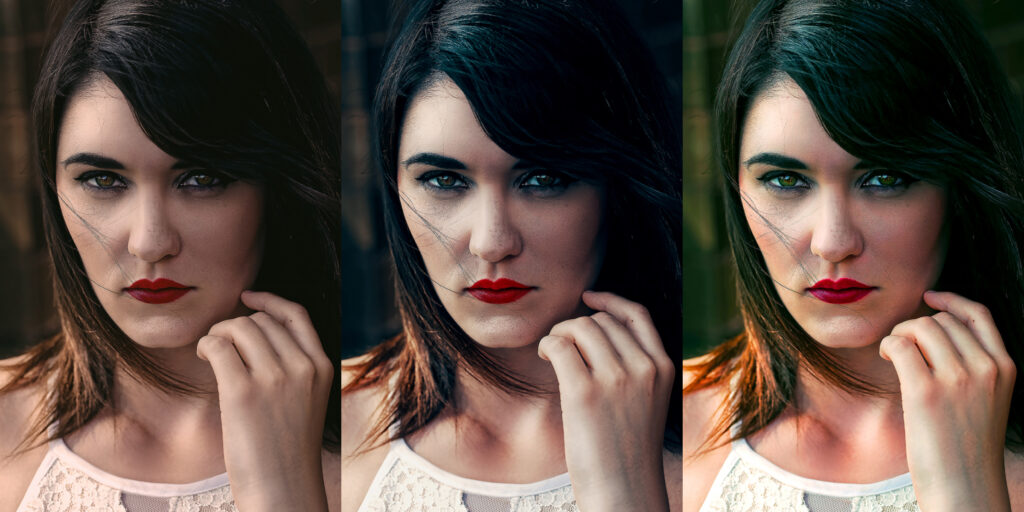
A LUT is a special image used to map one colorspace to another. LUTs are often used as editing presets in programs like Photoshop and Luminar among a variety of other video and image editing programs.
If you want to learn how to make a LUT of your own, check out my tutorial on How to make a LUT.
What’s the difference between a LUT and a preset?
As mentioned above a LUT is a special kind of image. This is why creating a LUT in Photoshop is the same process as editing an image, in essence a LUT and an image are the same thing. So while a preset is a set of adjustments that are program specific, a LUT is a special image that can be loaded into any program.
What can LUTs do?
LUTs can affect an image in only a couple specific ways. They can adjust the hue and brightness of colors. This means they can also adjust the contrast and gamma of an image. LUTs can’t make physical changes to the image, like adding, shapes, grain, or lens flares, and you can’t change a specific area of an image either.
LUTs can also do some interesting things that presets can’t do.
LUTs are an abstraction of the effects of your edits. Because of this using them is simple. It also makes them highly portable and used across a wide array of programs.
LUTs can be shared between different programs. In this way you can take your adjustments in Photoshop to another program like Premier or Luminar.
You can also use LUTs to combine the effects of multiple programs into a single effect. While this may seem redundant you may prefer how the adjustments work in one program vs another. You can also use this to save yourself a step in your workflow if need be.
Examples of LUT effects

How to make a LUT
Unfortunately making a real LUT is different from making a LUT in Photoshop. The problem with Photoshop LUTs is that they’re really just abstractions of the tools in Photoshop. In other words, you’re not getting the full power of a LUT by using Photoshop to make them. However, generating a LUT in Photoshop is still useful and super easy. To create a LUT you first need to open an image then apply corrections to the image using Adjustment Layers. It’s important that you use Adjustment Layers otherwise Photoshop won’t know how to create the LUT. Once you’re done editing simply choose File> Export> Color Lookup Tables and hit “OK”.
Use your LUT on an image
Using a LUT is even easier than creating one. To use a LUT simply add the Color Lookup adjustment layer to your image in Photoshop, then in the properties for the Color Lookup Adjustment Layer select the dropdown next to 3D LUT File and choose “Load 3D LUT”. Now just browse to the LUT you created on your hard drive, select it and your LUT will be applied to the image.
Alternatively you can place your LUT in the 3DLUTS folder inside the PRESETS folder of your Adobe Photoshop directory. You will need to restart Photoshop to load the LUT using this method.
Places you can get LUTs
You can find LUTs online from a variety of locations, and you can make your own.
Final thoughts
I’ve definitely become a fan of LUTs. They’re powerful and are really all you need to have a successful color grade of your video or still photography. Do you use LUTs in your workflow? Let us know in the comments below!

