PTGUI is a panorama stitching software that will create a variety of different kinds of panoramas and projections. The software is available to try for free but a full version currently starts at $149. The “pro” version costs a bit more at $305. You can view a comparison of the two programs here: PTGUI Standard vs Pro.
It’s a high price in today’s world of free everything, but if you love panoramas this is the program for you.
PTGUI is fast
One of the best things about PTGUI is that it is fast. The Panorama stitcher in Lightroom was really slow for a long time, and it has been improved (or my computer has improved?) over the years and is now “passable” for most kinds of panoramas. But when it comes to extremely large Panoramas PTGUI is still my preferred solution. It is a lot faster than Lightroom or Photoshop (Photomerge) at creating large panoramas and seems to use a lot less memory in the process. You generally won’t have to stop using your computer because of excessive resource use. PTGUI is efficient and lets you keep multi-tasking if you need to.
Photospheres, projections, collages, HDR, & more.
PTGUI will let you make just about any kind of panorama you would want to make for scientific or educational purposes. It offers a range of different projection types, a few are shown below:
Rectilinear
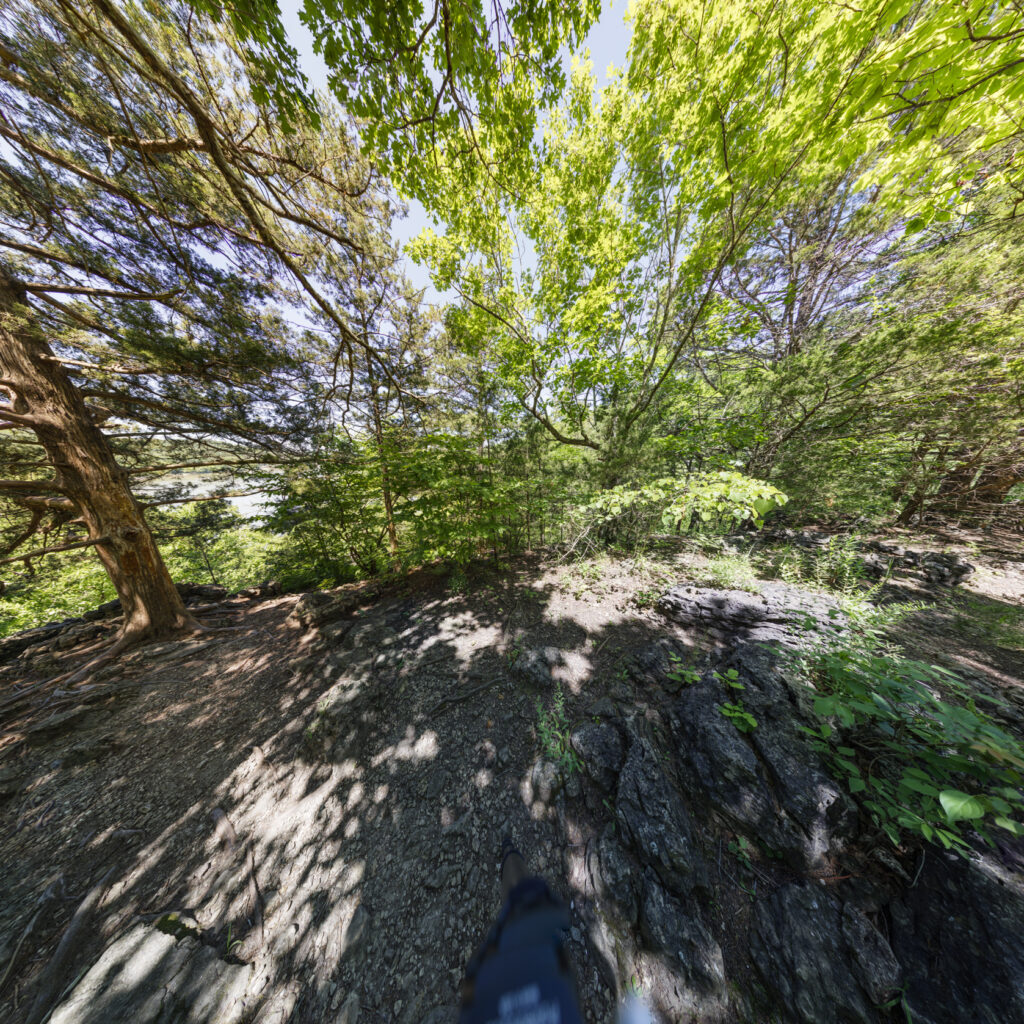
Cylindrical
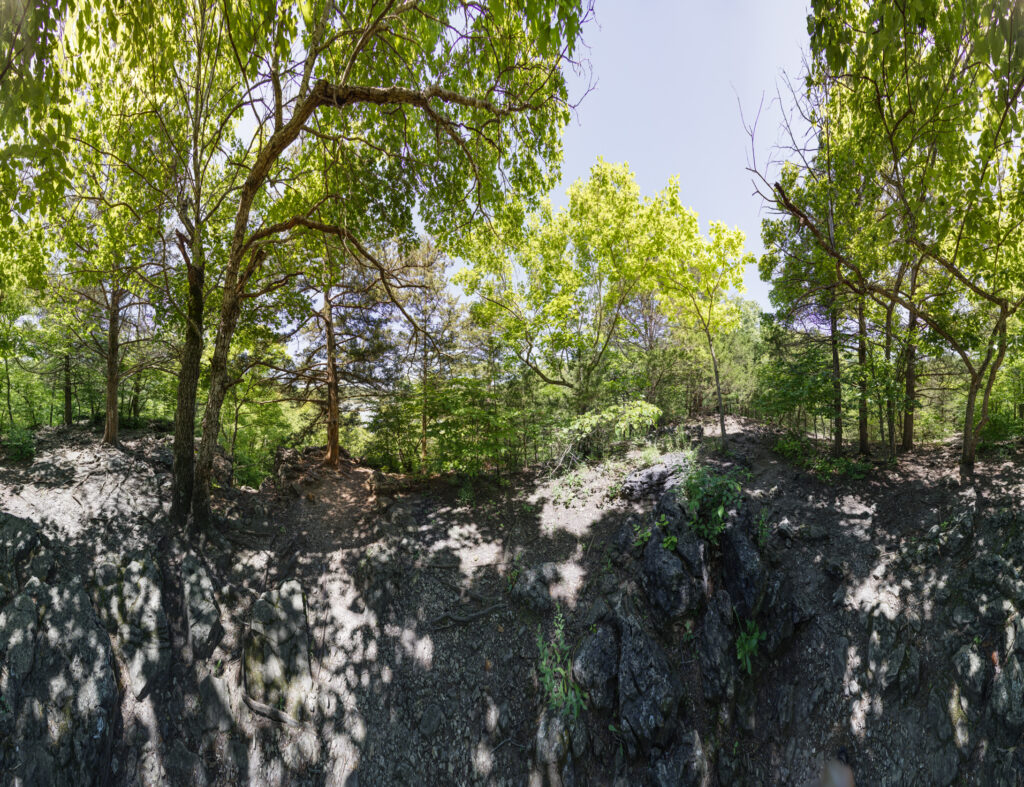
Equirectangular
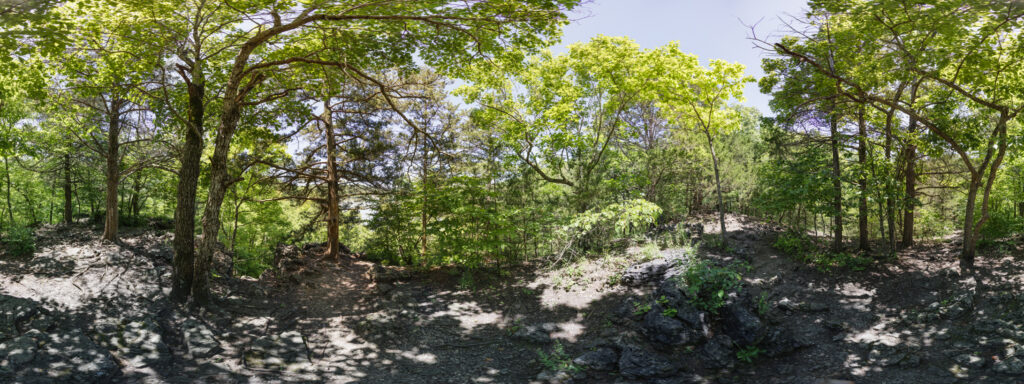
Circular Fisheye
(Ignore the black circle that is my fault for not getting high enough on the top row.)
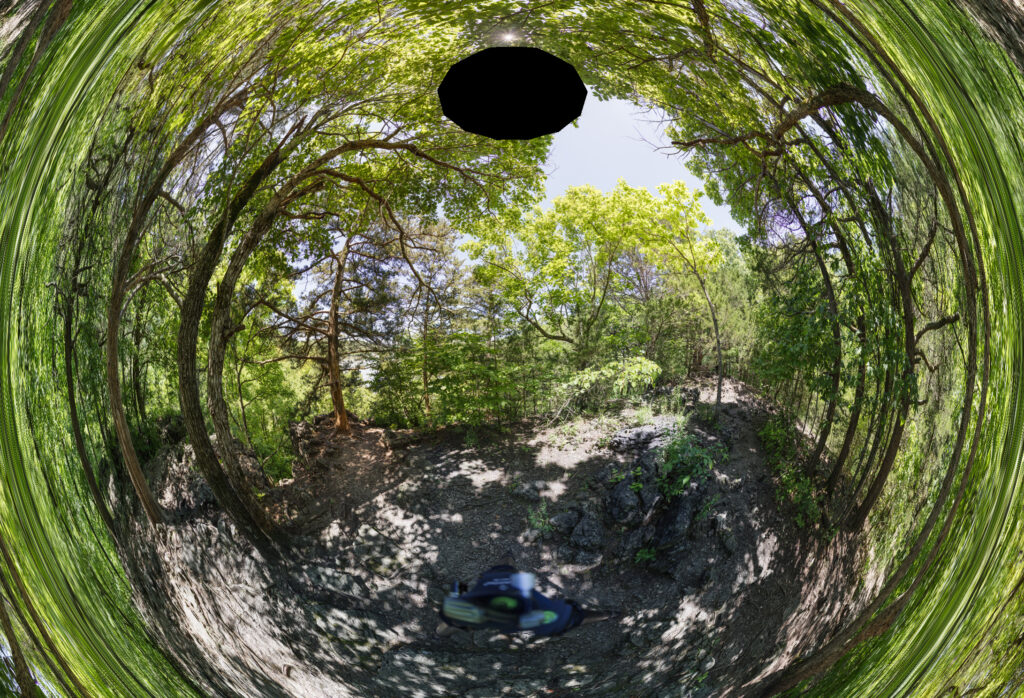
Stereographic
(Ignore the black circle that is my fault for not getting high enough on the top row.)
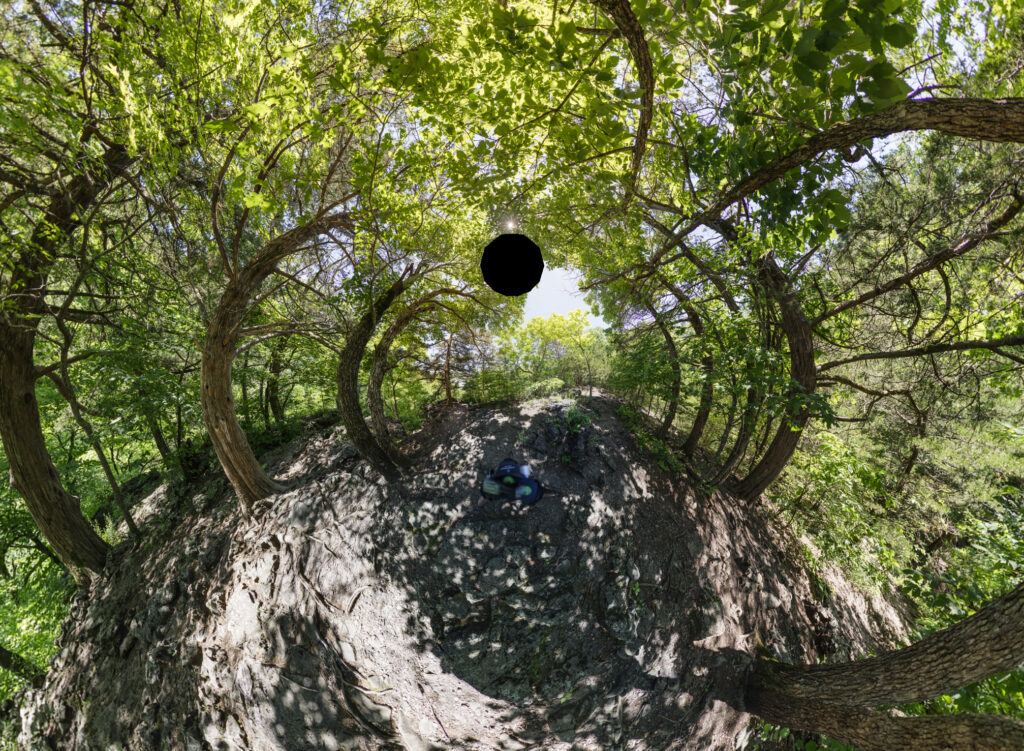
Mercator
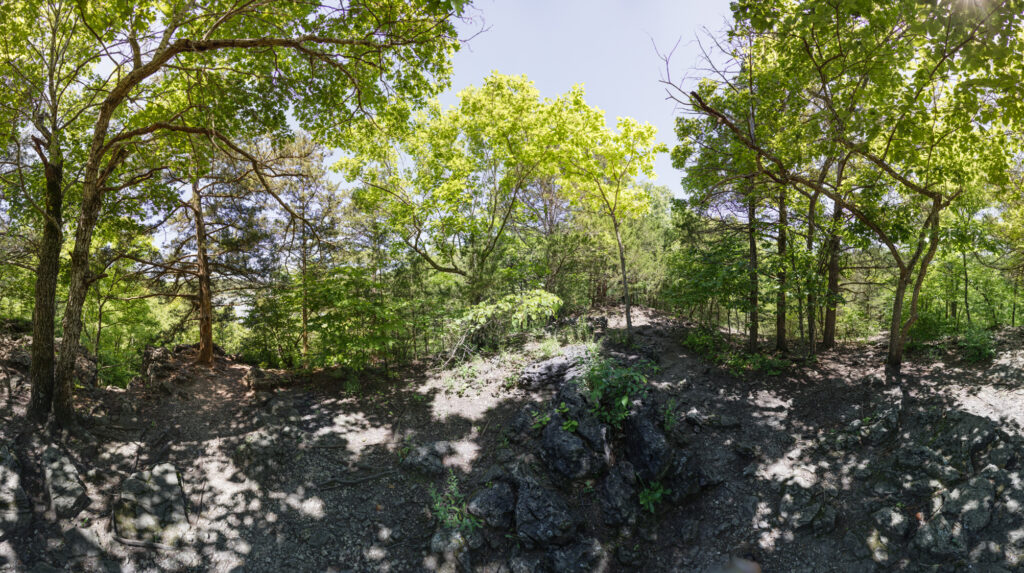
Transverse Cylindrical
(Ignore the black circle that is my fault for not getting high enough on the top row.)
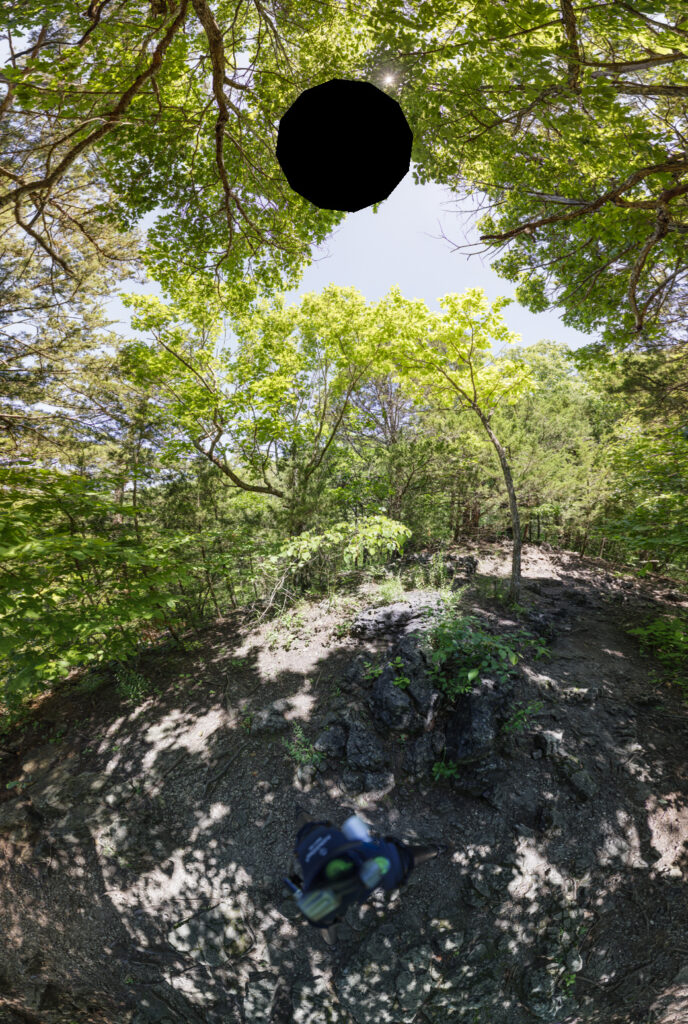
Spherical
Little Planet
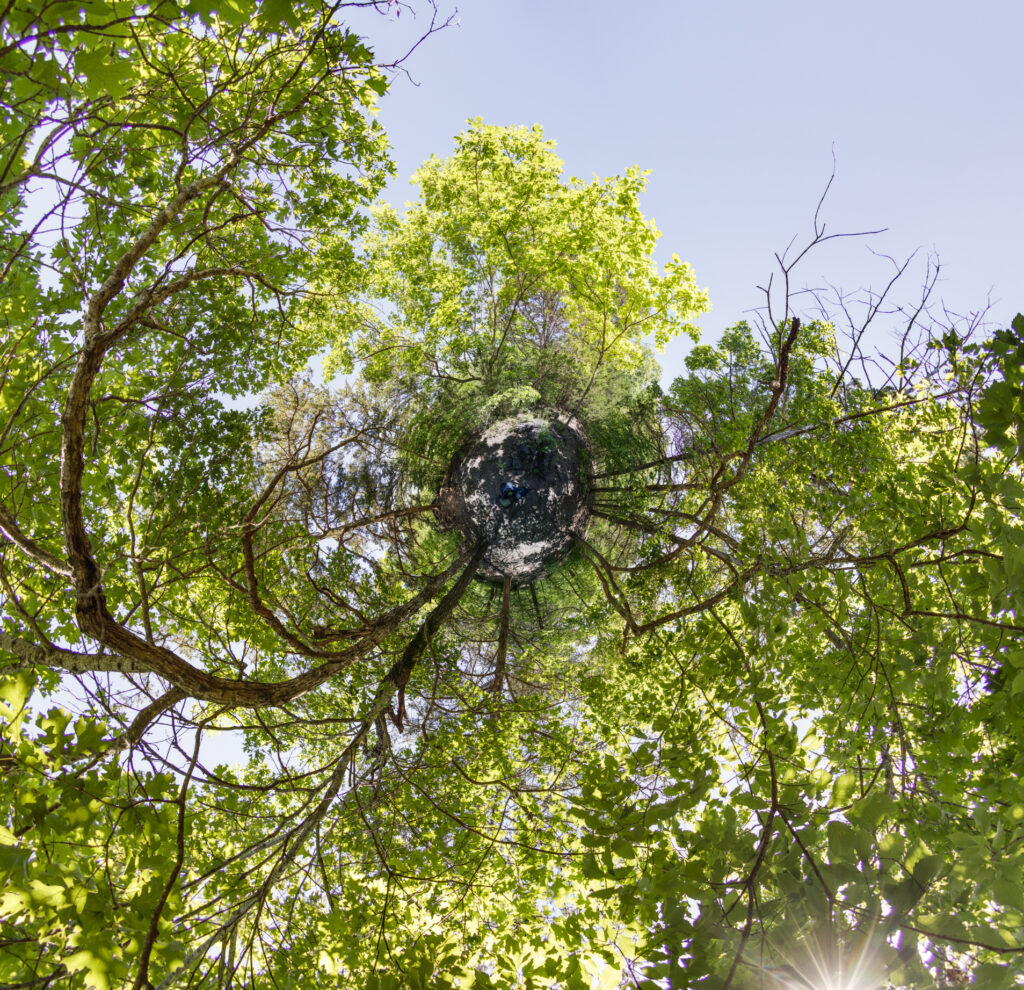
As you can see there are lots of creative possibilities for creating unique images with PTGUI.
True HDR Exports
PTGUI supports true HDR exports and basic tone mapping for true HDR files. If you aren’t familiar with true HDR it is a method of localized dimming of the rear LED back lighting in compatible computer monitors and devices.
PTGUI’s true HDR exports produce specialized files that contain information in them for controlling the backlighting in HDR screens. Unfortunately, a specialized screen is required to really see the effects, and while many new devices now support HDR, its still relatively uncommon in the grand scheme of things.
As of writing PTGUI is fairly unique in offering true HDR output. On Windows both Lightroom and Photoshop lack true HDR file editing or exporting. However, on Photoshop for Mac, Adobe Camera Raw has a beta version of true HDR exporting.
PTGUI also has a basic method of HDR editing called exposure fusion. It’s confusing terminology but this is HDR that isn’t true HDR. With this type of HDR the result is compression of tones in a bitmap such as a JPG. It is not a true HDR image because while these files show more highlights and shadows than a typical image (thus why they’re called HDR), these images lack the information that tells a true HDR screen’s back lighting how to locally dim or brighten.
While PTGUI’s tools are sufficient for basic HDR work, I find that editing in Photoshop is still required to get the perfect balance of highlights and shadows in my HDR images.
Automatic Multi-Exposure HDR Merging
PTGUI will recognize multi-exposure HDR image sets within a broader set of images and automatically merge them before creating a panorama. You can then tone the resulting HDR panorama using true HDR tone mapping or psuedo HDR (LDR) exposure fusion tools. PTGUI does not provide any other image editing tools such as saturation control or fine control over highlights or shadows. For this reason I don’t try to get the image to a finished state in PTGUI. Instead I just try to make sure the highlights and shadows aren’t too far gone before exporting to a 16 bit TIFF. Then I make the final adjustments to the exported file in Photoshop.
Masking
One of the must have features of PTGUI is the masking. Masking allows me to choose which image I want to show through where images are overlapping. This is especially useful if I need to change my focus point when shooting the panorama. If I’m shooting a photosphere it’s typical that I’ll want everything in focus, from the ground under the tripod, all the way out the horizon. Doing this often requires focus stacking. Using the masking in PTGUI I can manually focus stack the bottom row into the top row by selecting what areas of the image I want to show through and creating a blended area where the focus transition happens.
Another great use of masking is removing lens flares or other lens issues. As the camera is being rotated from shot to shot, sometimes flares will popup in one shot, then disappear in another. The masking feature lets me mask out the flares by allowing the image with no flares in it to show through in the final stitched panorama.
Masking can also be a savior in situations where there is a sudden gust of wind while you’re shooting your panorama. This is one reason why I like to shoot with lots of overlap when I create my panoramas as each overlap gives you an opportunity for masking out images that might have bad alignment of branches or other objects to reveal an image that has better alignment. It might be a situation where you have to settle for “close enough”, but the perfect fix can be attained with some Photoshop work if necessary.
The image below shows the masking process:
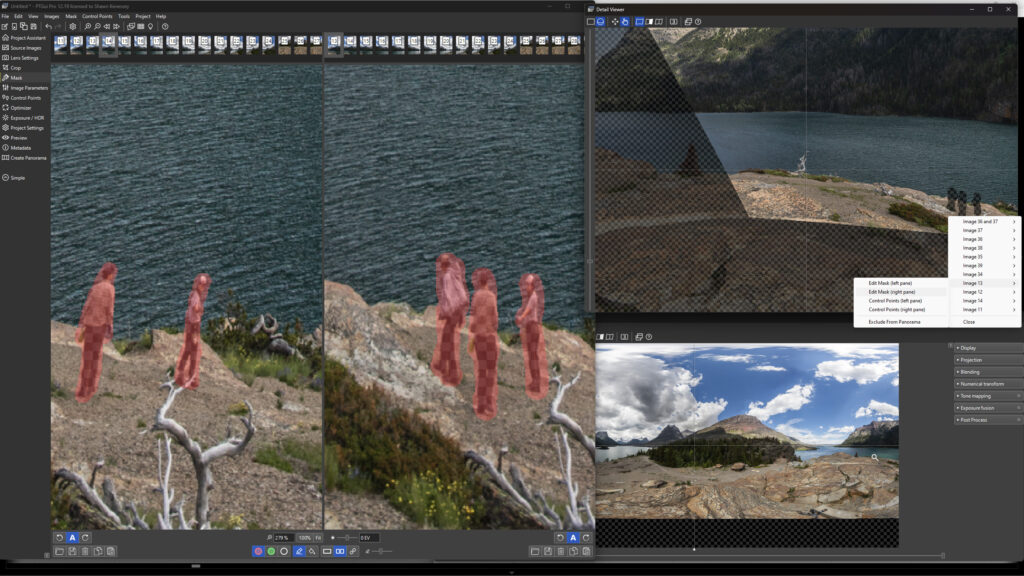
And the finished panorama with about 8 individual people removed using the masking process:
Masking out things like people usually works well because they move around from shot to shot which means overlapping images will fill in the blanks left by the masks.
Pro Tip: If you preview your panorama in a separate window before you begin masking, you’ll be able to see the results of your masking efforts in the preview window as you make changes. I also use the magnifying window to see a 100% pixel view of the masked area I am working on.
Essential Features
PTGUI supports a wide variety of file types. It can directly load CR3 files from the Canon EOS R5 and RAWs from many other brands, as well as JPG, PNG, TIFF, and PSD files.
It can save into a variety of formats including JPG, TIFF, PSD, Quicktime VR, and PSB files. PSB is the large document version of PSD which allows users to save files larger than 2GB. PSB is a necessity when creating gigapixel images.
There is support for a few common color spaces like sRGB, AdobeRGB, ProPhotoRGB, & WideGamut RGB as well as the ability to load your own color space via an ICC file. Finally, it allows exporting a true HDR for display on HDR capable monitors and devices.
Other Features
If you have Photoshop or Lightroom and export from there first, many of these other features are kind of unnecessary. PTGUI provides controls for people using custom or manual lenses, or a lens from an unlisted manufacturer such as an industrial optic. With PTGUI you get controls to set precise distortion and vignette correction parameters if you know those parameters for your lens. And it will let you set the focal length and sensor size to use in its calculations.
PTGUI works very well 99% of the time at lining up the images for the panorama, but it does have limitations. The main limitation seems to be contrast. I’ve had trouble getting the program to automatically lineup panoramas of clouds or very flat distant horizons shot in low light. Most stitching applications have this problem though but they lack a convenient solution. PTGUI solves for these scenarios by letting users manually set the control points where necessary to create a properly aligned panorama. It is a tedious process but it is provided if absolutely necessary, and checking the results of your efforts is fast and easy.
As long as there are discernable objects with unique shapes that connect each image to the next, such as trees, hills, buildings, etc., PTGUI will usually automatically align and composite the images with no issues.
Downsides of PTGUI
PTGUI does a lot but is it missing anything in particular? First and foremost it gives up one really cool feature to Lightroom, and that is the Boundary Warp function. Boundary Warp carefully warps the image to fit a perfect rectangle instead of forcing you to crop out the uncaptured edges of the panorama. It’s not 100% necessary but I prefer this over cropping a lot of the time. It’s also a great way to fix your panorama if it wasn’t shot perfectly level or it was shot handheld. Boundary warp is not the highly technical mathematical projection but it is aesthetically pleasing.
PTGUI is generally reliable, but some of the features like the HDR blending options are finnicky. I’m not going to say it is right or wrong, I just know I often don’t like what I get when I use PTGUI’s HDR function even though I do have an HDR capable monitor.
PTGUI also has some compatibility issues with certain programs like Photoshop and Lightroom. I’ve noticed that on occasion PTGUI will slow to a crawl while stitching unless I close Photoshop and Lightroom.
The last issue with PTGUI is the organization of the UI. There are tabs that I really don’t even know what I’m supposed to do with or what problem working with those features would solve. The arrangement of the UI implies that users might want to do something in each tab before finishing a panorama but that is far from the truth. In fact, I often only click 3 buttons in 2 of the 13 total tabs of functionality when making a basic panorama. The other 2 tabs I make use of are the HDR tab and the Masking tab.
Rating
Despite the downsides the core functionality gets the job done most of the time and even ignoring half the options, PTGUI still has features other programs don’t have and probably never will have. The masking alone is a great feature to have for large and complex panoramas.
Even if you’re not “scientific” with your work, perhaps you’re an explorer who is just interested in creating photospheres or gigapixel images to share with friends and followers, PTGUI is still a great program to try out and experiment with due to the speed and simplicity (if you ignore most of the options).
PTGUI gets a Bronze rating of 3.5 out of 5.
Highlights:
Super fast, efficient panorama stitching of multi GB panorama files.
Supports major camera company RAW files and usually corrects the images pretty well with no editing in PS or LR.
Masking feature makes it easy to manually edit your panorama and see updates in real time.
Lowlights:
Cluttered user interface will confuse beginners.
Lots of features for corner cases many people will never use.
HDR implementation seems unfinished.
Conclusion
PTGUI is a useful program if not a perfect program. It’s also an interesting program to experiment with. There is so much here to use that beginners should make an effort to simply avoid ever looking at or trying to understand most of the program until they’ve grown accustomed to the basics. But despite the extensive feature set, the software is still a couple key features away from being a genuine alternative to Photoshop or Lightroom in a more general sense. PTGUI ends up being a must have accessory for anyone who is serious about panoramas as there are often still things that Photoshop can be useful for in panorama creation.


1 Comment
PTGUI is the Gold standard in stitching software if you do this for a living. I have been using it for many years and the developer fixes any bugs in new releases literally as soon as he is made aware of them.
It is an insanely powerful piece of software that does take time to learn but when you become competent with it you will be stitching even badly shot panos that any other software just struggles with.