Some people see graffiti as a plague, and it kind of is in some areas. It’s usually the worst areas of town where graffiti occurs, and many types of graffiti aren’t artistic in intent but territorial in nature. It’s often gangs that create graffiti “tags” as they’re called and spray them all over their neighborhood, not just on abandoned buildings.
However, there are some positive and creative graffiti artists out there who have more sense than to spray paint the local post office. They usually only spray graffiti where it is explicitly allowed or on abandoned buildings where nobody really goes anyway. And lets be honest, if you’re a graffiti artist with actual talent and ability you’re not going to want to put your work somewhere that it will simply be covered up and washed away in a few days or weeks.
One of the best places to do graffiti in the USA is at the so called Graffiti Wall in downtown St. Louis MO. St. Louis is well known for a few things good and bad. Among those are the largest freestanding arch in the world, and being consistently ranked as one of America’s most dangerous cities. Thankfully, the Graffiti wall isn’t in the most dangerous part of town, mainly because nobody works or lives in the area. The Graffiti Wall wasn’t built for Graffiti of course, it’s actually a 2 mile long wall that is there to prevent flooding when the Mississippi river gets too full. Since it is a continuous 2 mile wall that is 15 feet high, it is a near perfect place for graffiti artists to challenge themselves with a large mural.
Graffiti can be a really interesting set piece for a photo shoot. If you were going to go hire someone to paint something like this it would probably cost a few hundred dollars at least. If you’re lucky enough to have a spot like this near you it is a chance to get totally unique photos that you’d never see anywhere else.
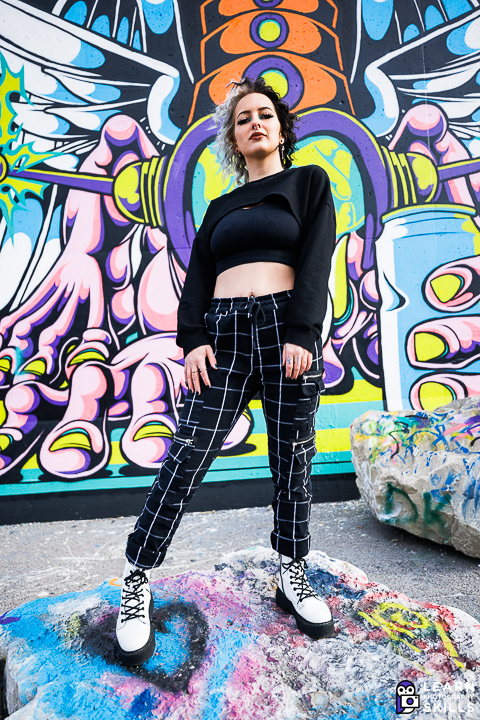
Even though I had intended to use a telephoto for most of my photos, once I started working I realized that the wide angle would be better for this location.

Some people will want to use a prime lens, but I prefer a zoom for many reasons. I don’t mind having the background more visible due to the smaller aperture, and I really want the ability to punch in and capture the same pose or look with a different focal length. Being able to use the 16-35mm to zoom in to 30-35mm allows me to get a better variety of images without having to pause and change lenses. On this day it was kind of chilly so working quickly was also important to the outcome of the photoshoot.
While it might be nice to have an even wider zoom range such as 24-105mm, it’s limited to 24mm on the wide end. Going a little wider makes the image more fun in my opinion. The main benefit of the 16-35mm’s zoom range is that at 35mm there isn’t a lot of perspective distortion. At the very least it makes it possible to capture both dynamic wide-angle shots and cleaner less distorted shots in one lens.

Using the 28-70mm I had a different idea to take advantage of the 28-70’s lower distortion and flatter field of focus. A 28-70mm type lens is good for this type of illustrative photography. It doesn’t have the wow factor of the ultra-wide but it’s also a lot more natural looking. Many people prefer the normal field of view provided by the 28-70mm lens.
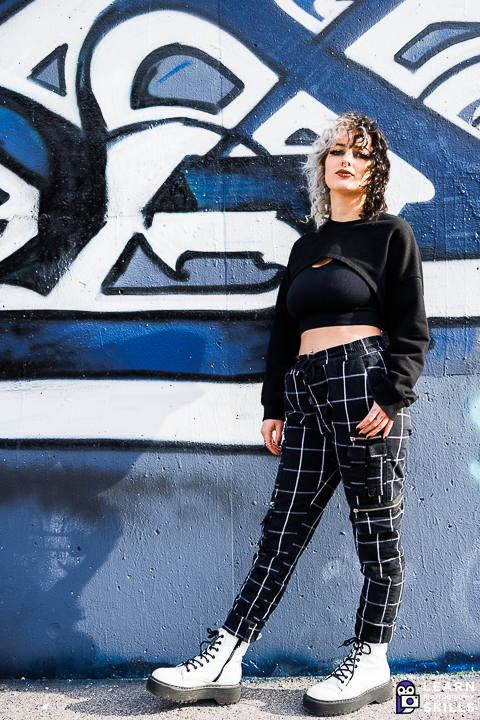
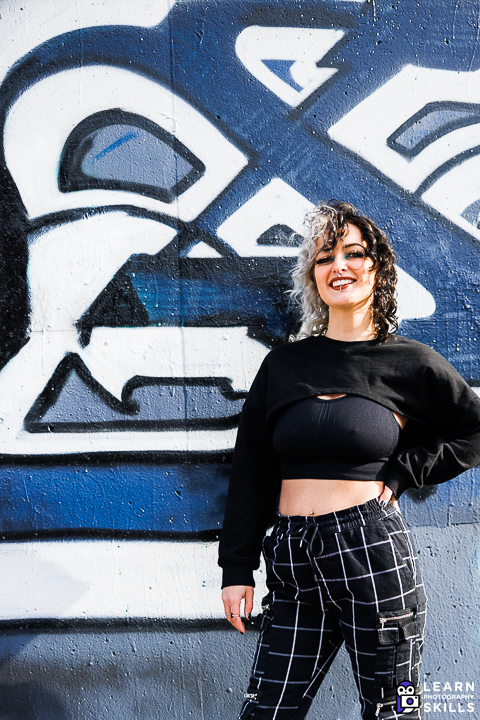
With the 28-70mm it’s possible to get more traditional portrait framing. 70mm @ f/2.0 can also deliver nice out of focus backgrounds. If I had to choose one lens of all the lenses to get for this kind of photography it would be the 28-70mm, if you were shooting for a client these are the focal lengths with the least likelihood of a “what did you do” moment.
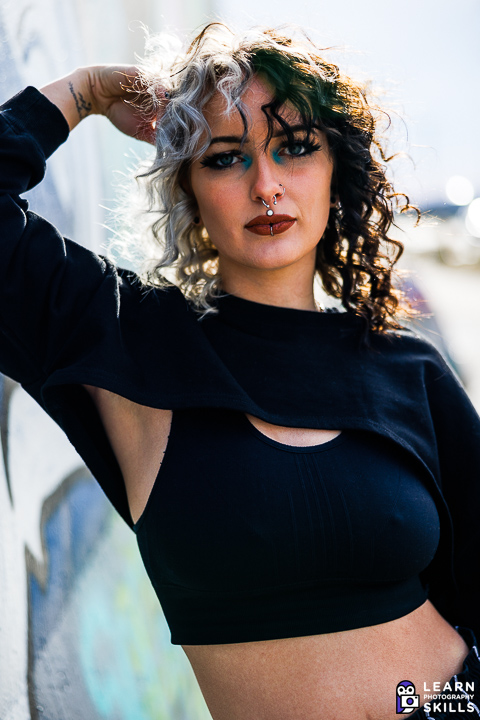
Another advantage to think about when using zooms in situations like these is keeping dust out of the camera. It was pretty windy out and when the wind kicks up dust can start flying around, potentially getting into the camera. Changing lenses in outdoor conditions just isn’t something you want to have to worry about on top of everything else you have to think about as a photographer.
I took my camera camping once and barely changed lenses at all. When I was photographing one day I noticed weird shadowy lines in the pictures. It looked kind of like dust but not quite due to the fact that it was lines going across the whole frame. I opened up the camera and the tiniest spider I’d ever seen was literally building a web across the sensor frame. Thankfully the web was not directly on the sensor!
If one had too they could probably do this type of photoshoot with a 24-70mm alone. The wide shots wouldn’t quite have that youthful energy, but there’s no denying that the 24-70mm focal is probably favored by commercial industries that use this type of photography. Unless specifically asked for, most of the time wide angle shots will be passed over.
Now that we’ve covered how to use the first two parts of the “trinity” lenses we can talk about telephoto. Typically a 70-200mm is the lens used but how you get there really doesn’t matter. A 70-300mm could work or even a 100-400mm could work. The 70-200mm f/2.8 has the ability to add a different kind of drama to images, one that showcases foreground and background relationships through the increase in compression and a strong ability to throw backgrounds out of focus when wanted.
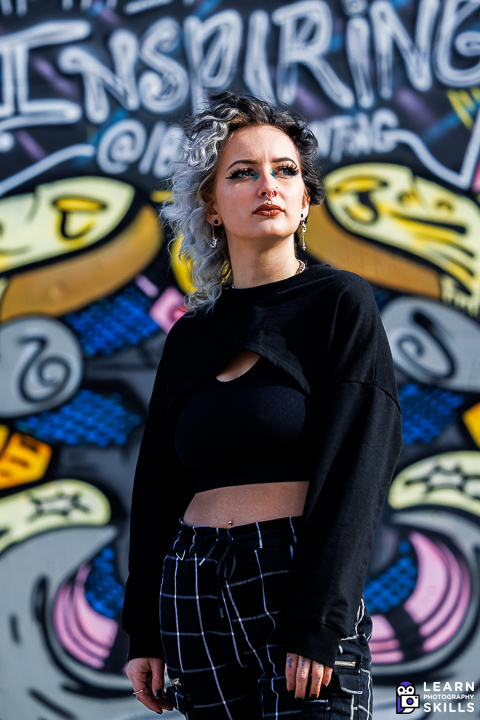
The visual effect of compression brings this background up into the frame. The effect is interesting and creates a strong offset between subject and background through the lack of perspective and the increase in background blur. This effect is noticeable to the eye because compression creates the illusion that backgrounds are closer to the subject than they really are. This somewhat unnatural subject background relationship gives the image a sense of being created as opposed to simply being the product of walking around taking pictures randomly.
This is an example of when having some technical knowledge can lead to intentional, repeatable photos at a given location. If you’d like to know more about telephoto compression click here.
The telephoto can also take just about any big space and make it into a visually interesting backdrop. And it can hardly be overstated just how much background blur telephoto lenses are capable of creating. In this shot taken at f/6.3, the amount of background blur is still big enough to turn what is nothing but a dirt road in an industrial park into a colorful receding space that adds depth and a sense of place to the image.

Shooting in urban spaces is sometimes about hiding the unpleasant realities of the urban environment. Canon does make some super fast lenses that can match the 70-200mm f/2.8 for strength of background blur, but when it comes to the combination of performance and convenience a zoom is often the best option.
The one takeaway from this photoshoot I have is that urban areas and graffiti can be a free and easily accessible option for awesome photos. There’s definitely a mood and style to the graffiti wall, that when combined with the right subject, can lead to great results!
Thanks to Sera who had a great outfit and look for this photoshoot! Check out Sera on Instagram @serareann.
And thanks to Kate Boelhauf @kateandacamera for her photos taken with the RF 24-240mm f/4- f/6.3 and her help during the shoot.

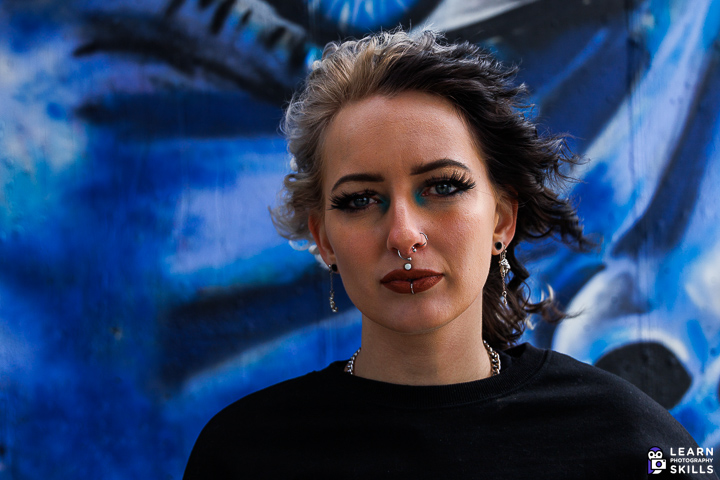
I didn’t catch the blues in this image showing the blue eye on the background and our model’s blue eyes. Good find Kate!

