Have you ever seen those magical looking waterfall photos where the water looks so smooth and misty? In this post I will show you exactly what you need, what settings to use, and some tips and tricks for getting your own magically blurred waterfall photos.
The first thing you will need to take a magical blurry waterfall is…. a magical waterfall!! Waterfalls are all over the place it turns out. If you take a look on Google you’ll probably find at least one waterfall near your home unless you live in the desert. Despite this I don’t recommend just rushing off to the nearest waterfall you find, especially if you’ve never been there before. The reason is that many waterfalls are a little temperamental. The general rule is that waterfalls are typically the most active after it rains, and some waterfalls being snow/glacier fed will be most active during spring/early summer when all that ice is melting. If it hasn’t rained for weeks in your area a lot of smaller waterfalls will be just a trickle of water if that.
When I visited the Smoky Mountains National Park we were surprised by how fast river conditions could change next to a mountain. We had a couple days of rain on our week long trip. The first day it rained where we were and not much changed. The river by our hotel stayed a small friendly creek with ducks playing in the shallow water. But, on our next to last day there was heavy rain up in the mountains. Despite the fact that we only experienced intermittent sprinkles of rain, a couple hours later in the span of mere minutes the little river by our hotel went from a foot deep in areas to 5-10 feet deep with a scary amount of rapids that even flooded the bottom level of our hotel’s parking garage. Water is weirdly unpredictable like that.
Gear
ND filters
Aside from a camera and lens, the two most important things to have are a tripod and a Neutral Density (ND) filter. The key to getting mystical waterfall photos is blurring the moving water so it looks extra misty and soft. This is accomplished by lowering the shutter speed to 5-10 seconds or longer. I have 3 100mm ND filters that I like to take with me for waterfalls. I have a 10 stop ND, a 6 stop ND, and a 3 stop ND. The whole purpose of an ND filter is to reduce the amount of light entering the lens. For shooting waterfalls in bright daylight, the absolute minimum is a 10 stop ND. And when it gets closer to sunset I will sometimes use the 6 stop ND instead so I can keep using a small aperture. If it is an extremely bright and cloudless day I will use a 10 stop ND & a 3 stop ND together for a total of 13 stops. After the sun sets the 3 stop might be a good option.
One confusing thing about ND filters is the convention of using different ways of noting the amount of light reduction instead of simply stating the number of stops of light the filter blocks out. The following chart translates that:
| OPTICAL DENSITY | LENS OPENING | ACTUAL STOPS/EVs | USECASES |
| .3 | ND2 | 1 | Video or wider aperture. |
| .6 | ND4 | 2 | Video or wider aperture. |
| .9 | ND8 | 3 | Video, wider aperture, long exposure at dusk. |
| 1.2 | ND16 | 4 | Video, wider aperture, long exposure around sunset. |
| 1.5 | ND32 | 5 | Video, wider aperture, long exposure around sunset. |
| 1.8 | ND64 | 6 | 10-30 second exposure in evening. |
| 2.1 | ND128 | 7 | 10-30 second exposure in shade. |
| 2.4 | ND256 | 8 | 10-30 second exposure on bright cloudy day. |
| 2.7 | ND512 | 9 | 10-30 second exposure in sunlight. |
| 3 | ND1024 | 10 | 30 second to 1 minute exposure in sunlight. |
| 3.6 | ND4000 | 12 | 1-2 minute exposure in brightest sunlight. |
| 4.8 | ND65000 | 16 | 2-6 minute exposure in sunlight. |
Pro tip: When purchasing an ND filter you don’t need to get the absolute best ND for every power level. Because lower power ND filters don’t block out much light, they also tend to have lower color cast, simply buying a decent quality filter will usually be good enough. I recommend buying “high end” filters for the 6-12 stop range while anything lower power can be a more inexpensive option.
100mm square filter system
A 100mm square filter holder system is a key component for any serious landscape photographer, especially if you plan to use ND’s a lot. What is great about a 100mm filter system is that it can be mounted on any lens with a filter ring that is less than 95mm or so. 100mm filter systems are also great for stacking filters and are a requirement for using graduated ND’s. Most 100mm systems will support holding up to 4 filters at once, 1 circular polarizer + 3 100mm filters. While it may seem that you can just screw multiple threaded filters onto the end of your lens, you may find that putting 2 or 3 round filters on the end of a lens will result in vignetting.
Circular Polarizer
A good circular polarizer is also sometimes a nice to have for waterfalls. Circular polarizers allow controlling the intensity of light reflections off of the surface of the water. This gives images more “depth” to them as the intense highlights are not dominating the image.
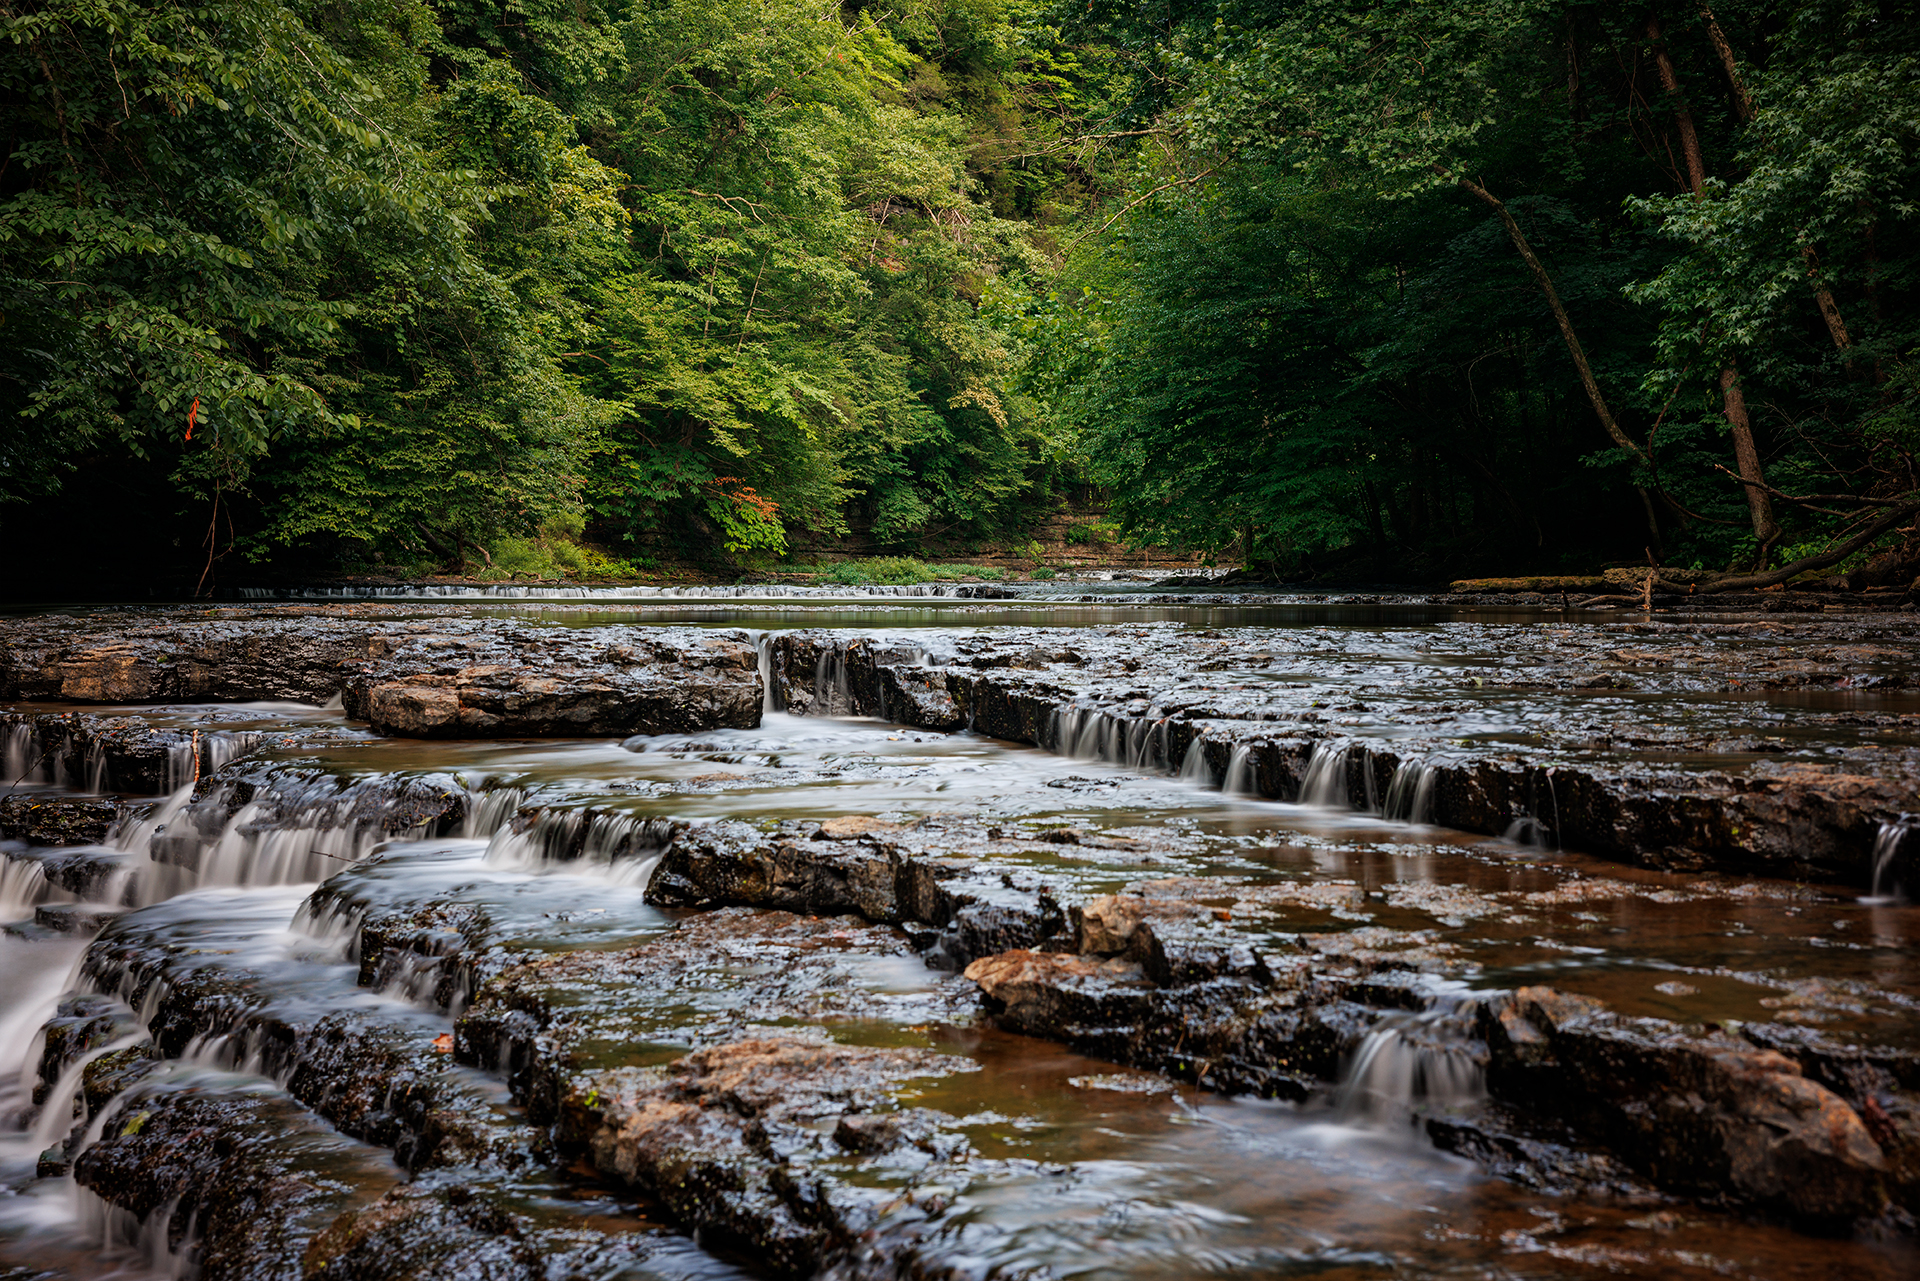
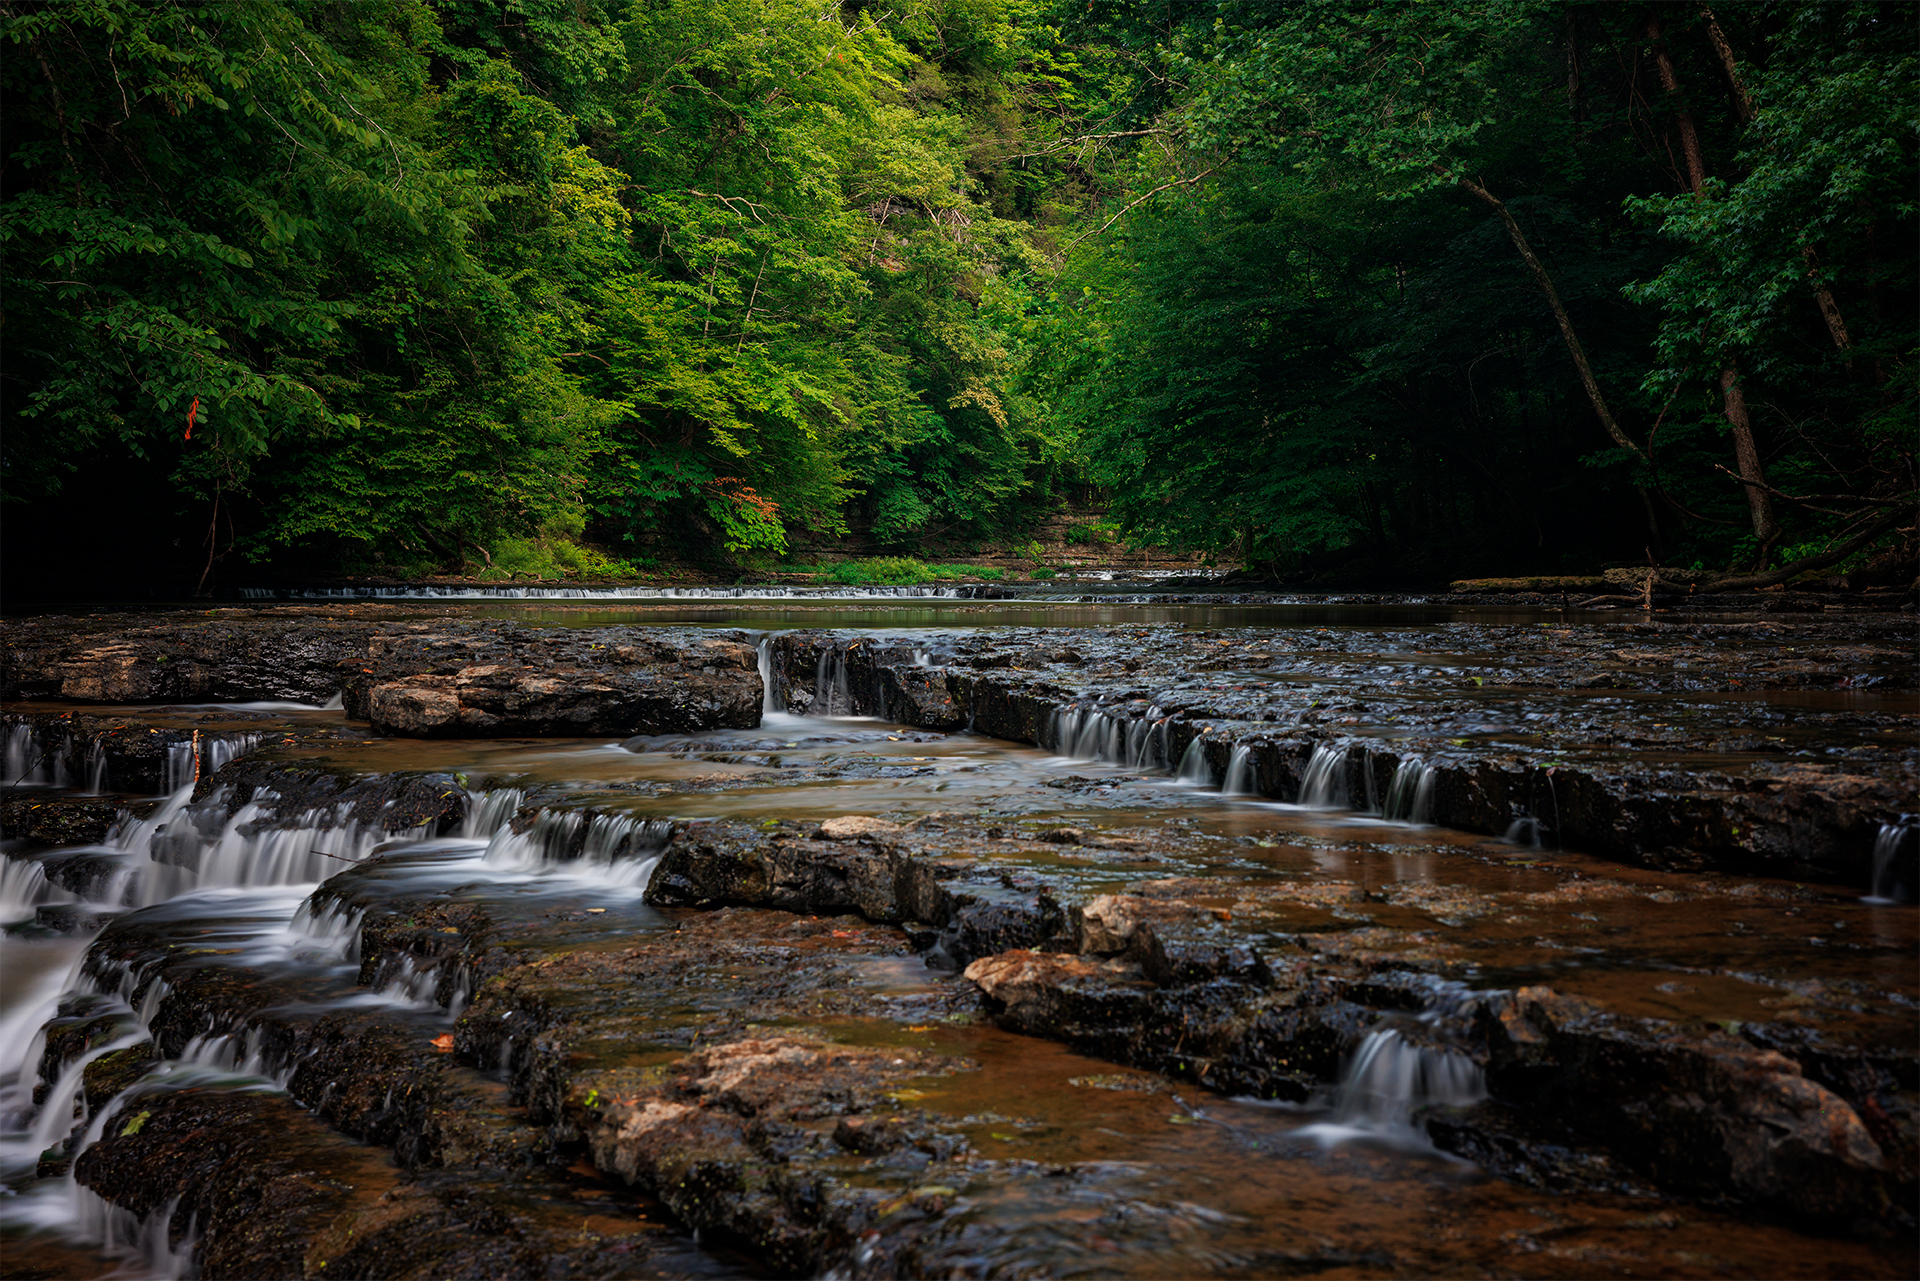
Here is an example of how the polarizer can remove distracting highlights.
IR cut filter
Finally I typically use an Infrared (IR) cut filter. Some ND filters will be advertised as IRND filters and these are usually the best type to purchase. IRND filters block visible light & infrared. If your ND filter is simply just an ND filter with no IR cut, you should also get an IR cut filter to go in front or behind your ND.
The reason why an IR cut filter is needed is that most cameras are at least somewhat sensitive to the infrared light band, and some ND filters are unable to fully block IR frequencies. What this means is that with a heavy 10-12 stop filter on your camera, the visible spectrum will be mostly blocked, but the IR band may bleed through, even into the deep reds. This can result in your photos having a red cast. While this can be photoshopped out to an extent, it can appear as a color change due to the extreme reduction in visible light. For the most accurate color in your final photo you should use an IR filter.
Tripod
Choosing a tripod can be difficult due to the huge variety of options. You may want to consider the possibility of mounting the camera and tripod in the water, although that is an advanced technique that only a professional who is very experienced in nature should even attempt. You can get washed away and killed by venturing into fast moving water, never mind losing your camera.
A more common scenario is a shallow river or creek in front of a small to medium sized water fall where you can pick your way amongst some rocks and setup your tripod in 1-2 feet of water. In this case the moving water can cause vibrations that ruin long exposure photos so a solid tripod can be beneficial for these kinds of photos.
A typical setup will look something like this:
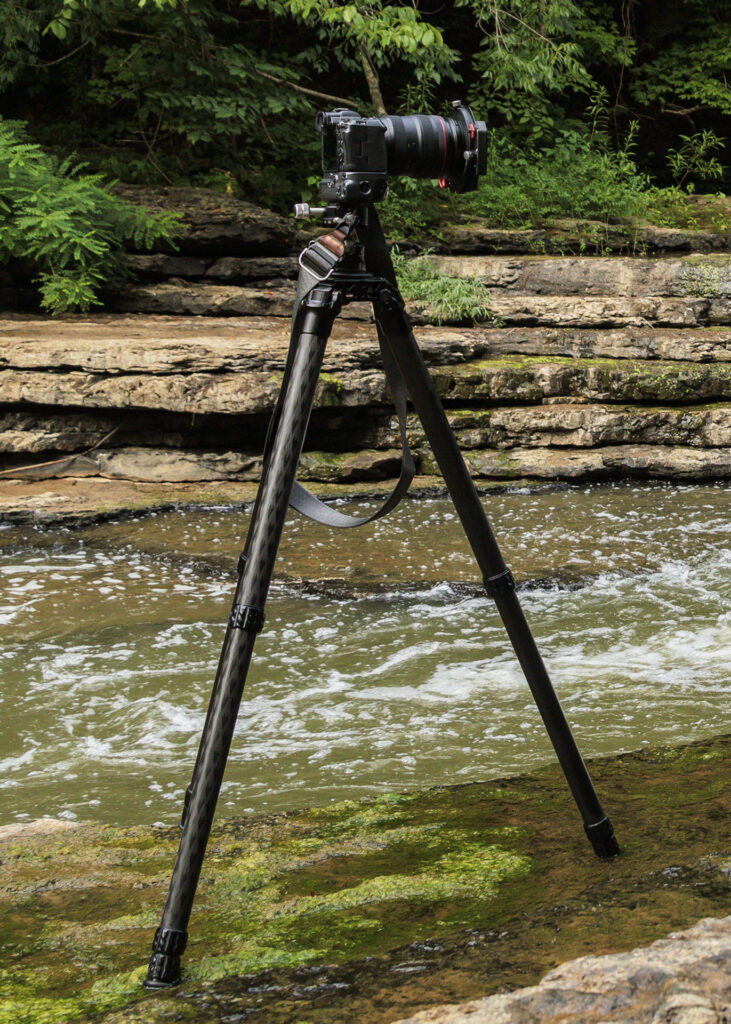
I have a ProMediaGear 424L tripod, a ball head, arca plate, Canon EOS R5, RF 28-70mm f/2, Aurora Aperture IR/UV cut filter, Wine Country Camera 100MM V2 filter holder, Circular Polarizer, and finally, a Kase 10 stop ND filter.
Lenses
For this type of photography I tend to avoid ultrawide angle lenses that have bulbous front elements such as the Sigma 12-24 f/4, Sigma 14-24 f/2.8, Sony 12-24 f/2.8 GM, Sony 12-24 f/4 G, or Canon 11-24 f/4 L. The reason I don’t like them is that these lenses do not easily accept filters. While some do have a rear filter slot, rear filter slots only hold 1 filter at a time. This means that the rear filter slot is not a great option for waterfall photography as you will require at least 2 filters if not 3 or more. Good lenses for this type of photography are the Canon EF 16-35mm f/2.8 L III, the Canon RF 15-35mm f/2.8 L, or the Canon RF 14-35mm f/4 L, or similar lenses from other brands.
Techniques
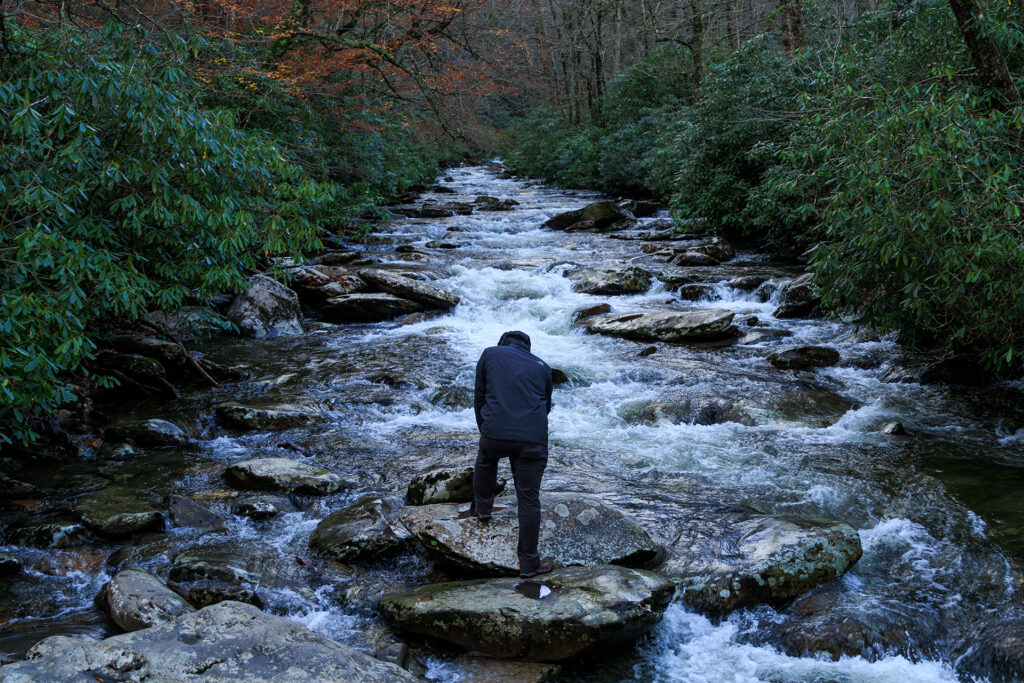
The first thing to do is to setup the camera, tripod, and mount the filters to begin taking the picture.
Depending on the type of camera you have this may be a different process. Mirrorless users will have the advantage here as many DSLR’s and any film camera users will have difficulty looking through the lens to see the subject when the 10/12 stop ND is mounted. It will essentially be totally dark through the viewfinder. Because of that anyone with those cameras will need to frame their shot first, focus, then mount the ND filter.
For mirrorless users the cameras will provide a live preview of your shot. This means you can usually leave the ND filter on the camera. In some cases however, the extreme darkness of the ND will cause the AF not to function. In this case you’ll need to frame your shot, focus, then turn off the AF, mount the ND filter, and finally, adjust your exposure until the image appears well exposed on the rear screen.
The goal when using ND’s is to lengthen the exposure time. In my experience, 15 seconds is the minimum and 30 seconds is the target. 30 seconds should be great for most waterfall photos, however, you can experiment with longer exposures if you wish. Try using “Bulb Mode” and a remote release to hit longer shutter speeds.
The ISO should almost always be set to 100. If you need a different exposure, use different ND’s or combine ND’s for different values.
The aperture is going to be the 1 setting you can use to fine tune the exposure. For instance, with a 10 stop ND attached for a 30 second exposure at 100 ISO, it will typically require an aperture of f/4-f/8 when shooting during the day. Adjusting to somewhere in that range is fine. If you’re shooting at 35mm or so, you might want to go to f/10 to get more of the scene in focus.
If you want to hit a specific aperture, with a specific shutter speed, and a specific ISO, how do you control the exposure? By combining ND filters. A good option for doing that is to have a 10 stop, 6 stop, 3 stop, and two 1 stop ND filters. By combining these together on a 100mm filter holder, its possible to hit every stop of ND power from 1 stop all the way to 14 stops using combinations of the different filters.
For example, if you want 5 stops with those filters what do you do? Insert the 3 stop filter and the two 1 stop filters. 3 + 1 + 1 equals 5. It’s that simple. Just mix and match to get the exact value.
Example shots
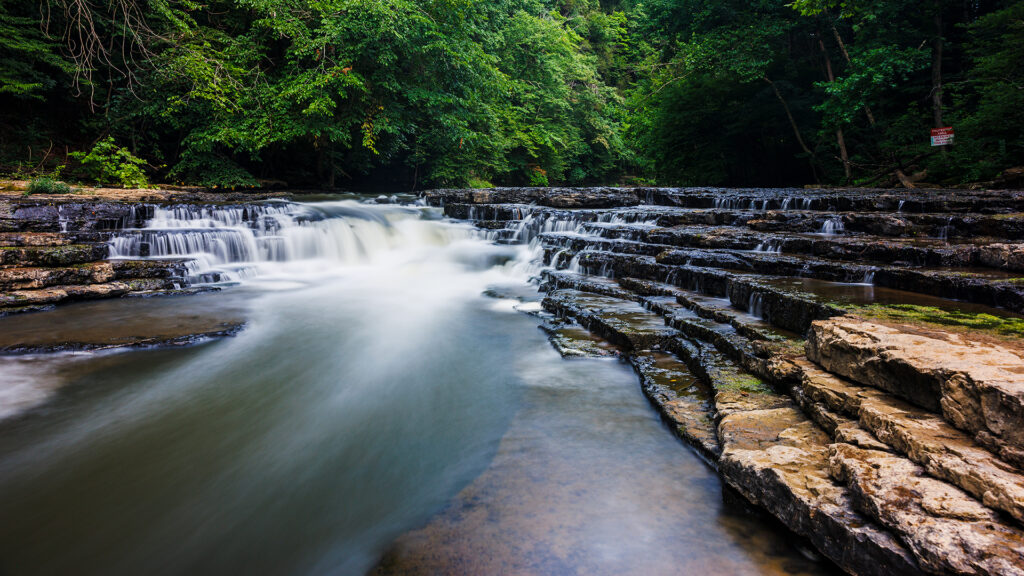
This photo was taken on a tripod at f/5, 100 ISO, using a shutter speed of 30 seconds. I had a 100mm 10 stop ND filter and an integrated circular polarizer mounted on the lens. I did not dial in the CPL all the way for this shot so their is some reflection of highlights off the water in the foreground.
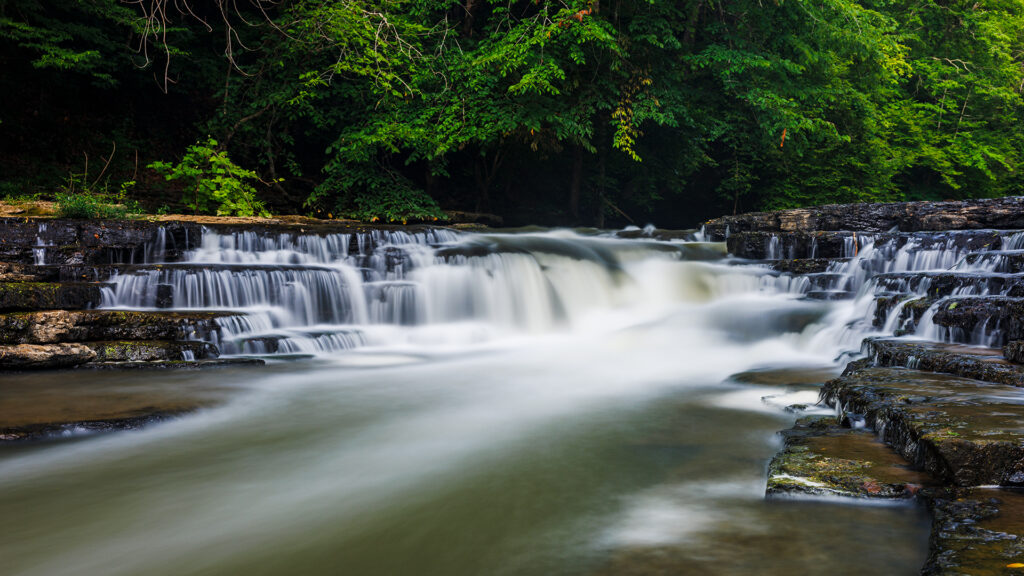
The location is the Burgess falls in Tennessee, it’s actually a series of 4 water falls (this is the 3rd) but I only got decent shots of this one as we arrived later in the day and the park closes at 7pm.
Another angle of the 3rd waterfall with the same settings and setup as the previous image. The only difference is I dialed in the CPL to the max settings. With the CPL dialed in all the way the stepped rocks in the foreground are super saturated and easy to see.
Last shot more cropped in to the left.
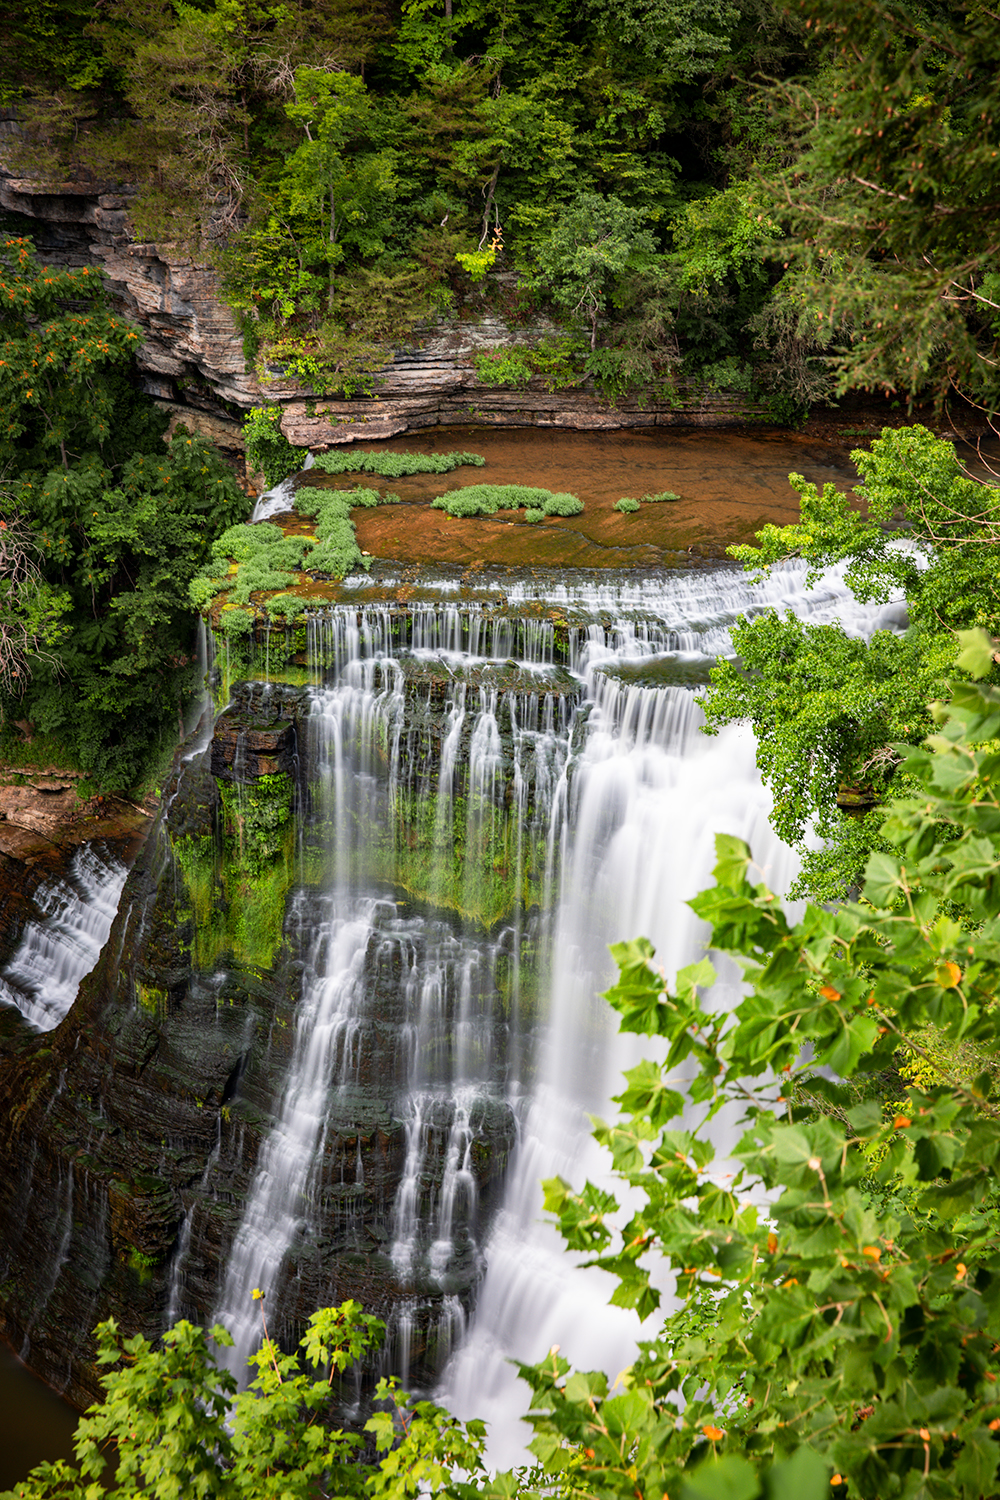
One tip for Burgess falls is that if you want to shoot the last and largest of the 4 water falls from below you’ll have to kayak up the river to a spot below the falls. There is a central island you can use to setup a tripod if the water isn’t too high. The falls go down a fairly deep gorge which is why it’s not possible to access the lower falls from the Burgess falls park area. Unfortunately the viewing platform is in a bad spot which makes photographing the full lower falls from above impossible.
The lower falls photographed from the viewing platform. The trees to the right obscure most of the falls and it’s not a great angle anyway. I thought about holding my camera out on the tripod with a 10 second timer but I kept having visions of my camera tumbling hundreds of feet down into the river… lol. If we go again I’ll definitely schedule a kayaking trip to get the best shot.
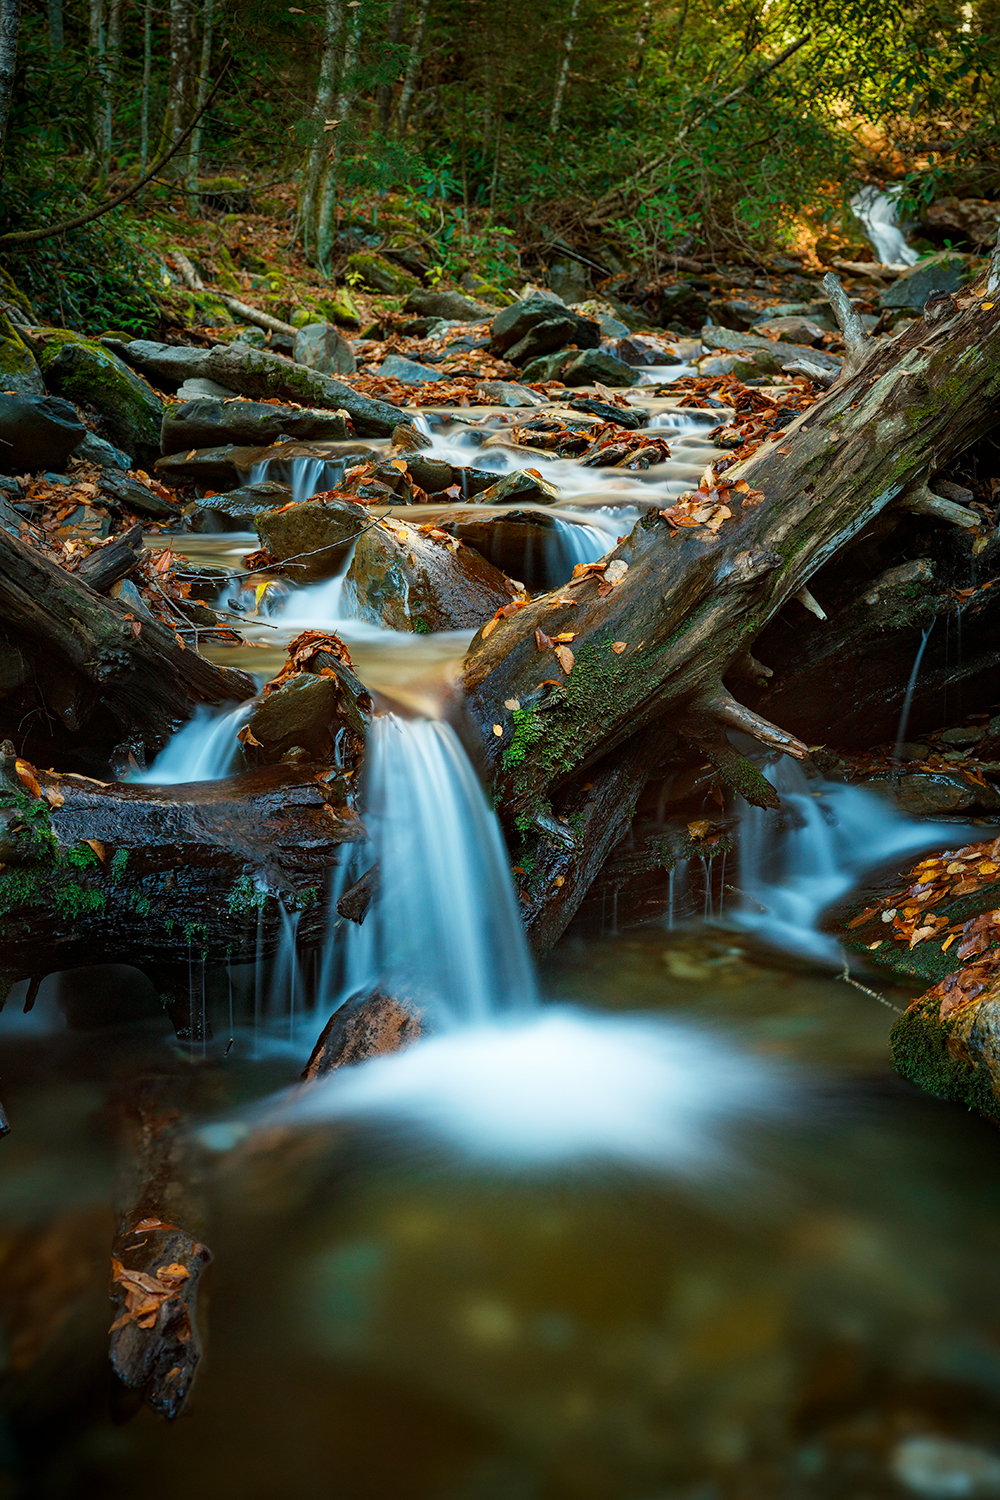
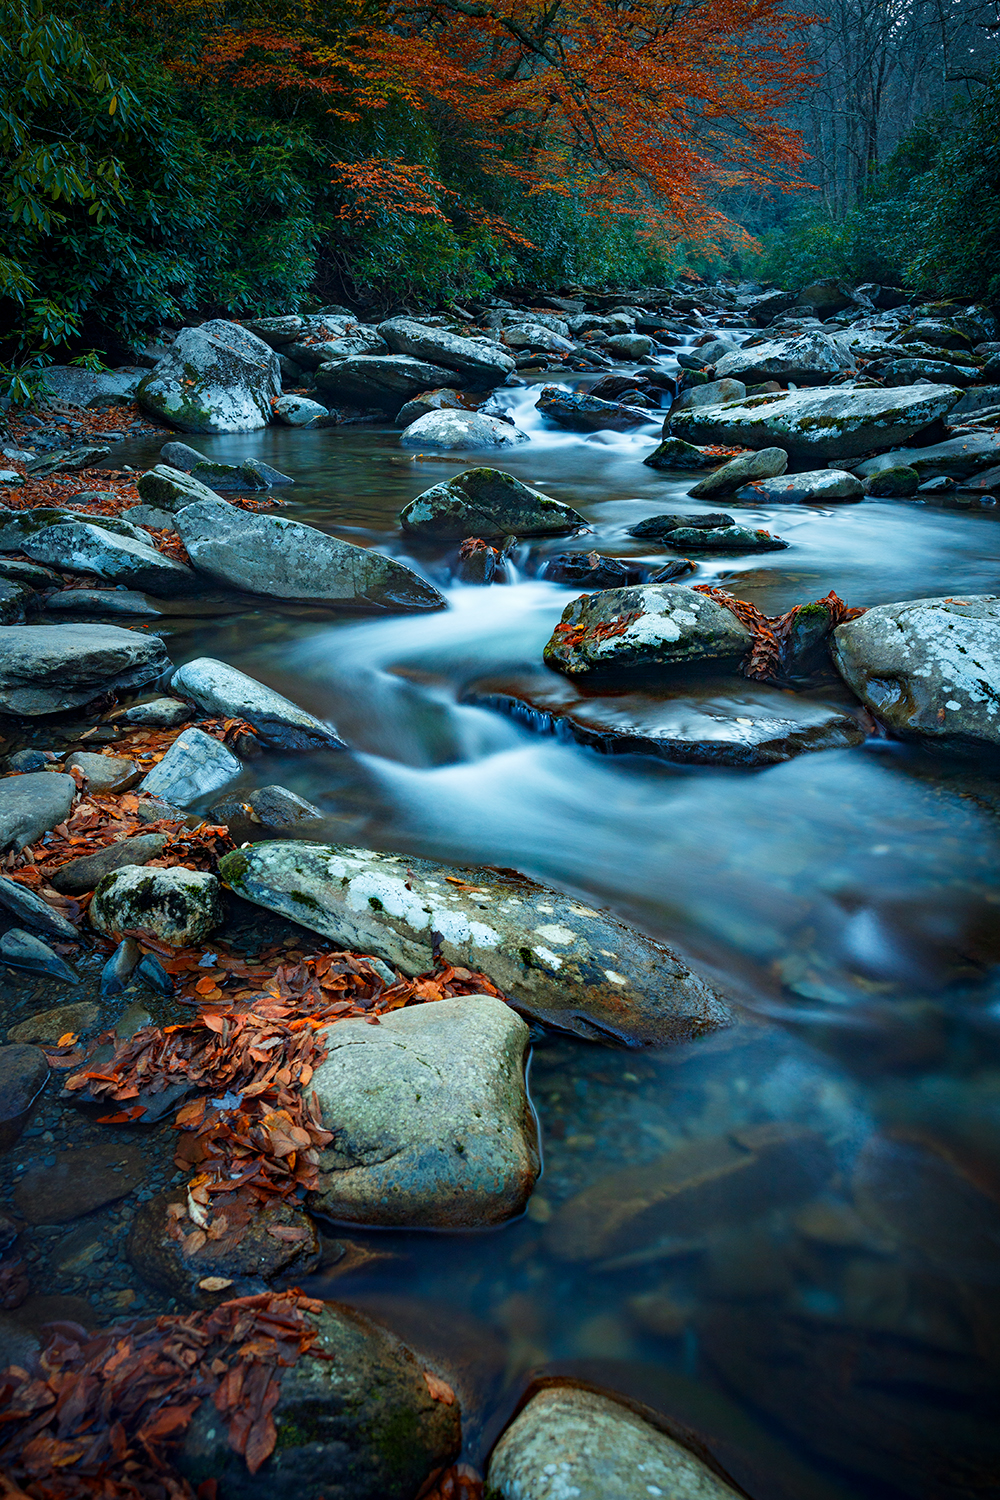
The following shots are from Smokey Mountains National Park. It’s about a 2hrs drive east of the Burgess falls park that I mentioned above.
This one was very similar, it was shot with a 30 second shutter speed, 10 stop ND, CPL, ISO 200 and an f/4 aperture.
This one was the same as the previous but with an aperture of f/4.5.
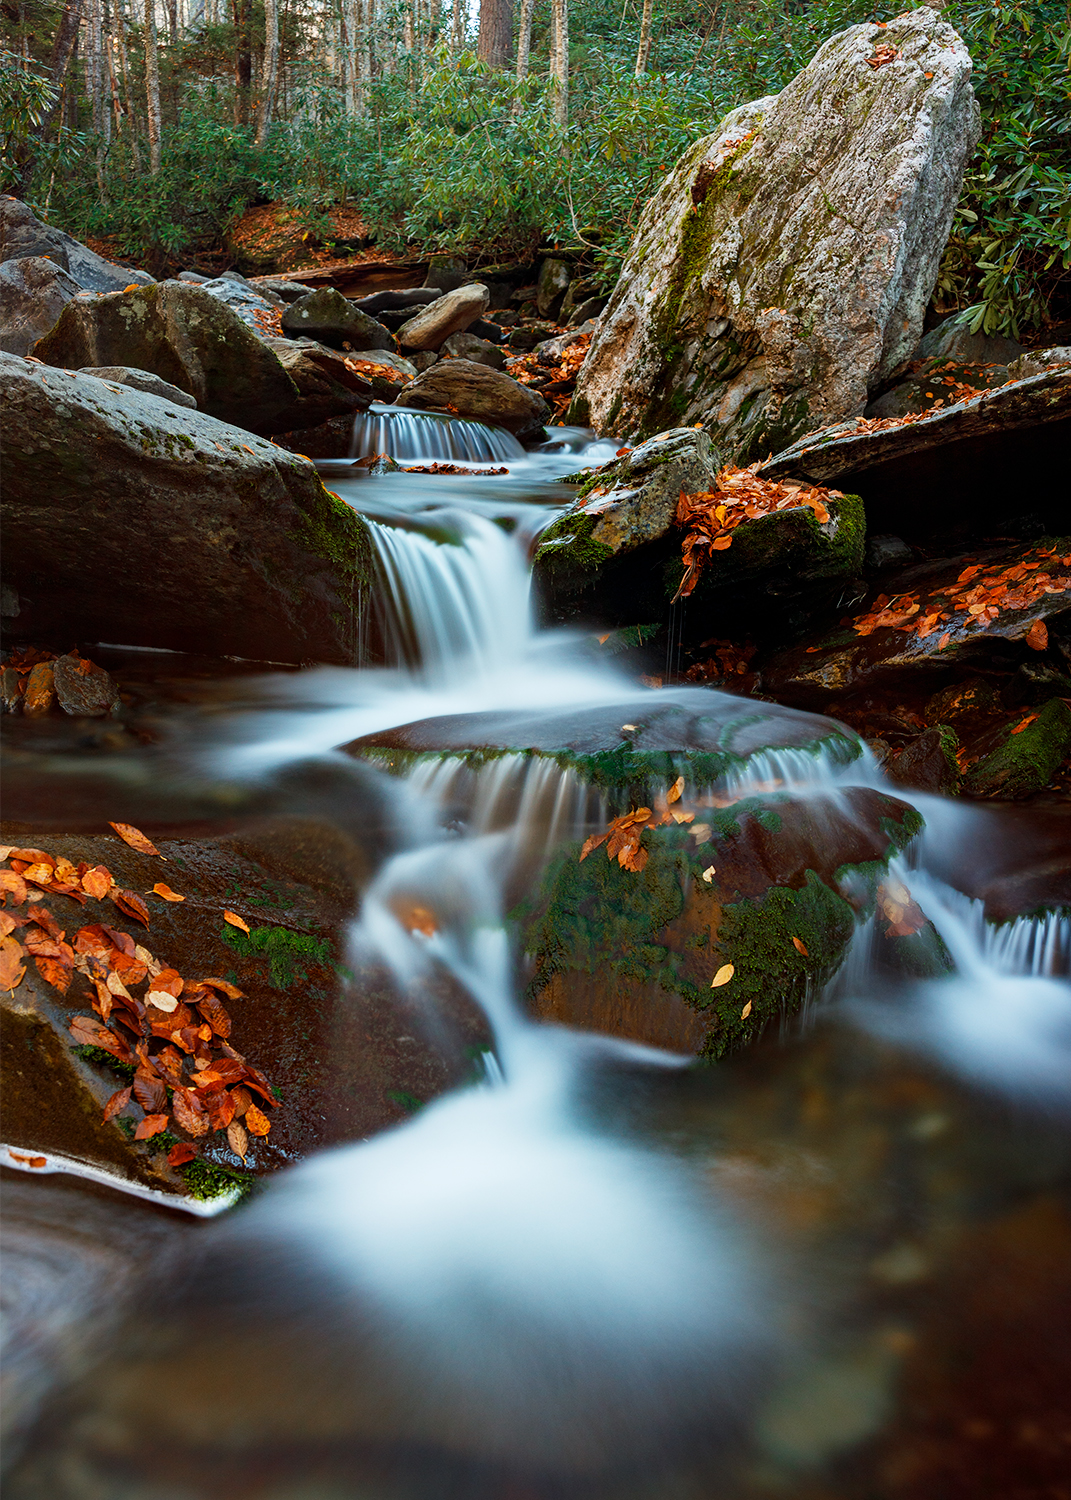
Not a waterfall but a mountain stream in this one. Same settings as previous shot.
Taking magical waterfall photos requires some technical knowledge of photography, but not an extreme amount. For the most part, pretty much anyone with a tripod, a camera, and an ND filter can manage these types of shots.



2 Comments
Shawn,
Great information on the ND setup and recommendations to improve one’s photos! Our small Photo Club is headed to Smoky Mountains next week and wanted to ask where the second waterfall is located? Any advice on the location or access would be appreciated.
Thanks
The three photos at the bottom the page were all taken in the first section of the hike on the Alum Cave Trail on Mt. Le Conte. There is an alternate route on Mt. Le Conte that goes by a true waterfall called Rainbow falls if you’re interested in that. You don’t have to hike all the way to the top of the mountain if you don’t want to… it is a tough hike if you’re not experienced, especially with photo gear. We are going to the Smokeys tomorrow actually, so perhaps we’ll see you on the trail, good luck!