HDR stands for High Dynamic Range. There are two main ideas of HDR photography. The first is that of increasing the Dynamic Range of your camera by compositing multiple images together taken at different exposures resulting in a single image with improved highlight and shadow detail. The second idea of HDR is more of a style of editing an image. If you have a newer and more capable camera that already has wide dynamic range, you may not need to shoot multiple images and composite them to get that “HDR look”. Most new FF and Medium Format cameras are essentially High Dynamic Range in a single photo, it is simply a matter of editing to make the shadow and highlight details show up better on screen or print that creates the “HDR look”.
Why shoot HDR?
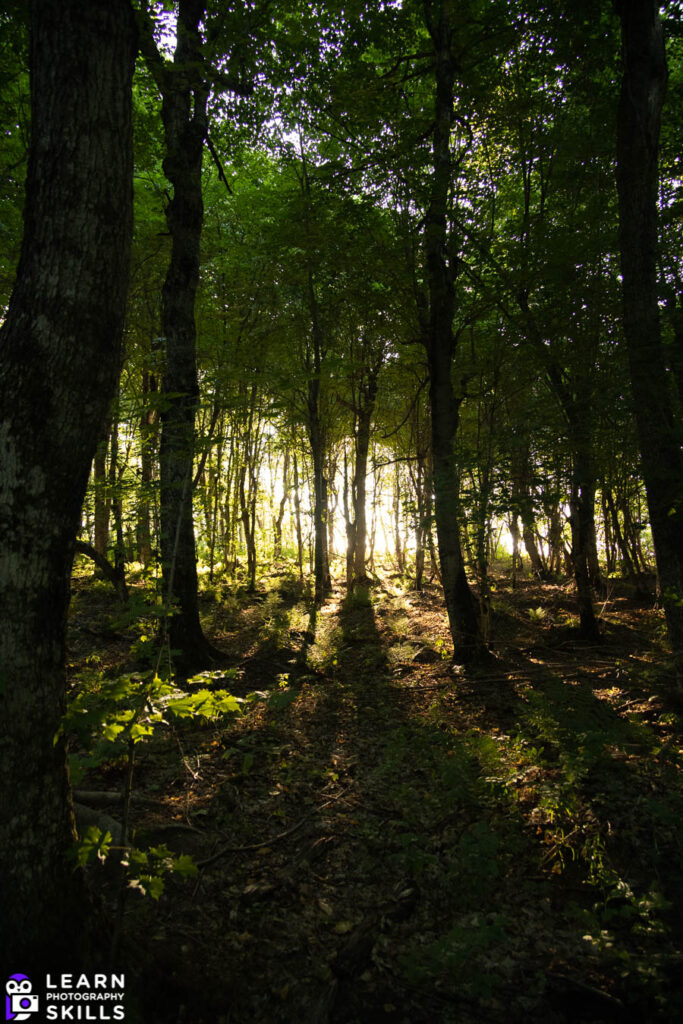
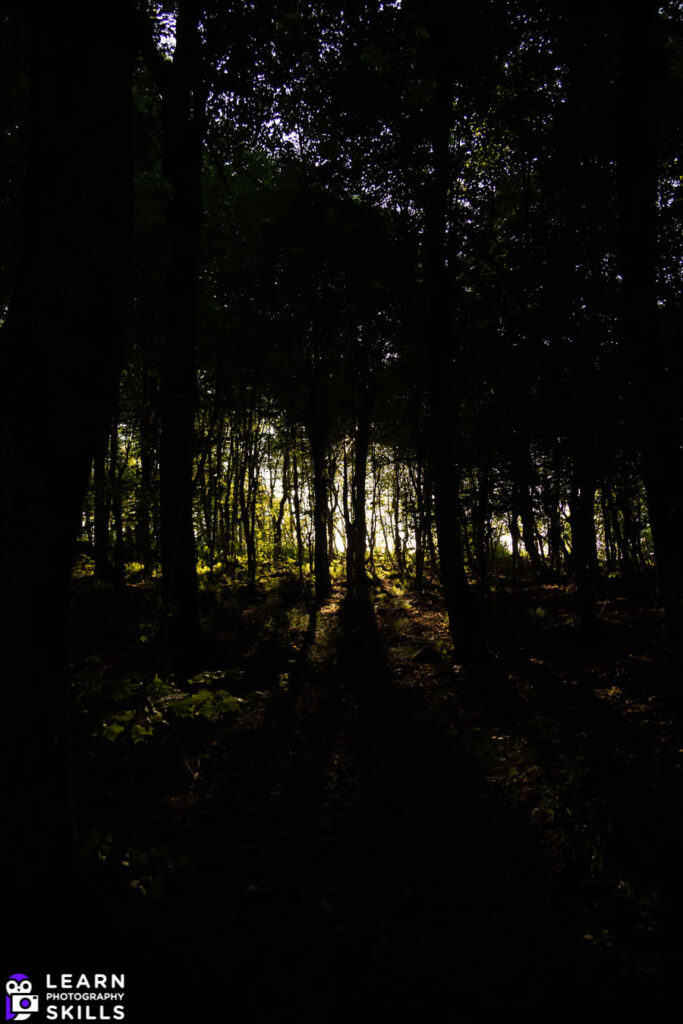
The below 3 images were combined into 1 HDR image in attempt to improve shadow and highlight details.
The combined image processed in Lightroom Classic is shown below.
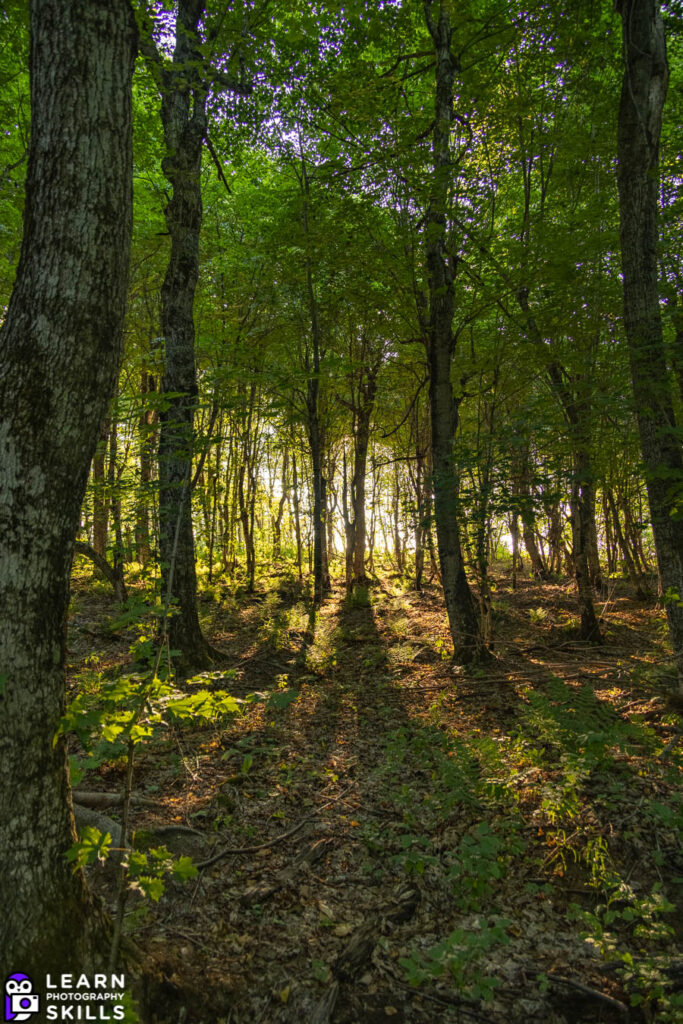
HDR allows you to expose for very bright areas and very dark areas in a single picture. It is particularly useful for landscapes where the sun is very bright and there is large difference between the brightest and darkest parts of a scene. In photography this difference is measured using “stops” of light. On planet Earth the largest typical difference between light and dark is around 18 stops. A photo with 18 stops of range would be like taking a direct photo of the sun and getting the exposure right for the sun itself so that you can make out details on the surface of the sun while also still exposing properly for the rest of your scene including areas that are in deep shadow. If you’re thinking that sounds like a total waste of time, well, you’re not wrong. Pretty much nobody cares about the details on the sun because we can’t see it with our eyes so in a sense it’s not really a part of our reality. The more realistic goal for landscapes is to preserve details in the sky around the sun (such as sky color and cloud details) but not on the sun itself while also still getting a good exposure in the deep shadows. In this case 14-15 stops of range is usually more than enough.
In the image above the highlights are from the darkest image, the shadows are from the brightest image, and everything in between probably comes from the middle exposure.
The truth is most modern cameras can get very close to this in a single shot, BUT, with HDR the shadows are much cleaner and the highlight extension allows the image to reach even the brightest elements in a scene while still having a proper exposure throughout. It may seem like those highlights don’t really matter to most images but sometimes it has a subtle effect of recovering cloud detail or restoring that golden sun color where it might normally have just clipped to pure white. Often it is those little details that take an image from good, to great.
Some modern cameras can achieve 16+ stops in a single exposure so shooting HDR using multiple exposures with those cameras may not be necessary. However, even with extremely high DR cameras HDR can sometimes help with resolving details in shadows and in highlights such that the gradations at these extremes become a little bit smoother and more natural looking. This can be useful for skies when trying to achieve the smoothest and most accurate color gradients possible.
Typically, this wider exposure range is accomplished by taking multiple exposures and compositing them using a program like C1 + Photomatix to combine your exposures. The way Photomatix (and most other HDR programs) work is that they align the images you choose and then composite them according to their exposures. For a typical HDR 3 exposures are taken that are 2-3 stops apart. One exposure is taken at whatever settings you choose, typically within 1 stop of a “normal” exposure, then the camera will take a picture that is 2 stops underexposed followed by another that is 2 stops overexposed. Once you have those exposures loaded into your computer and imported into Capture One, you can select the three shots and right click to bring up the context menu, from there you simply choose “Edit With” and then “Merge to HDR with Photomatix Pro”.
A common problem with HDR images is what to do if objects are moving around in the scene between the exposures. Additionally, if shooting handheld camera shake can also lead to misalignments when the images are composited. In the case of large scale but subtle shifts in the image due to camera shake some small amounts of parallax may occur between shots, in this case there is no fixing the image in post, it’s simply ready for the junk pile. Sorry.
However, there are things you can do to mitigate camera movement between shots. The first and probably most effective is to use a camera that has a high-speed continuous shooting mode in the range of 12-20 FPS. For instance, if I am doing this on my Canon EOS R5, I will first setup my camera to shoot 3 bracketed exposures that are each 2 stops apart, then I will select the highspeed continuous shooting mode on my camera. With the EOS R5 I also switch to electronic shutter which gives me 20 FPS. Shooting 3 shots at 20fps works out to 150 milliseconds, or about 1/7th of a second. Getting all 3 exposures in that short amount of time naturally limits the amount of camera movement that occurs between exposures.
Another tip for reducing movement between exposures is to use your camera or lenses’ stabilization when shooting your bracketed exposures. This will help eliminate even slight variations between shots.
When combining highspeed shooting with stabilization it is possible to get bracketed exposures that are very, very close to the same even when shooting handheld.
Common issues with HDR
The most common issue with HDR is aligning elements between the different exposures. What we have discussed so far is how to avoid issues with alignment related to framing of the scene, but another major issue is how to deal with alignment when objects within the scene are moving around.
The most common issue I can think of here is going to be movement caused by wind. Swaying trees, branches, and leaves flipping all over the place will make getting a perfect alignment between photos pretty much impossible with even the fastest shooting cameras. This type of movement I refer to as static movement. It’s static because the objects that are moving stay in the same general area.
Another issue is dynamic movement, with dynamic movement objects that are moving are passing through your scene entering and leaving over time. The most common things I can think of would-be people and cars walking or driving through your scene. This type of movement can be corrected easily if you are patient, but you will probably need to shoot on a tripod to do it successfully.
Lucky for you if you’re reading this, I assume you are interested, there are ways to fix these issues using Photomatix or Lightroom & Photoshop.
The first method you can use to fix your alignment issues is best suited for static movement. Objects that don’t align are referred to as “ghosts” thus the button to select is the “Deghost ” option when setting up your HDR shot in Photomatix.
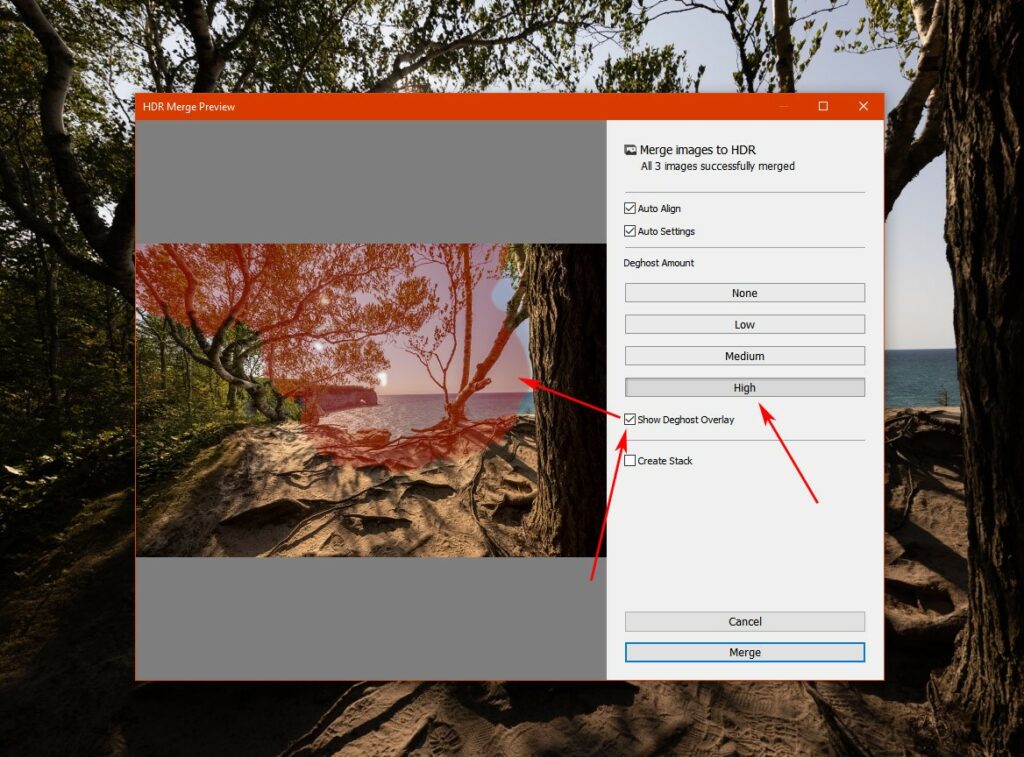
In the image above you can see that the red overlay indicates where the software has identified the “ghosts” (misalignments within the image) and it will attempt to correct them.
I bet you can guess what the downfall of this method is!! Yep, you lose the HDR compositing in the red areas. Because the 3 images from the sequence of exposures have misaligned elements the solution for the software is to only use the image from one exposure in the red area. I have noticed that it picks the darkest exposure and boosts it up to match the rest of the image. This can cause extra noise and color shifts to appear in the red highlighted areas.
Another thing I noticed with the Deghosting function is that it does work a lot better with higher end cameras. Even comparing the EOS R to the EOS R5 I found the R5 is much better about retaining data in deep shadows. In fact, it is so good it’s rarely necessary to shoot HDR at all.
Fixing Dynamic Movement
The other case we might try to solve for is dynamic movement in a scene. It doesn’t really apply to shooting handheld because of the number of exposures and time required to fully execute all the shots. This method is useful for a couple of different things as it is basically the application of statistics to an image.
So, let’s assume you’re doing an HDR of a scene and there are people walking through your scene, well, there is a way to remove the people, but you’ll probably need a tripod. The way it works is simple, you will shoot multiple images every couple of seconds at the same exposure over a period of time, say 10-15 seconds. And you will do this for each exposure level in your HDR sequence. Then for each set of images at a specific exposure level you will combine them in Photoshop using the “Median” function.
By doing this anything that passes through the scene randomly will be removed from the scene and all that will remain is the static elements that don’t move such as the ground, road, or buildings.
Unfortunately, this method will not work at all for things that move around in place like leaves or flags blowing in the wind (for that you need to use the “Deghosting” tool discussed earlier).
Once you have 3 single images at different exposures that have been cleaned up using the median blending function, you can then composite them to a single HDR image.
Another thing median blending works for is noise reduction in high ISO images.
Below are some handheld HDR images I shot in the fall of 2020.
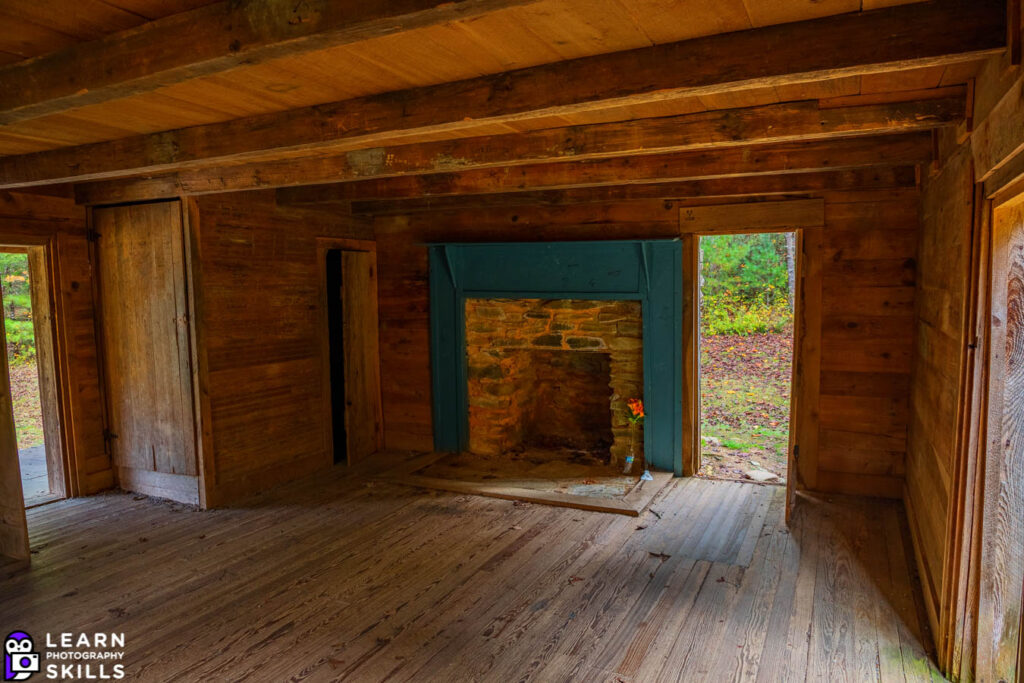
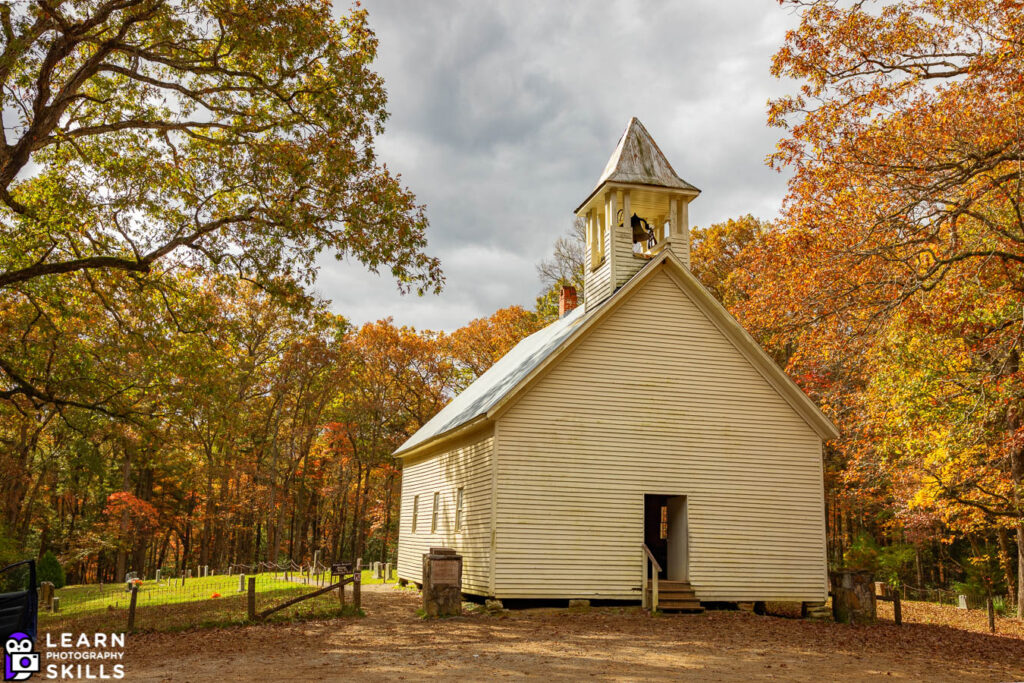
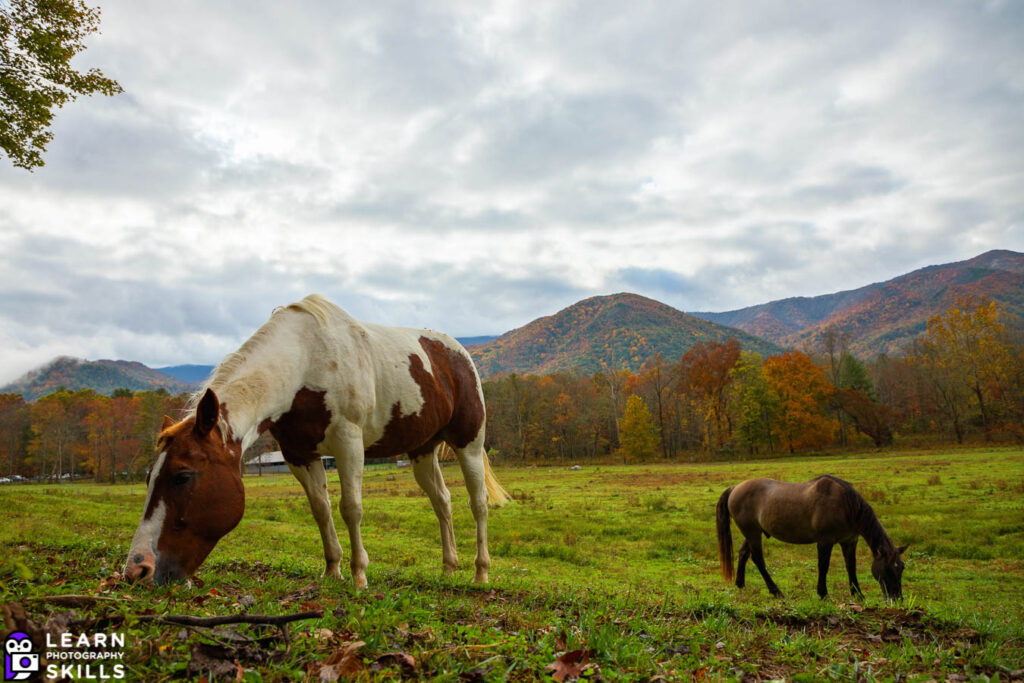
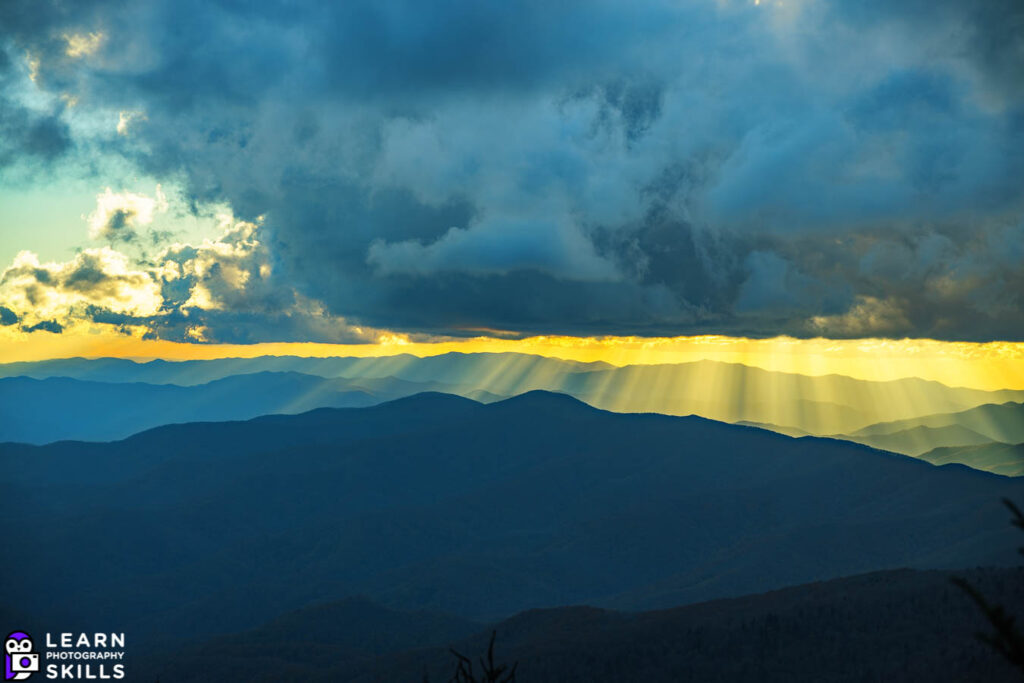
And that about wraps up this tutorial on how to shoot HDR handheld. If you have any questions, feel free to ask in the comments below.


6 Comments
Thanks a lot for sharing your detailed understanding of hand held hdr.l am an architectural photographer and find difficult to use tripod all the time and sometimes not even permitted and i have to use small aperture like f8 or f11 for greater depth of field. This results in slowshutterspeed like 15,30or 60.while capturing images at such slow speed will the hdr be affected? I use nikon z7.Can you help me by suggesting the best camera for one click handheld hdr in low light interior photography.
Hello Dinesh, for a 1-click HDR you are still best off with a Medium Format camera at this moment. Only medium format cameras claim 16 stops of DR. 35mm cameras in the latest generation such as the EOS R5 have somewhere between 13-15 stops of DR so will get close to HDR in 1-click but not quite. I am surprised to hear that the z7 does not accomplish the same. Any camera with stabilization will make it easier with slower shutter speeds of course, Canon’s R5 has in camera IBIS and will let you stay within ISO 100-400 where it’s supposed to have approximately 14 stops of dynamic range… Probably still not enough to get a dark room with bright windows in one click, at least not without a lot of noise in the shadows. In the Medium Format lineup the new Fuji GFX 50s II with IBIS is supposed to accomplish the 1-click HDR you are looking for. Unfortunately I don’t have the Fuji to relay my personal experiences with it, but I’m sure it is great. The photos I have seen from it seem to suggest it is better than the R5 for HDR in a single click, it’s very clean at ISO 100 even in deep shadows and it has IBIS so the slow shutter speeds you mentioned won’t be a problem most likely. I can’t make any guarantees though because I’ve never used it. If that changes I’ll be sure to put up an article since there is interest. Thanks for the comment.
छान माहिती दिली
छान माहिती दिली