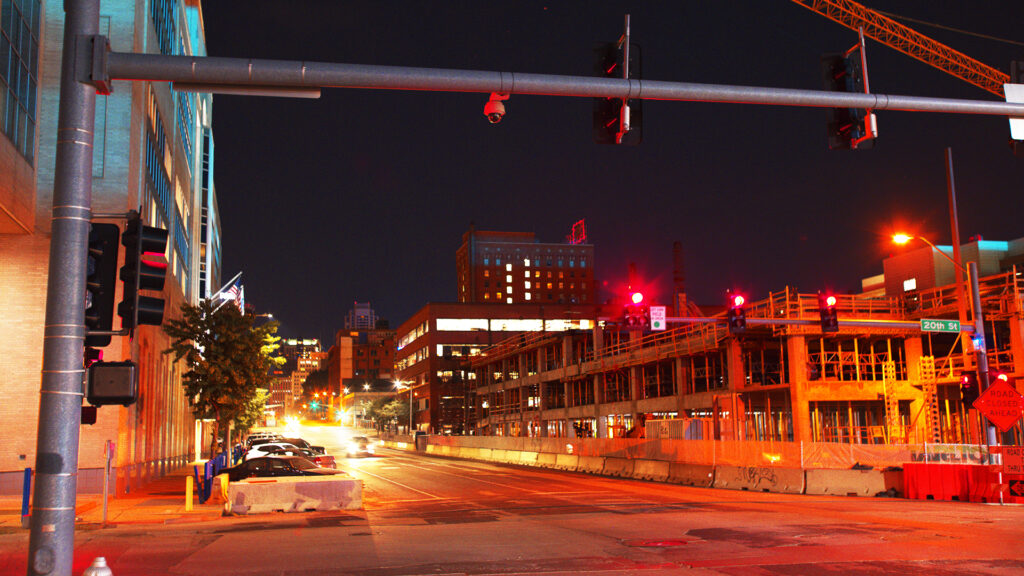
Get started in night photography using the information and examples from this post.
There are many ways to perform night photography, I’ll show you 3 of the most popular methods.
When doing night photography the obstacle that you’ll be trying to overcome is the lack of light. This necessitates slower shutter speeds, often times it requires shutter speeds that our cameras can’t really get to.
Using a tripod
A tripod is the easiest and highest quality way to take pictures with slow shutter speeds. Theoretically there shouldn’t be a limit to how long of an exposure you can have when using a tripod.
Properly using a tripod can be tricky, because any movement at all can ruin the shot, even movement that happens from touching the shutter button. To avoid this just use a remote release or the 2 second self timer in the camera.
Tripods are great for night photography, but they’re also great for a lot of other tasks and techniques in photography. Whether you’re doing long exposures, architectural photography, macro photography, studio photography, or even astrophotography, a tripod is must have.
Using camera lens and in body stabilization
While using a tripod is definitely a fool proof solution the big problem with a tripod is having to carry a tripod with you everywhere. For one, you might draw attention, get in the way of people, or even be asked to leave your tripod in some cases. And depending on how far you intend to walk and how fast you want to work the tripod might be a hassle to carry around.
If you fall into this group say hello to your new best friend: IBIS + OIS.
IBIS stands for In Body Image Stabilization. OIS stands for Optical Image Stabilization. With IBIS the camera moves the sensor around to counter act camera shake. And with OIS the lens moves a special glass element inside the lens around to counter act camera shake.
When using a camera with IBIS, using slow shutter speeds is much more doable hand held than in the past. It’s not exactly a piece of cake as it still requires a lot of care and practice to perfect, but I have found it is now possible to get consistent results with a shutter speed as slow as 2 seconds fully hand held.
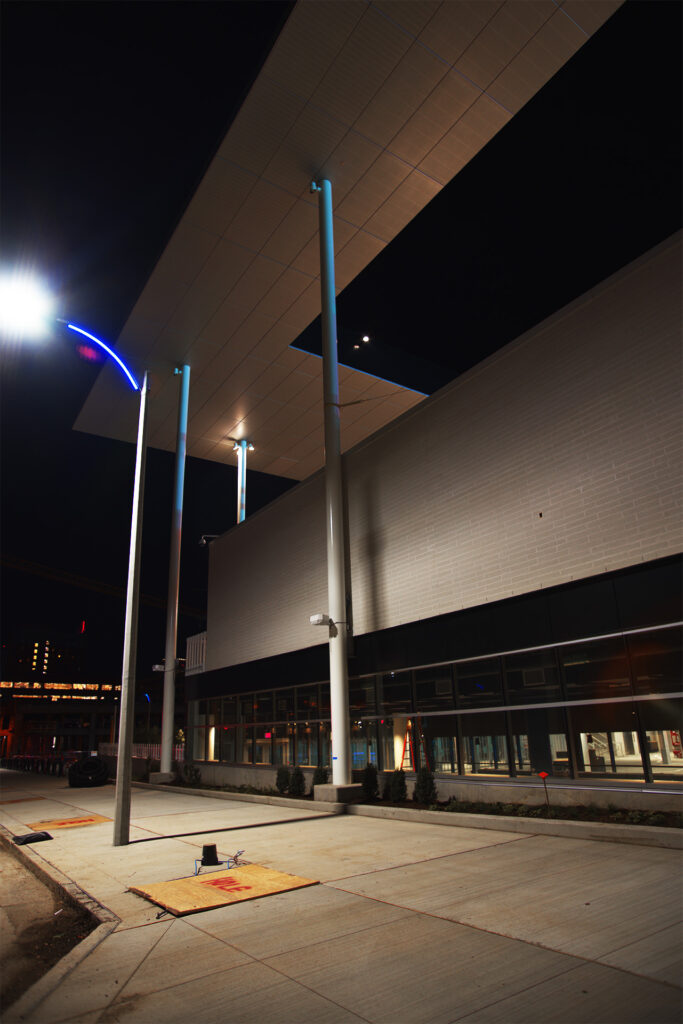
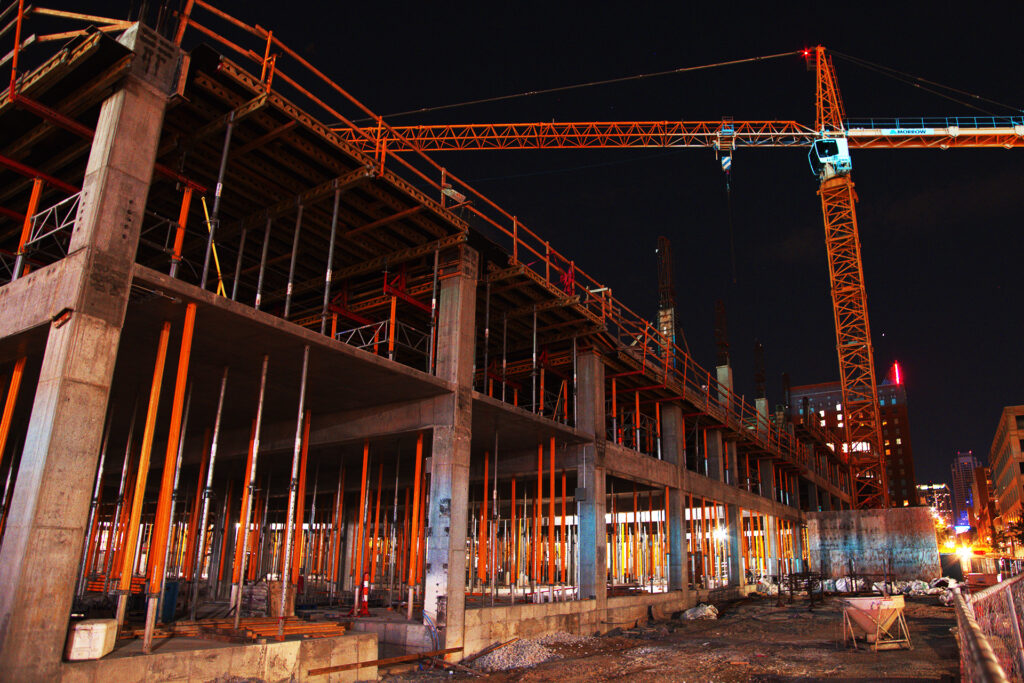
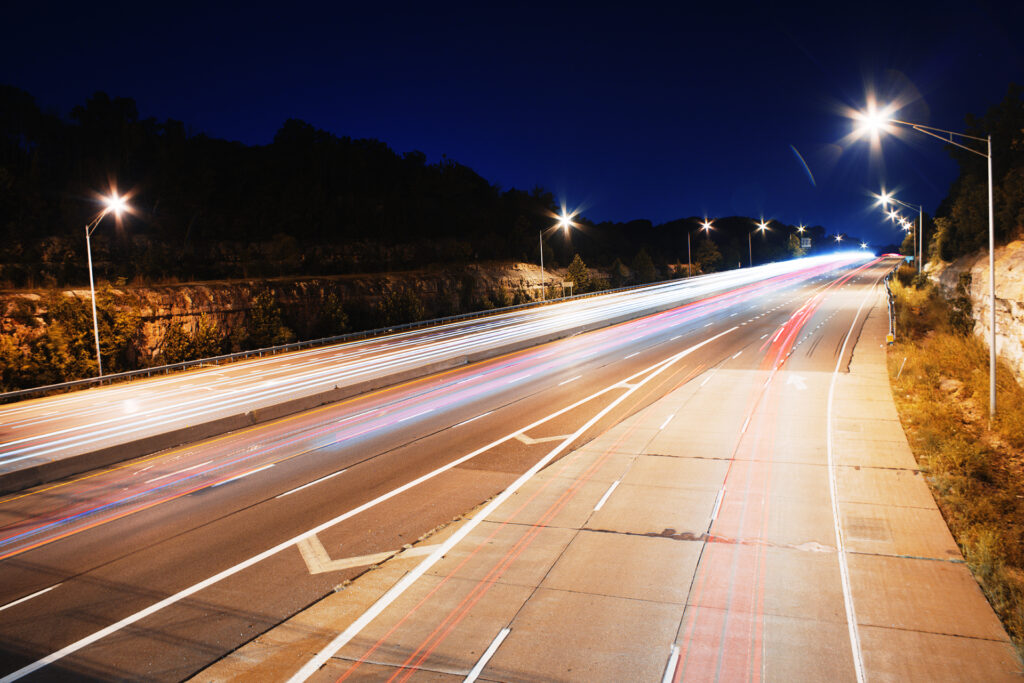
I took the following pictures with no supports, using nothing but in camera IBIS along with a 28mm prime lens with no OIS. The exposure time was 1.5 to 2 full seconds with an aperture typically at f/5.6 (to control aberrations) and ISO set to 100.
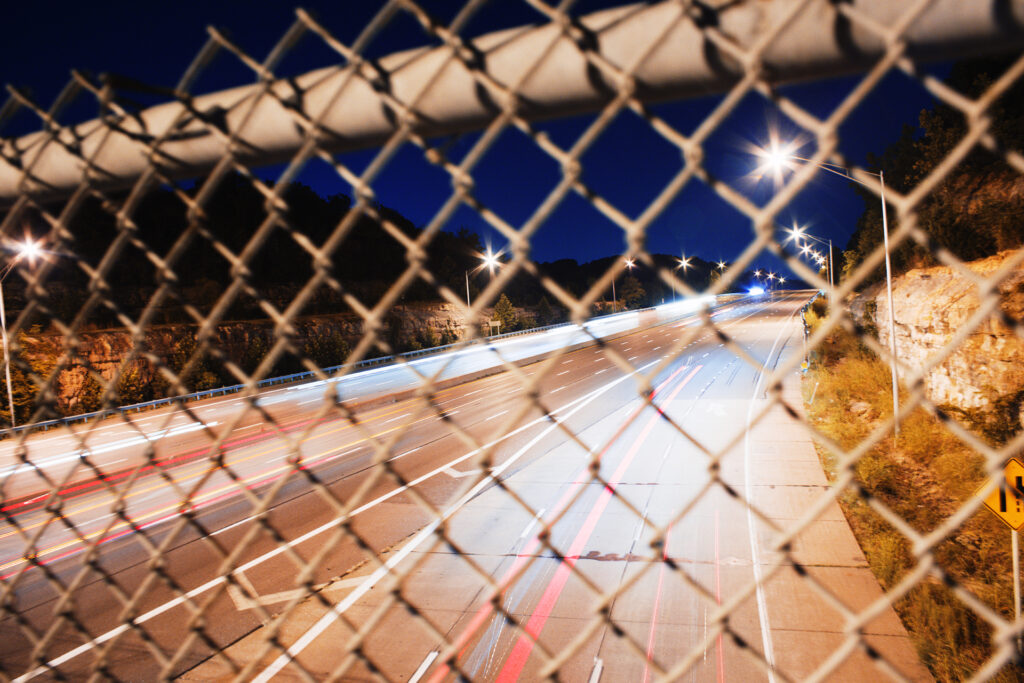
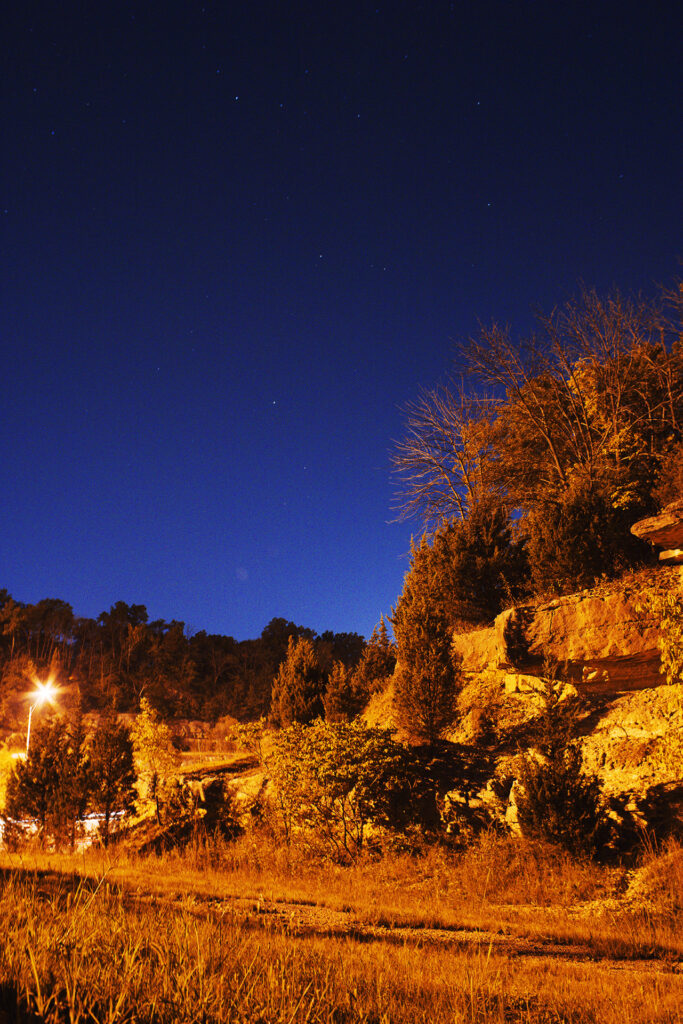
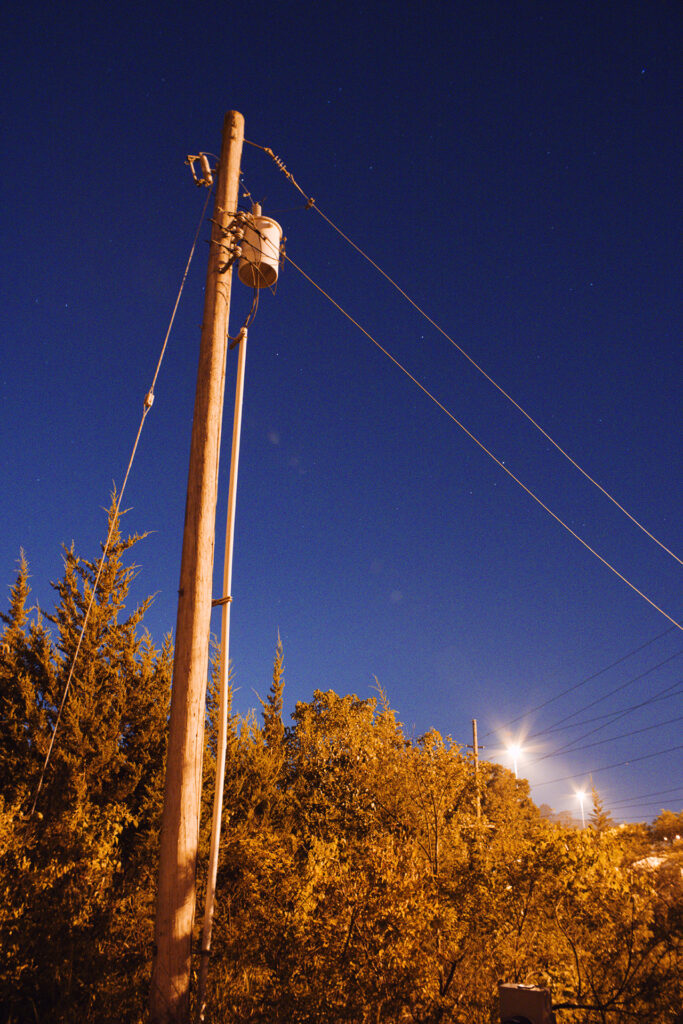
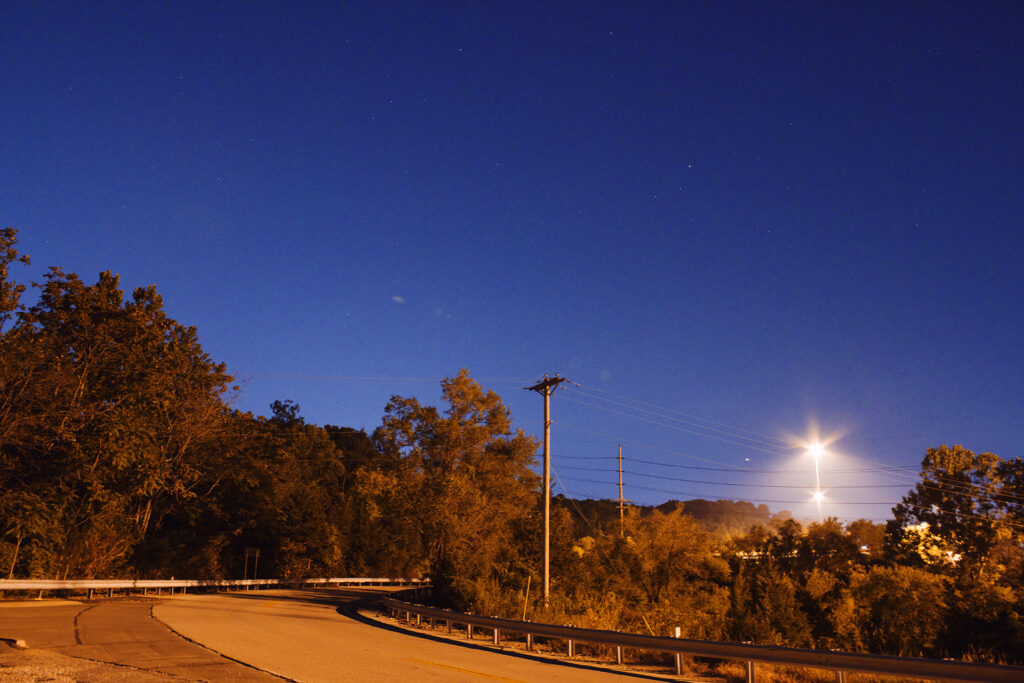
See the fence in the first image? Below is a picture taken without a tripod of me simply holding my camera braced against that fence for 10 seconds:
You can see the light trails of passing cars streaking through the image.
It took about 10-15 tries to get the above shot “sharp enough” for use on the internet. While I could have easily nailed it on the first try with a tripod, it would have been a tough spot to use a tripod trying to position the camera over a fence that was about 7ft tall. Needless to say, 10 seconds for handheld photography is still asking a lot of the camera’s stabilization system.
Using a fast lens
For hand held night photography it is very helpful to have a faster lens which will usually make it easier to get a sharp photo because you can use a slightly faster shutter speed.. A good target is an aperture of f/2.8 or larger. If you can get a lens that can do f/2.0 that is great for night photography where you might need a higher shutter speed. Simply using a large aperture lens can give some flexibility for night photos.
The pictures below are examples that were taken with a 28-70mm f/2.0 lens.
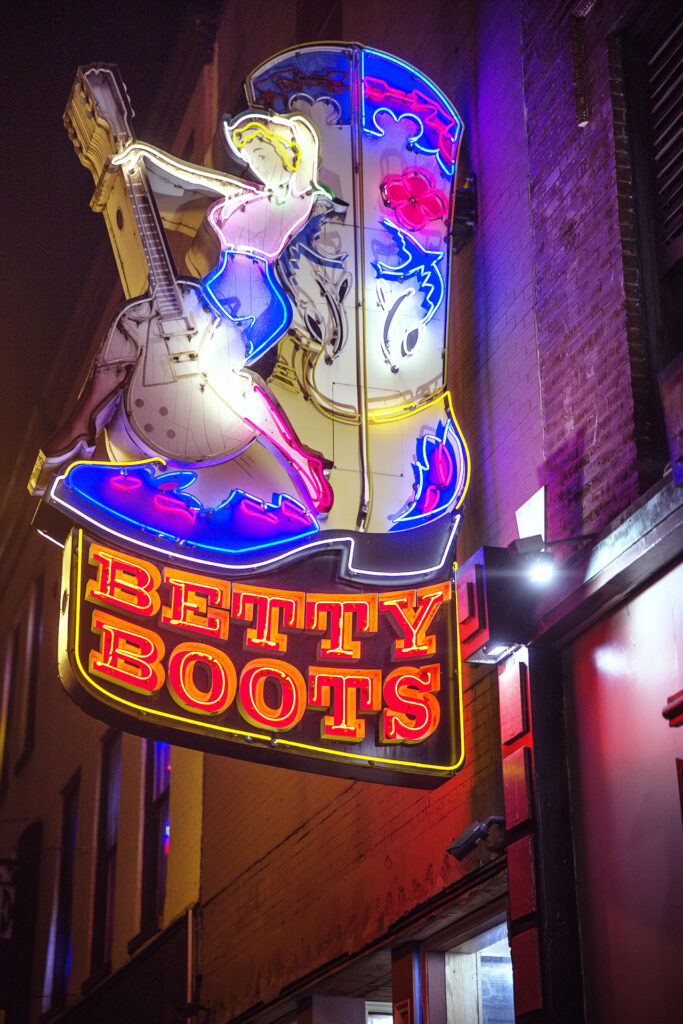
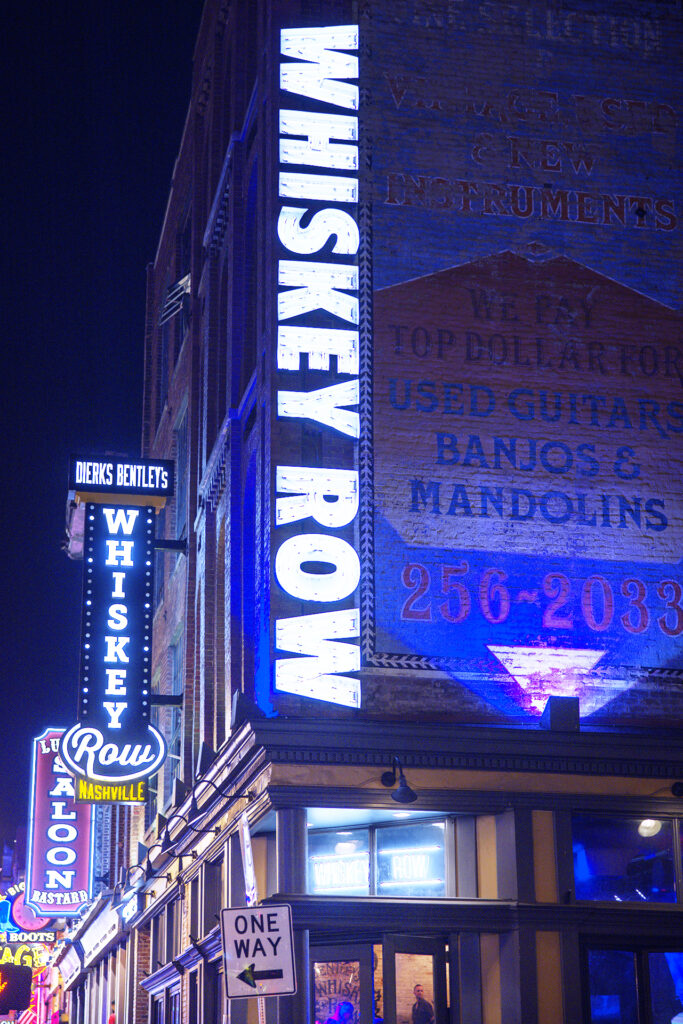
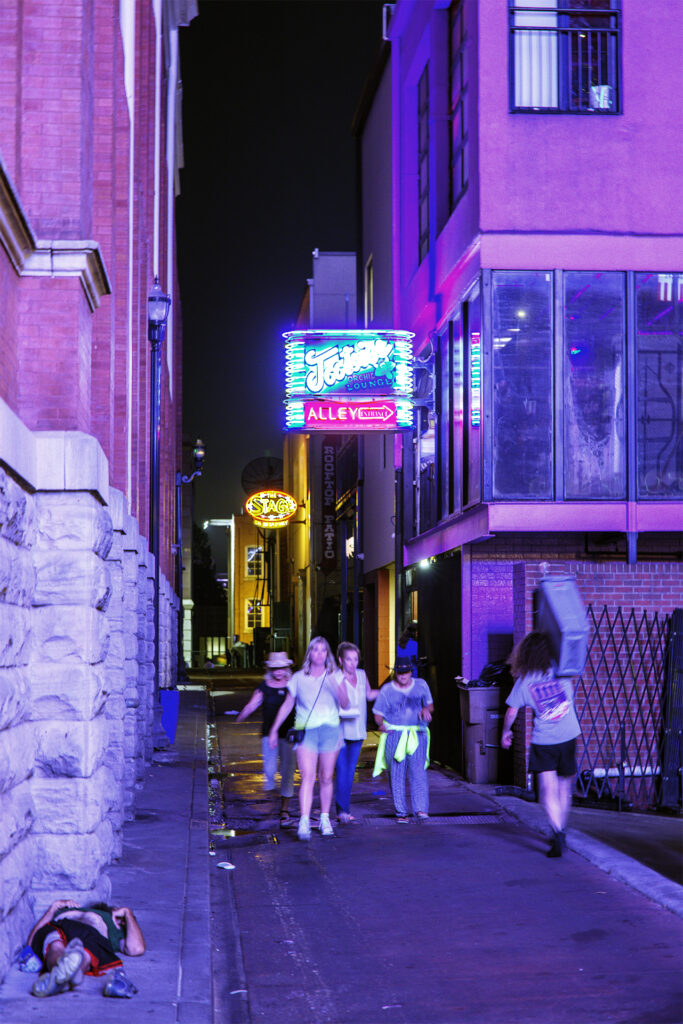
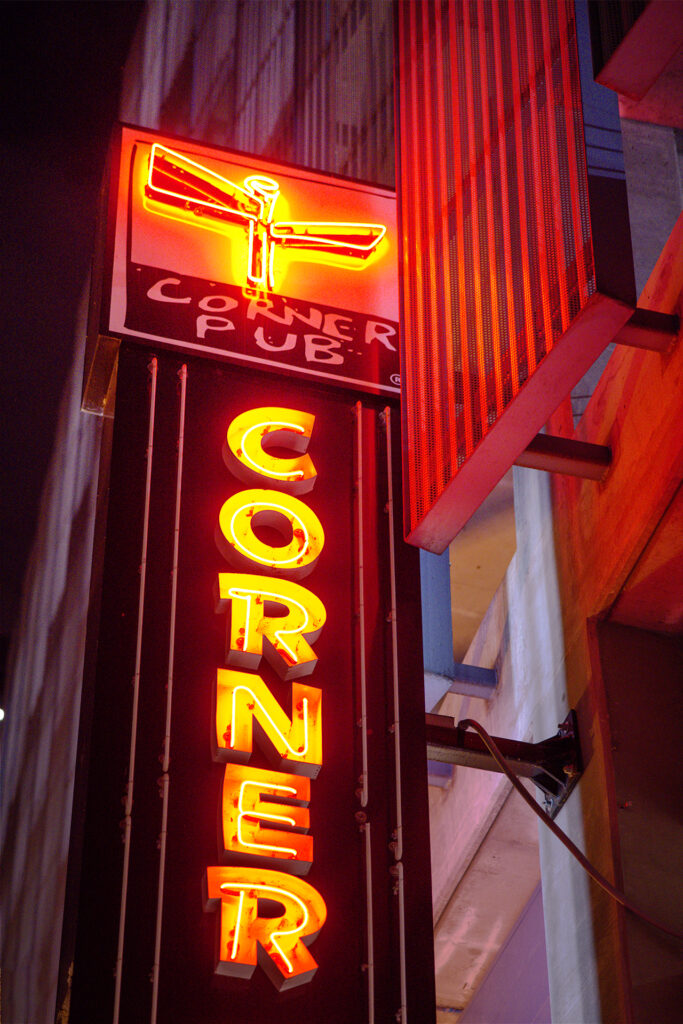
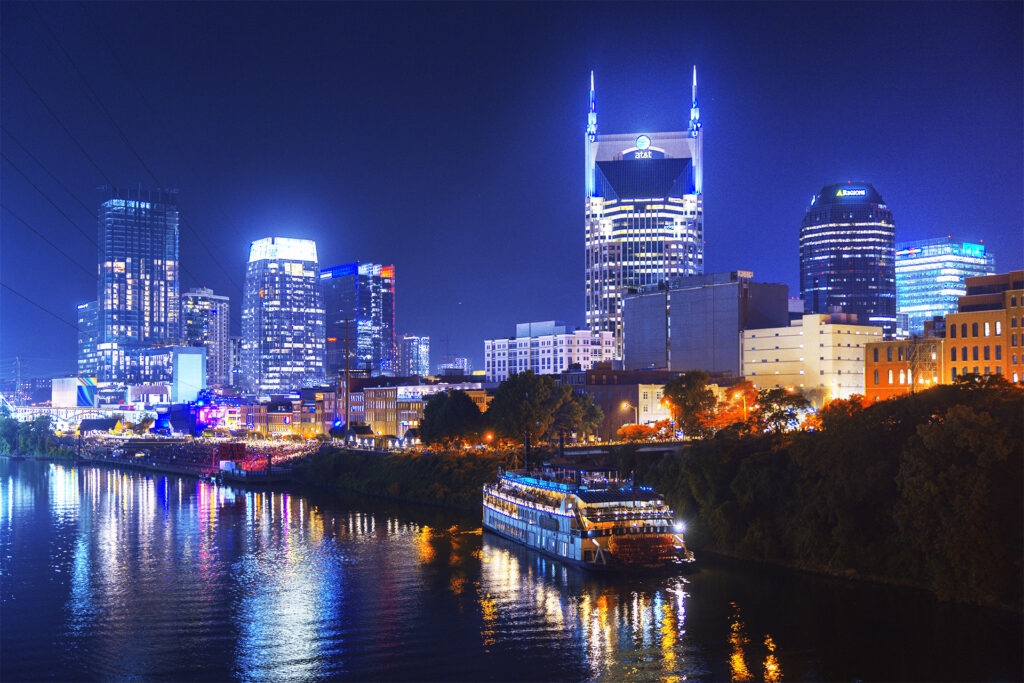
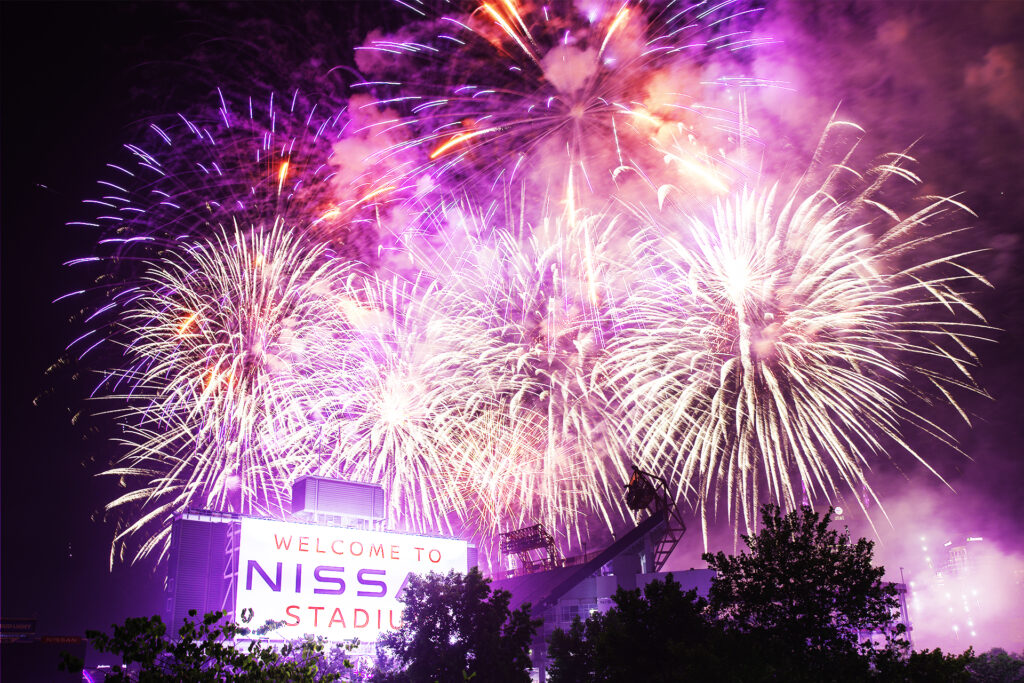
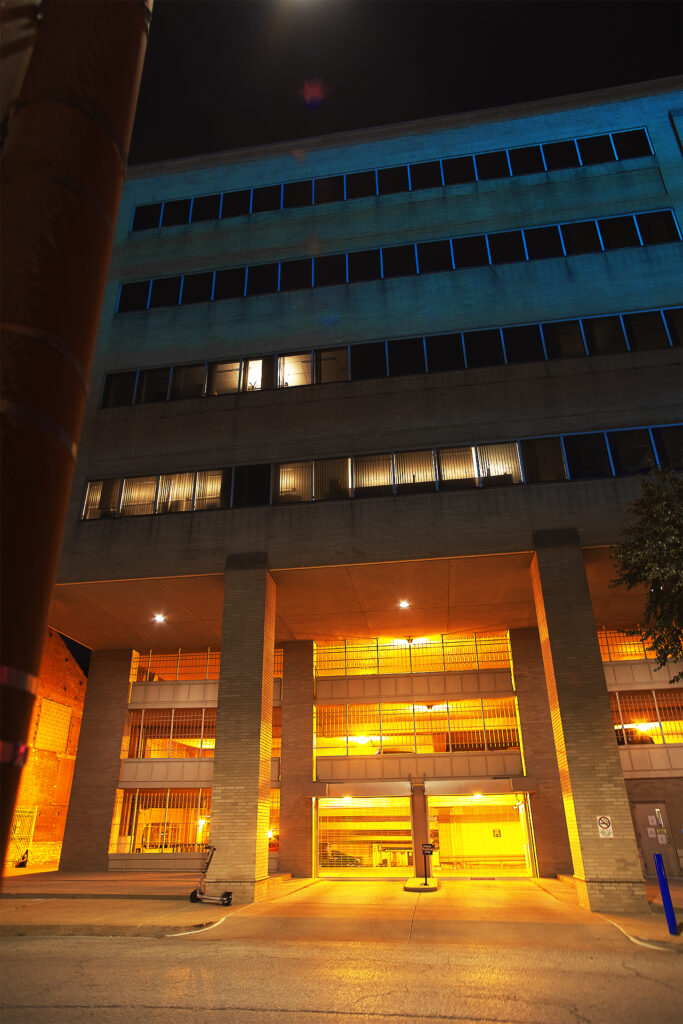
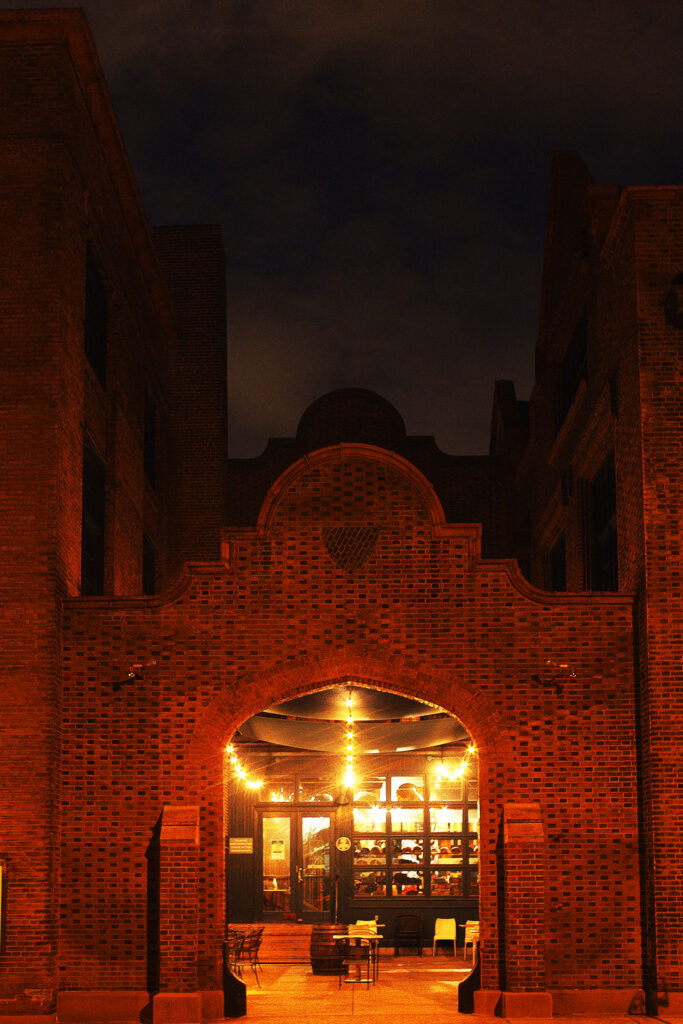
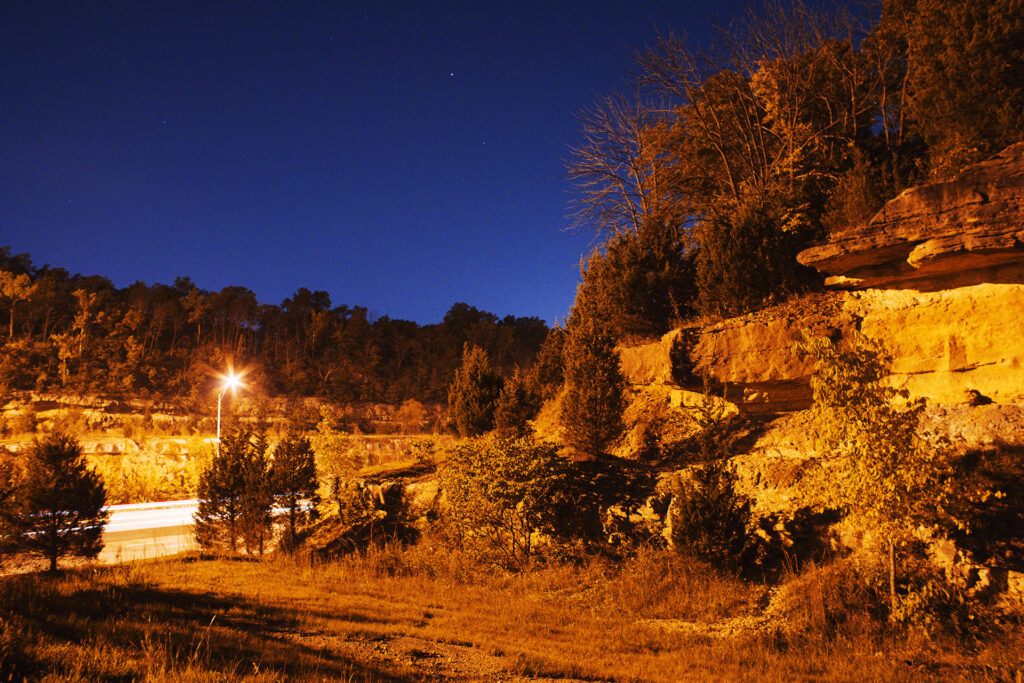
The following photos were taken at f/2.8 on an old Canon zoom lens released in 1989. Some older lenses tend to do better in low light, and they often have more interesting lens flares and bloom.
